


3 Best-Selling Baby Brands That Mysteriously Vanished From the Market
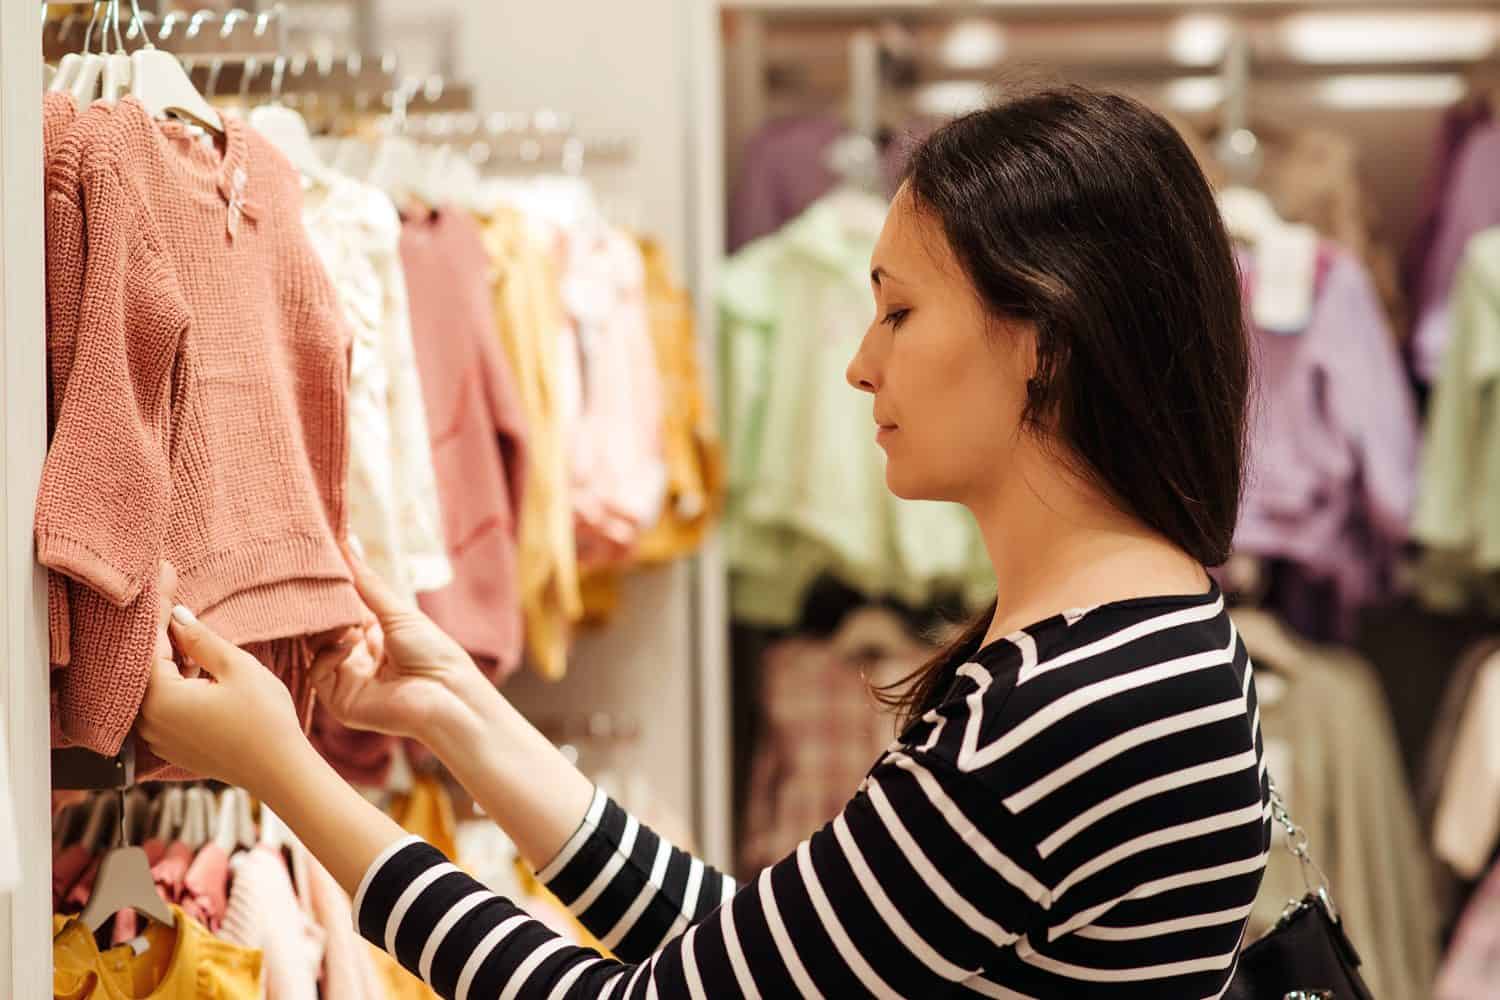
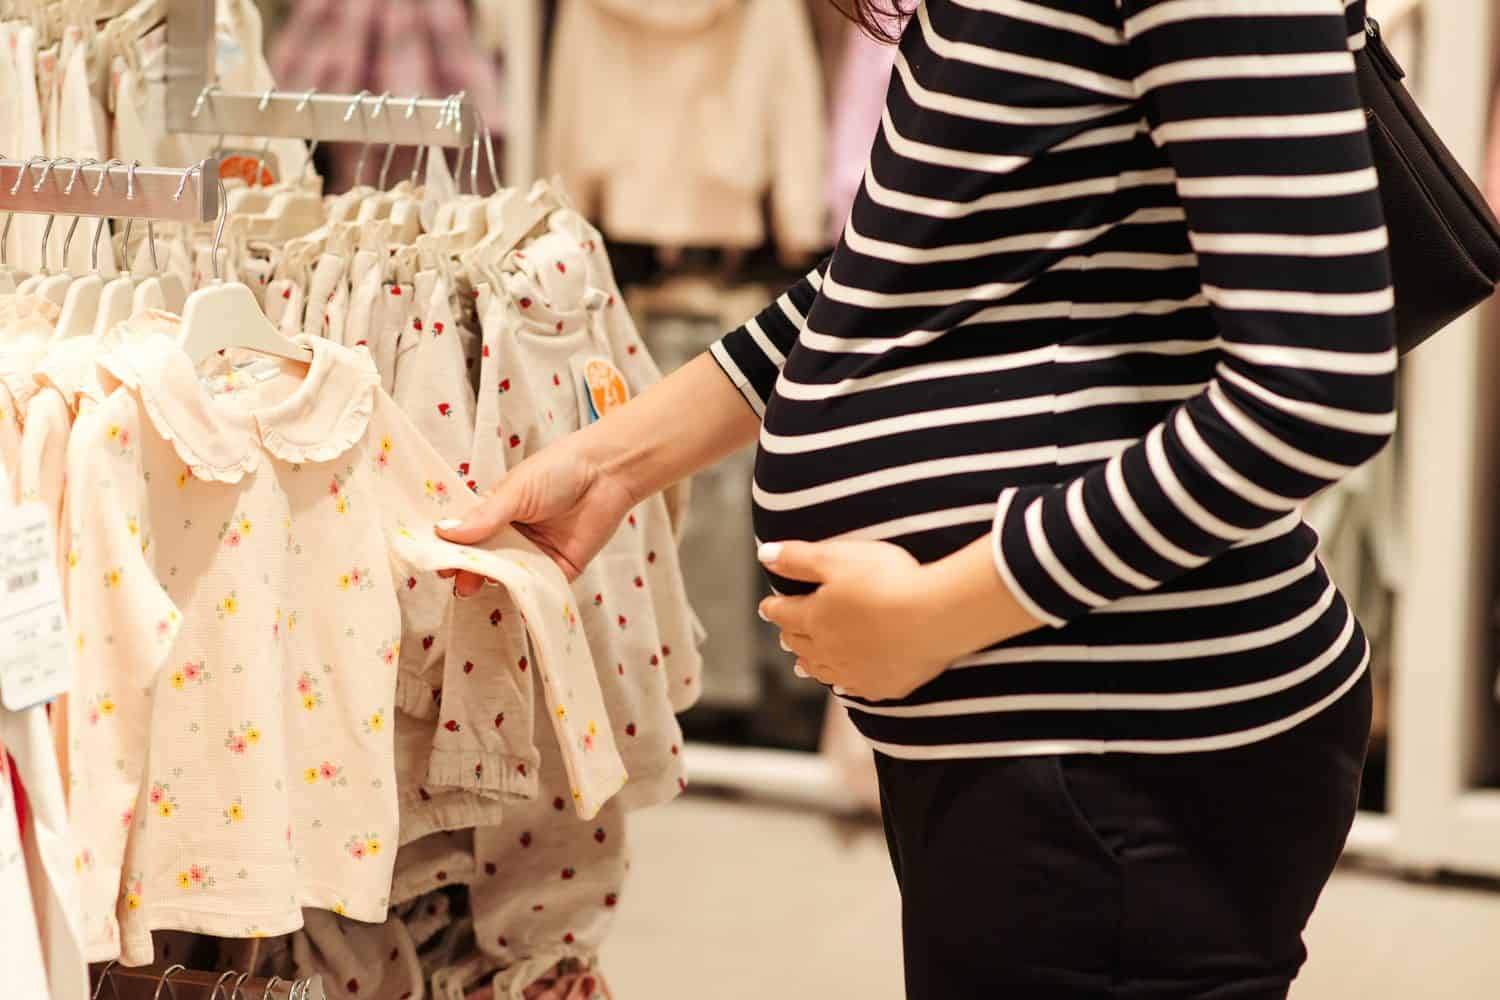
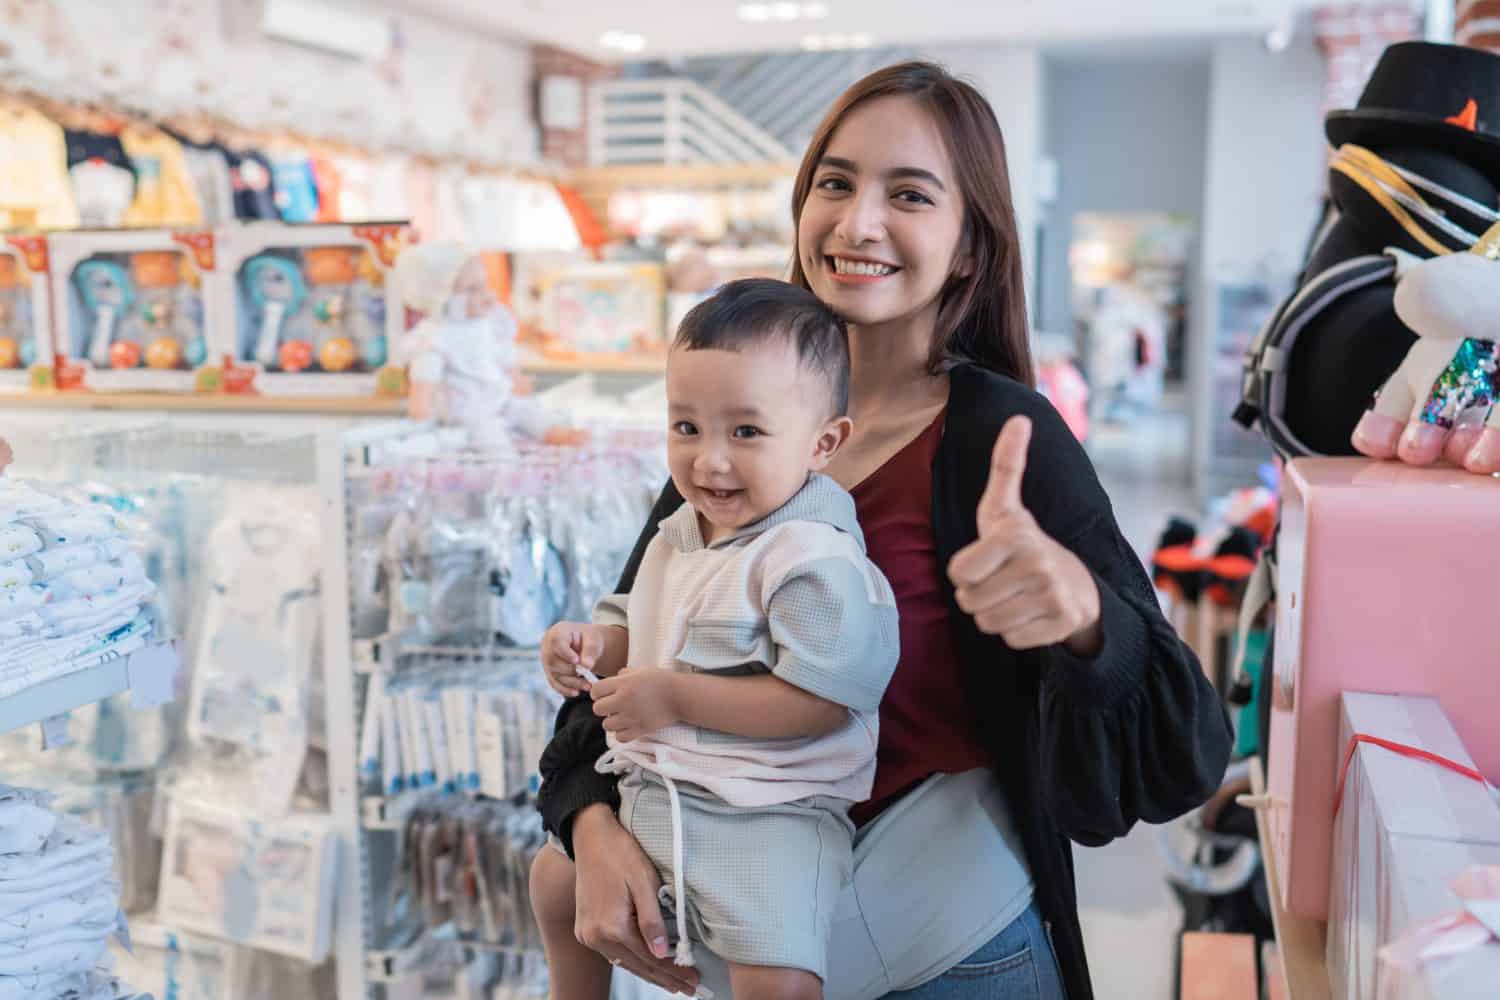
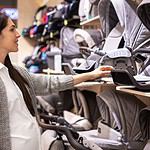
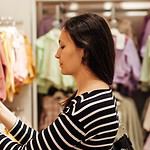
Whether you’re a new or experienced parent, you’re likely familiar with many of the most popular baby brands. Despite the vast number of baby brands and stores out there, it’s not uncommon for parents to have their favorites. You might have even enjoyed shopping in brick-and-mortar baby stores like Babies R Us when your kids were little.
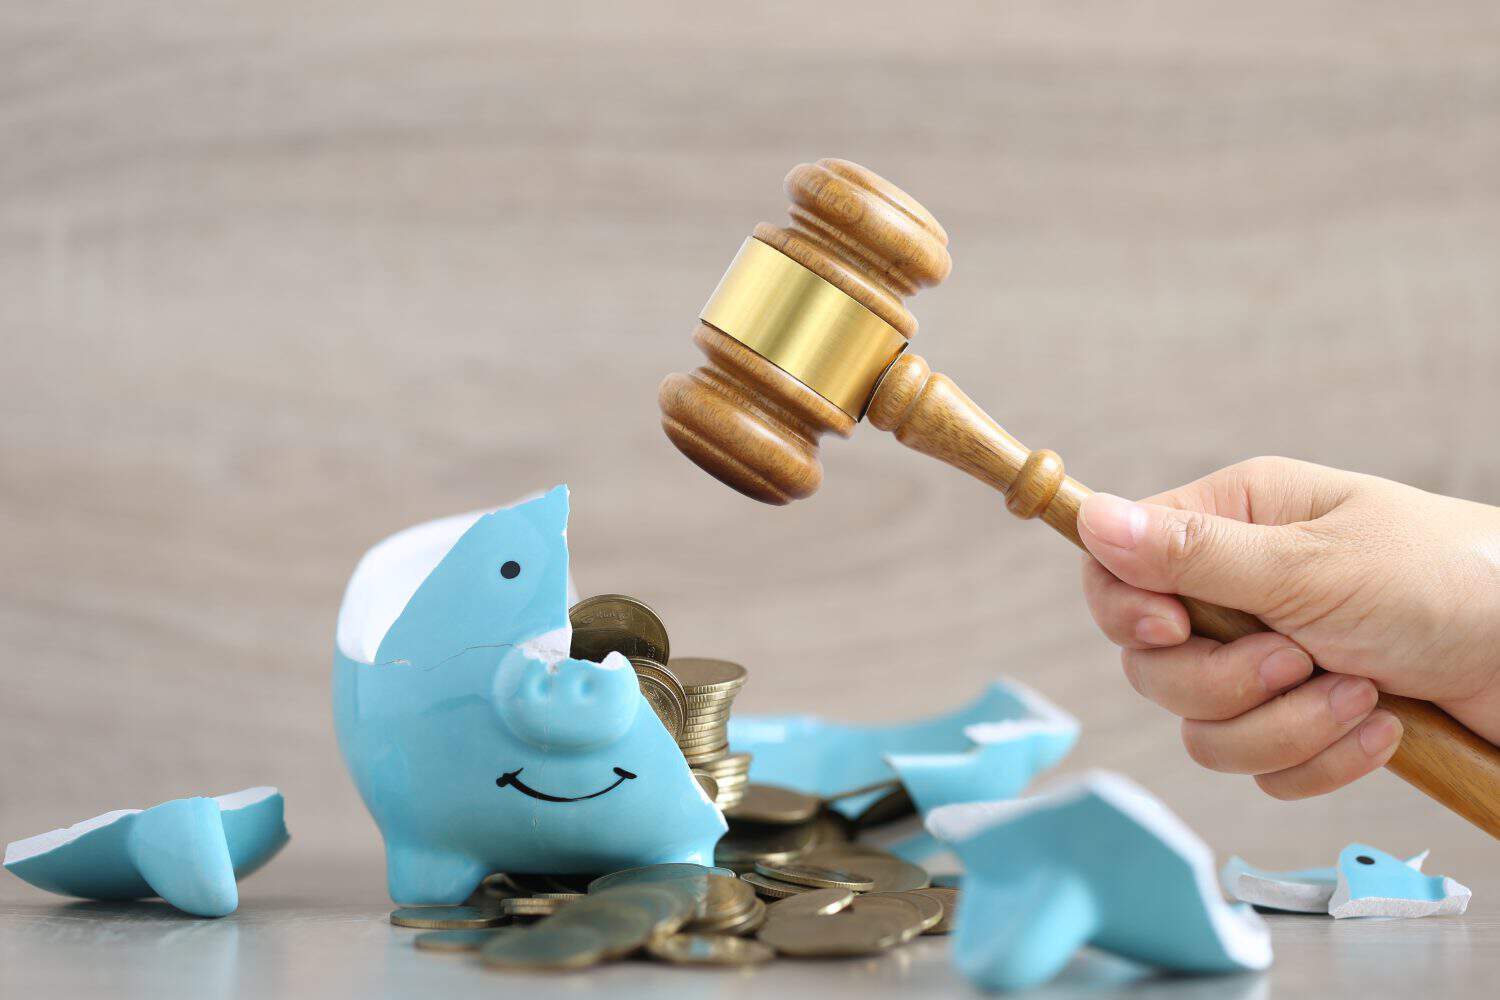
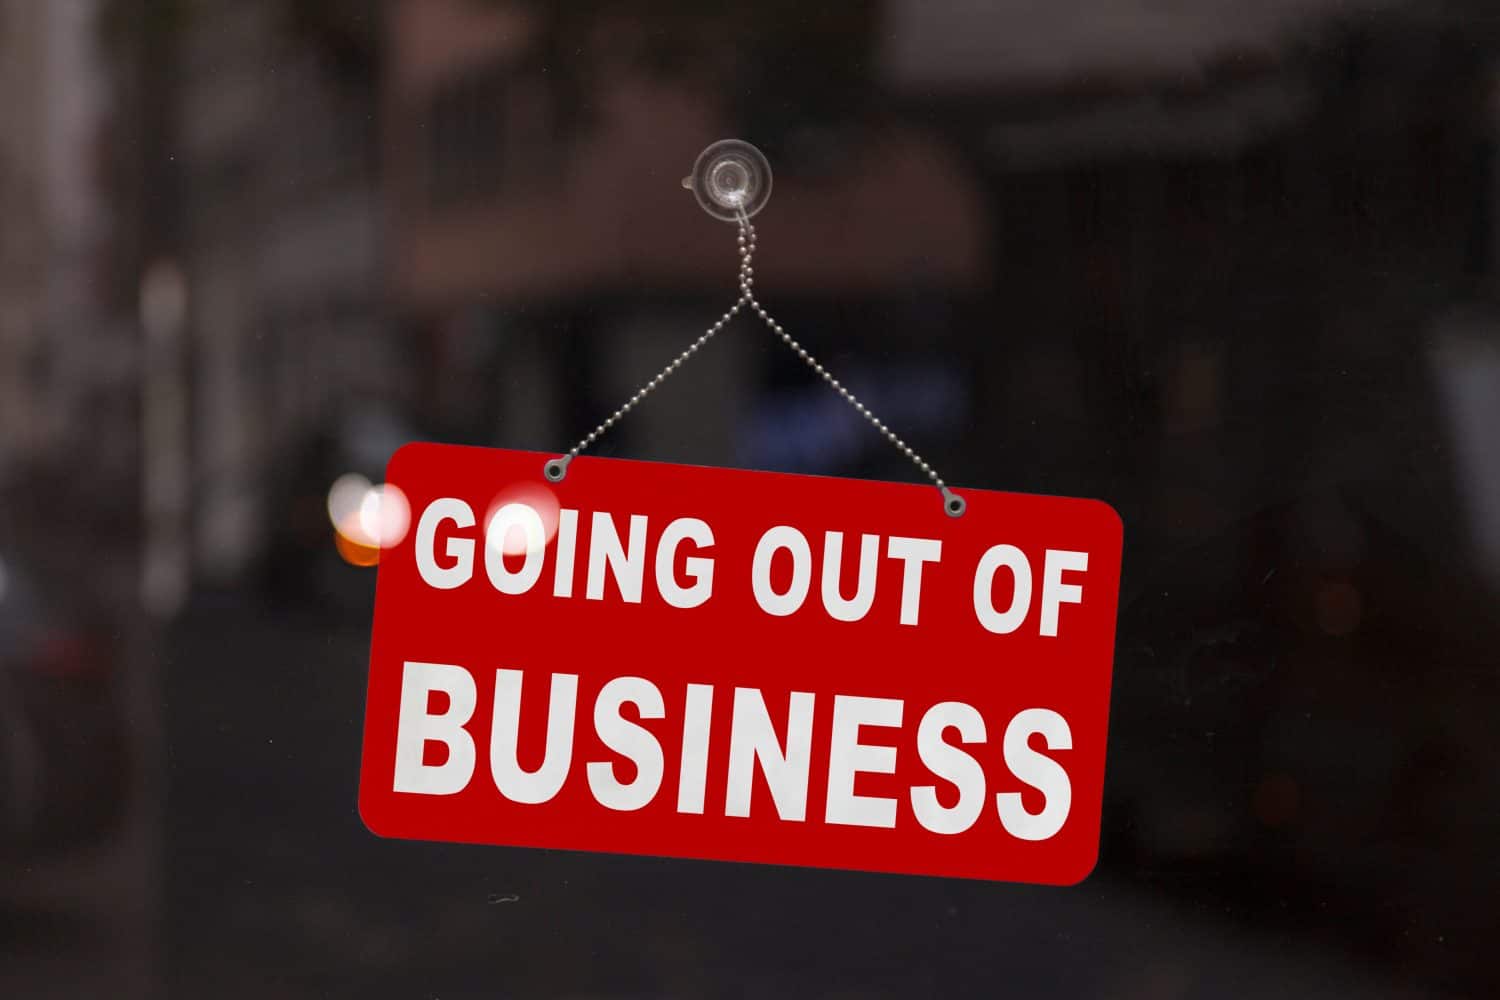
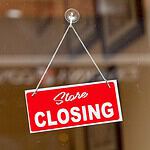
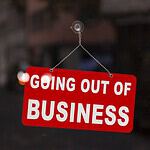
Although there’s no shortage of baby brands in the world, it seems like some of the places that sold popular baby items have all of a sudden disappeared. It's surprising for many parents to find out which brands and stores have gone out of business.
With the rise of online shopping, many brick-and-mortar stores have struggled to keep up and encourage people to shop in person. This has led to numerous stores going out of business, even ones that sold some of our favorite baby items. Check out these 3 best-selling baby brands and stores that mysteriously vanished.
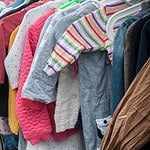
Buy Buy Baby
Buy Buy Baby was one of the most popular retail chains for baby products. This store was owned by the same company as Bed Bath & Beyond. Buy Buy Baby opened their first baby retail store in 1996 in Maryland and it was one of the major competitors of Babies R’ Us. As Bed Bath & Beyond struggled to stay afloat, the fate of Buy Buy Baby was unclear.
Buy Buy Baby Says Goodbye
In early 2023, a handful of Buy Buy Baby stores closed, but that wasn’t the end of the struggle. A few months later, the parent company of Bed Bath & Beyond finally filed for bankruptcy, announcing that the remaining Buy Buy Baby locations would be closing as well. With over 100 stores across the country still open, the last Buy Buy Baby was closed in July of 2023.
Buy Buy Baby Makes a Comeback
If you’re a fan of Buy Buy Baby, there is good news. Although the stores closed their doors back in 2023, the company acquired a new owner recently and there will be some new stores opening in the US. There are currently 11 stores open, which isn’t much compared to the 120 stores that closed, but rumor has it that more stores will open in the future. You can also purchase baby products from Buy Buy Baby online.
Gymboree
Gymboree was a common baby brand and store that many millennials remember from the 1980s and 90s. The first Gymboree location opened in the 1970s and this brand later became a part of The Children’s Place. At one point, there were nearly 400 Gymboree locations nationwide as well as over 150 Gymboree outlets.
Gymboree Goes Bankrupt
After filing for bankruptcy multiple times in a little over a year, all the brick-and-mortar Gymboree stores were closed down, including the Gymboree outlets and their related brand, Crazy 8. All of a sudden after nearly fifty years in business, the Gymboree brand was no longer. This was a disappointment for parents across the country.
Gymboree Opens Inside of The Children's Place
Although the closing of all Gymboree locations was a sad event for parents everywhere, it didn’t last long. Less than a year later, The Children’s Place ended up purchasing the brand and even though no brick-and-mortar Gymboree stores were opened, a Gymboree section was added to some of The Children’s Place stores. Gymboree items were added to 200 locations of The Children’s Place and parents can also shop for Gymboree items online.
Babies "R" Us
Babies “R” Us, a brand of Toys “R” Us, was a favorite place for many parents to shop for their little ones. The first location opened in 1996 and the brand was purchased by Toys “R” Us in 1997. Like many of the other popular baby retail chains, they had everything you needed for your baby. From toys and strollers to clothes and nursery furniture, there was no shortage of baby items at these brick-and-mortar stores.
Babies "R" Us Goes Under
To the horror of those who grew up as Toys “R” Us kids, the popular toy chain went out of business in 2018, taking Babies “R” Us with it. Babies “R” Us, also known as the “Baby Superstore” had some stores that only sold baby products and some that were merged with Toys “R” Us. By the summer of 2018, all the Babies “R” Us stores had closed.
Babies "R" Us Returns
Despite the disappearance of “The Baby Superstore” in 2018, the story for Babies “R” Us isn’t over yet. Kohl’s announced earlier this year that they’re adding Babies “R” Us to their stores. Inside the Babies “R” Us section of Kohl’s, there will be many of the favorite baby items parents love such as baby furniture, accessories, clothing, and other baby gadgets.
The image featured at the top of this post is ©Igisheva Maria/Shutterstock.com