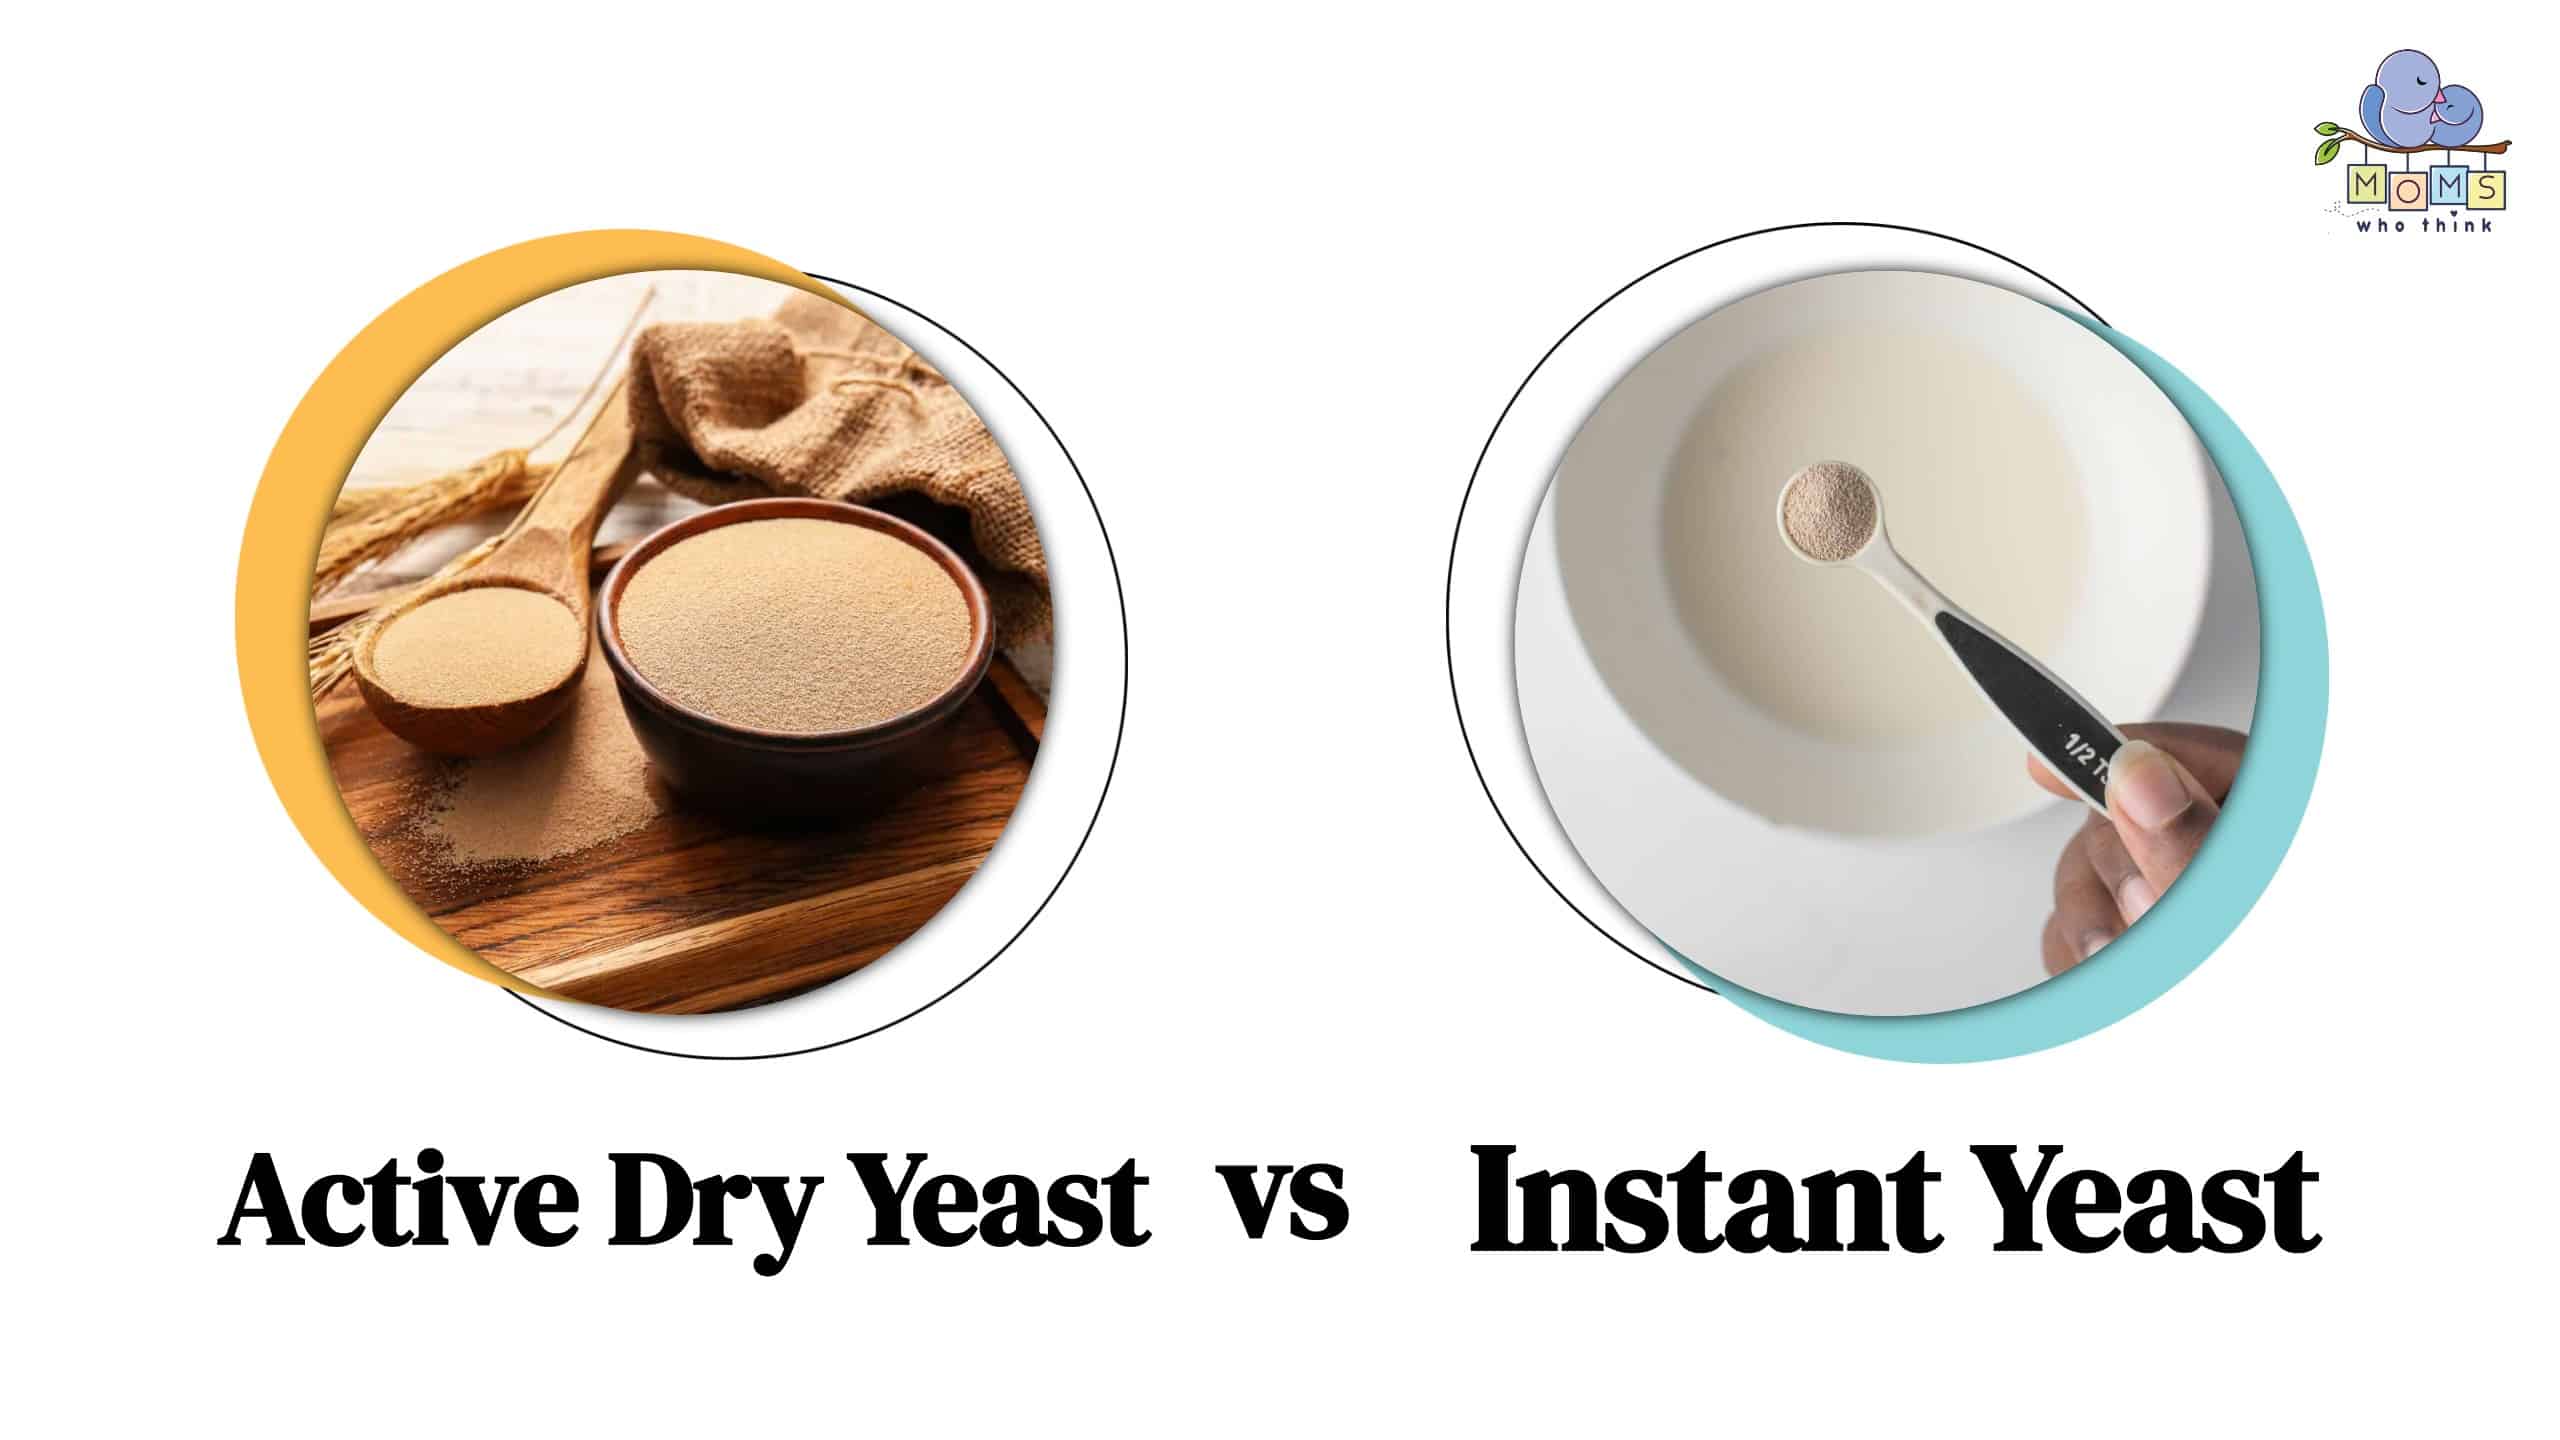
When you’re baking your delicious desserts, you often have a choice between active dry yeast vs. instant yeast. The differences between instant and active dry yeast include the fact that active yeast requires dehydration and that instant yeast takes less time to rise, so it’s ready faster. There are some other minor differences to consider, so let’s jump into it.
Active Dry Yeast vs. Instant Yeast: What are the Differences?
In order to understand the differences in the argument of active dry yeast vs. instant yeast, we first need to define both products.
What is Active Dry Yeast?
This is the yeast that you find most often in kitchens and at the grocery store. You’ll often find it as part of bread recipes. So what is yeast? It’s microscopic, single-cell organisms that are technically part of the fungus group. When baked, the yeast cells feed on the sugars and starch in the flour and turn them into alcohol and carbon dioxide. That CO2 is what makes the bread rise and adds to some of the flavor.
Active dry yeast is a commercial dried yeast that is available in individual packets. In most cases, the packets contain 2 ¼ teaspoons, and this is the yeast that you’ll most often find in the supermarket.
- 4-serving meals starting at $3.77 per serving (up to 25% cheaper than HelloFresh).
- Incredible variety with 10+ weekly meal options, delivered directly to you.
- Easy to prepare meals ready in 30-minutes or less.

It’s called dry yeast because before you can use it, it must be activated. The yeast is loaded with dehydrated yeast granules, and when the yeast comes in contact with the liquid and sugars in your recipe, it gets activated. While it’s not necessary, you can proof the yeast by combining it with water, and then you’re ready to go.
What is Instant Yeast?
Instant yeast is also a dry yeast, but it comes in smaller granules, so it absorbs liquid quickly, and it does not need to be proofed or rehydrated before it’s mixed into the flour. Instant yeast can also go by the names of rapid-rise yeast and bread machine yeast, which is ideal when used in machines.
What Are The Four Differences Between
While there are some similarities between instant and active dry yeast, such as the fact that they’re both forms of commercial yeast and that they can be used when making bread and other recipes. However, there are several differences between the two products:
1. Rising Time – The dough rising time is the biggest difference between both yeast products. As the name implies, instant yeast rises fast and will make for a quicker recipe. Active dry yeast will take longer to proof. On average, dry yeast will take about 15-20 minutes longer.
2. Grain Size – Instant yeast has a smaller grain size than active dry yeast. The smaller grains dissolve faster, which is why it’s the faster product.
3. No Middle Man – Another one of the perks of instant yeast is that it’s intended to be added directly to the dough. In contrast, it’s really recommended to proof dry yeast. However, you can still proof both of the products.
4. Active Yeast Requires Rehydration – Active dry yeast needs to be dissolved and rehydrated in warm water to have the necessary effect. Conversely, instant yeast can be mixed directly into the ingredients.
Active Dry Yeast vs. Instant Yeast: Which Is Better?
If you’re interested in baking or making bread, you may be wondering if instant yeast or active dry yeast is the better and more legitimate option. The truth is that there is no hard and fast answer. In reality, the preferred yeast is up to personal opinion. If you’re conflicted, then you can go with what the recipe has called for in the past. Keep in mind that active dry yeast will take longer for the bread to rise, but it could have greater flavor. Instant yeast will be faster but could provide slightly less flavor. However, many bakers can’t distinguish the difference between the two products once the bread is made.
- 4-serving meals starting at $3.77 per serving (up to 25% cheaper than HelloFresh).
- Incredible variety with 10+ weekly meal options, delivered directly to you.
- Easy to prepare meals ready in 30-minutes or less.
Tips When Using Yeast
Proof your yeast just right and you could end up with perfect, irresistible bread.
©Prostock-studio/Shutterstock.com
Regardless of which side of the active dry yeast vs. instant yeast argument you're on, there are several tips to consider when cooking with either option.
- Check the Expiration Date – Regardless of which yeast you use, you’ll want to check the expiration date before you add it to your recipe.
- If in Doubt, Proof It – If you’re in doubt that the yeast is fresh, proof it just in case to save yourself frustration later.
- Substitute Equally – If you only have one type of yeast or the other, then you can substitute each at a 1:1 ratio.
- Do Not Use Hot Water to Proof – When you’re proofing either yeast, avoid the use of hot water, or it will kill the active yeast. You don’t need an exact temperature, but put a finger in the water to ensure it’s warm.
- Store It Properly – If you don’t need it yet, then keep the yeast sealed, and you can store it for about two years. An opened package is fine to keep around, and it may last a year, but keep it in the freezer. If you open it but plan to use it soon, then you can keep it in the refrigerator, but only for about two weeks.
What are Substitutes for Yeast?
You may not be thrilled about any type of yeast. The good news is there are alternatives you can try in your next recipe, and you won’t tell much of a difference.
Sourdough Starter
This is a great substitute because it contains yeast, and it could add some unique flavors to your next recipe. Keep in mind that no two starters taste alike.
Baking Powder
It’s made out of baking soda and some type of acid, be it monocalcium phosphate or cream of tartar. When they combine they produce carbon dioxide, which is also found in yeast. Keep in mind that baking soda won’t give the same flavor, but it’s great in a pinch.
Eggs
Eggs contain water and a lot of protein, so they make for great leavening agents for your bread. The liquid in the eggs is what makes the baked goods rise dramatically. Beat or whip the eggs well to get the desired effect.
Greek Yogurt
It’s a bit outside of the box, but Greek yogurt has a high acid content, but you first need to mix it with baking soda. For every teaspoon of yeast your recipe requires, add ¼ teaspoon of baking soda and a half cup of yogurt. Greek yogurt also adds a bit of tanginess to your recipe.
Self-Rising Flour
It’s premixed with salt and baking soda, so you don’t have to worry about adding an extra leavener. Flour is especially good in muffins and biscuits or anything that you want to be light and fluffy.
Buttermilk
Combine baking soda and buttermilk to create a perfectly suitable alternative for yeast. Plus it’s gluten-free. Buttermilk has a high-acid content, which is why it mixes well with your recipe.
Baking Soda and Lemon Juice
To create the necessary acidity, you can combine lemon juice and baking soda. While they may create a slightly unique taste, there’s no rise time required. The ratio would be one teaspoon of baking soda and one tablespoon of lemon juice for every two tablespoons of yeast called for in the recipe.
Beer
Because of the fermentation process, beer has yeast as an ingredient, so it can be a suitable substitute. Keep in mind that the bread you make can taste a bit like the type of bread you use.
Cream of Tartar
Technically called potassium bitartrate, cream of tartar is an ingredient in baking soda. For every teaspoon of yeast you would use, you can substitute a half teaspoon of baking soda and a half teaspoon of cream of tartar.
- 4-serving meals starting at $3.77 per serving (up to 25% cheaper than HelloFresh).
- Incredible variety with 10+ weekly meal options, delivered directly to you.
- Easy to prepare meals ready in 30-minutes or less.
Conclusion
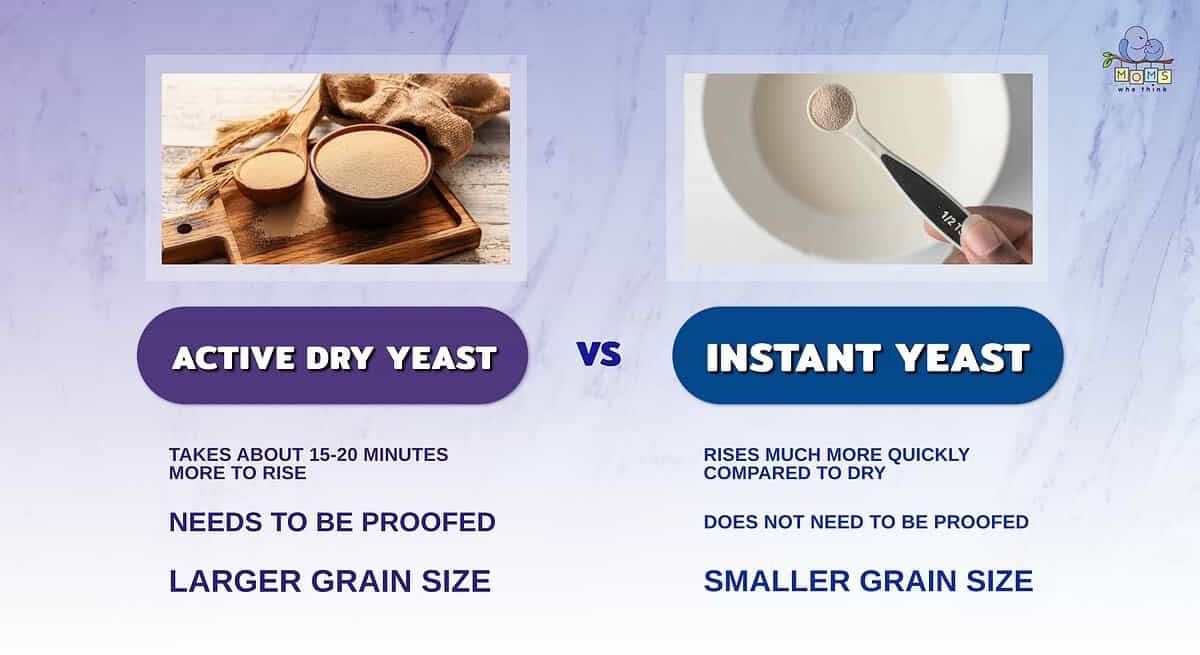
- Active dry yeast takes a lot longer to rise. In general, you can expect active dry yeast to take 15-20 minutes longer to rise compared to instant yeast.
- Instant yeast can be proofed, but it isn't necessary. On the other hand, active dry yeast needs to be proofed.
- Active dry yeast has a larger grain size in comparison to instant yeast. The smaller grain size of instant yeast allows it to rise faster.
These are the main differences between active dry yeast vs. instant yeast. As you can see, the two products are not too unique from one another. It really depends on your baking time, your preferences, and your unique recipe. Consider each for your next bake.
Print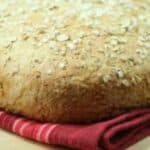
Honey Oatmeal Bread
 (No Ratings Yet)
![]() Loading…
Loading…
Ingredients
- 1/2 cup warm water (about 110 degrees F)
- 2 packages active dry yeast
- 1 cup milk
- 1/4 cup honey
- 3 Tablespoons butter, melted
- 1/2 teaspoon salt
- 2 cups old-fashioned or quick cooking rolled oats
- 3 3/4 to 4 1/4 cups all-purpose flour
- 1 large egg white
- 1 Tablespoon water
- 1 Tablespoon old-fashioned or quick cooking rolled oats (for topping)
Instructions
- In a large bowl, combine the ½ cup water and the yeast. Let stand for 10 minutes or until foamy.
- Stir in the milk, honey, butter and salt.
- Using a wooden spoon, beat in the 2 cups oats, then beat in enough of the flour (1 cup at a time) to make a soft dough.
- Knead the dough on a lightly floured surface for 6 to 8 minutes or until smooth and elastic, adding only as much of the remaining flour as needed.
- Transfer the dough to a large buttered bowl, turning to coat with the butter. Cover loosely and let rise in a warm place for 1 to 1½ hours or until doubled in size.
- Punch down the dough; then divide in half. Cover and let rest for 10 minutes.
- Shape each half into a 6-inch round loaf.
- Place the loaves, smooth sides up, on a lightly greased large baking sheet. Cover and let rise for 1 to 1¼ hours more or until doubled in size.
- Preheat the oven to 375 degrees F.
- In a small bowl, combine the egg white and the 1 Tablespoon water; brush the tops of the loaves with the mixture.
- Sprinkle tops with the 1 Tablespoon oats.
- Bake for 35 minutes or until golden and bread sounds hollow when tapped on the bottom. Transfer to wire racks to cool.
Note: If the loaves of bread brown too quickly, lay foil loosely over the tops.