All-purpose flour is the go-to flour that is always in the pantry. It is used to make bread, cookies, cakes, and other desserts. Many home chefs don’t think too much about flour and assume it's all the same. But if you look closely at the bag of white flour in the cupboard or on the supermarket shelves, you will notice that some flours are bleached and some aren't bleached. When it comes to bleached vs. unbleached flour, there are a few differences in texture, color, density, and price.
Bleached Flour vs. Unbleached Flour: The Key Differences
When flour is processed the bran and germ are removed. After the milling process, the flours have iron and B vitamins added to them. After this, the two flours go their separate ways. One is bleached with chemicals, and the other is not.
When flour is exposed to air during the milling process it turns a whitish color. This is a natural process that happens over time. The flour changes color and turns off-white on its own, and this is unbleached flour. In order to speed up this natural process and make manufacturing flour faster, chemicals are added, and this is bleached flour. The chemicals give the flour a white color and silky texture.
- The must-have convenient reference guide for every home cook!
- Includes more than 8,000 substitutions for ingredients, cookware, and techniques.
- Save time and money on by avoiding trips to grab that "missing" ingredient you don't really need.

Bleached flour is soft with a fine almost baby powder texture that is able to absorb liquid better. It is the best choice of flour for baking desserts like pie crusts and cookies. Unbleached flour is an off-white color and has a thicker texture than bleached flour. It is denser and ideal for making puff pastries and breads with yeast.
Bleached Flour vs. Unbleached Flour Nutritional Differences
According to Healthline, bleached and unbleached flour have almost exactly the same nutritional value. There is only a minimal difference because bleached flour has less Vitamin E due to the bleaching process.
While nutritional value is almost the same, the added chemicals may be a concern for some home bakers, and they should take that into consideration when choosing which flour to keep in their pantry. One of the chemicals, benzoyl peroxide, which is a commonly used bleaching agent, has been linked to research that suggests it may block the body from absorbing certain nutrients. However, the research is still ongoing and is in the early stages. Another additive, potassium bromate, is used in baked goods in the U.S. but has been banned in the European Union and Canada.
What is Bleached Flour?
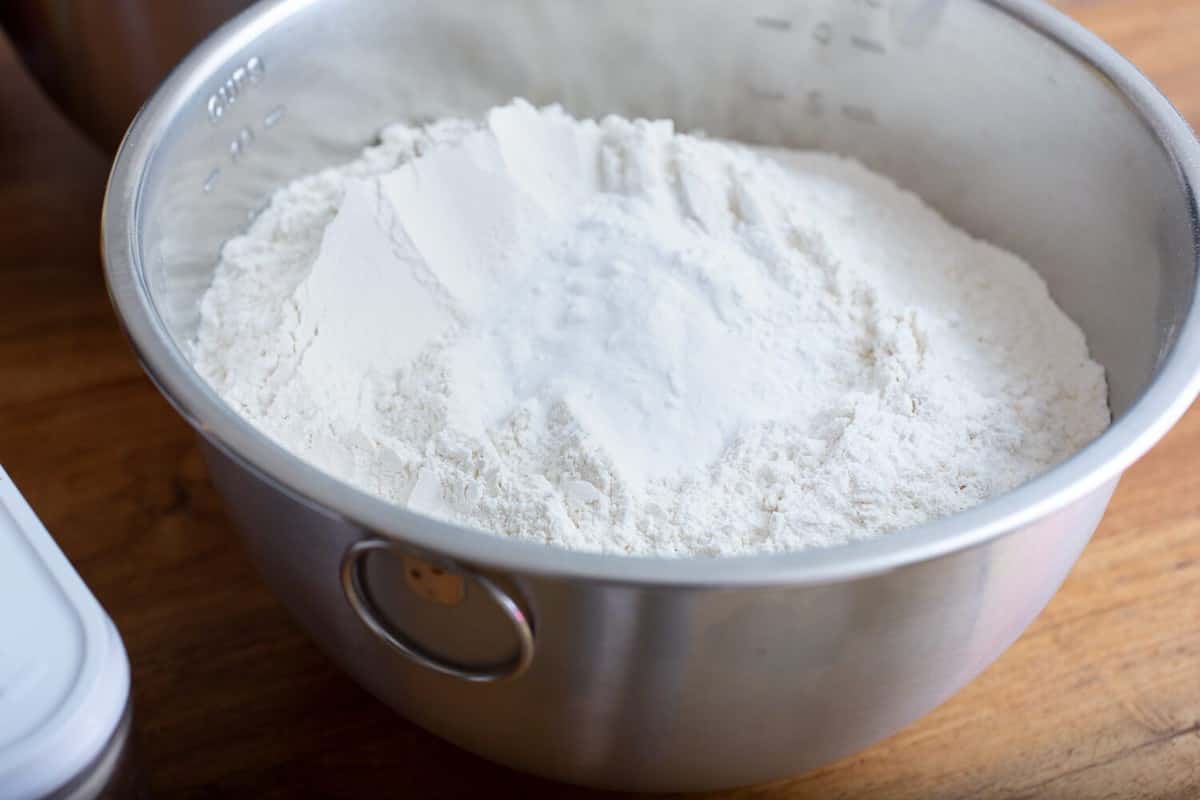
©The Image Party/Shutterstock.com
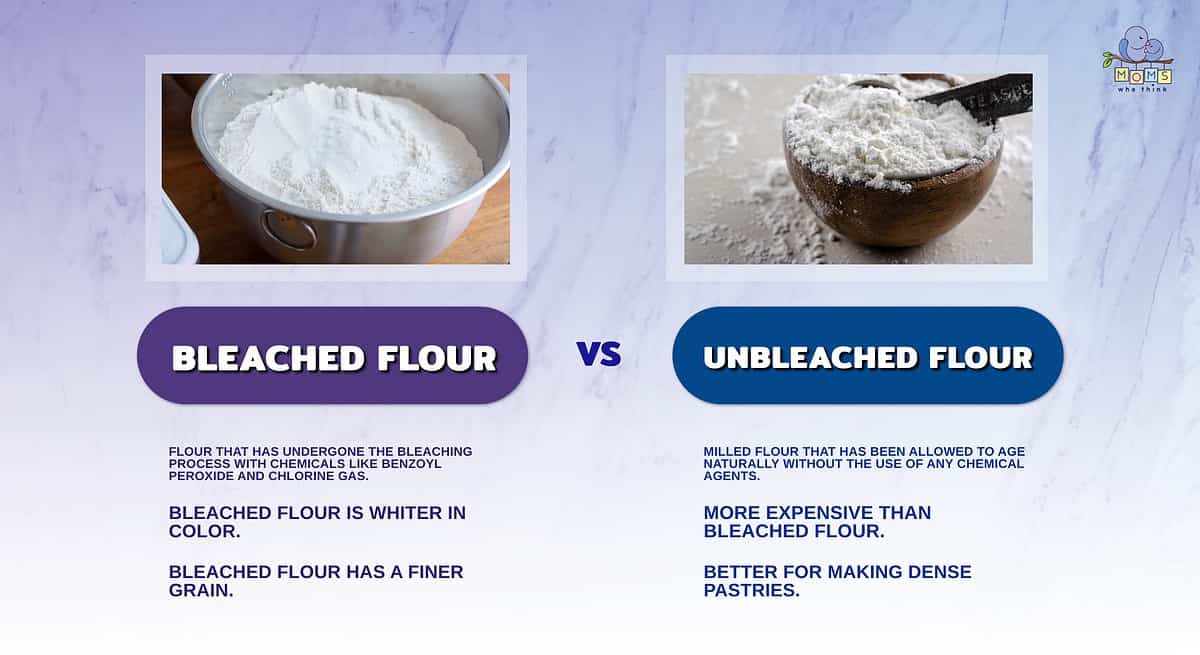
Bleached flour is milled flour that has undergone the bleaching process with chemicals like benzoyl peroxide and chlorine gas. The bleaching process speeds up the otherwise natural aging process making it faster and cheaper to mass produce. Bleached flour is whiter in color and has a finer grain and a soft texture. Because of the fine texture, baked goods made with bleached flour have more volume and a soft crumb.
What is Unbleached Flour?
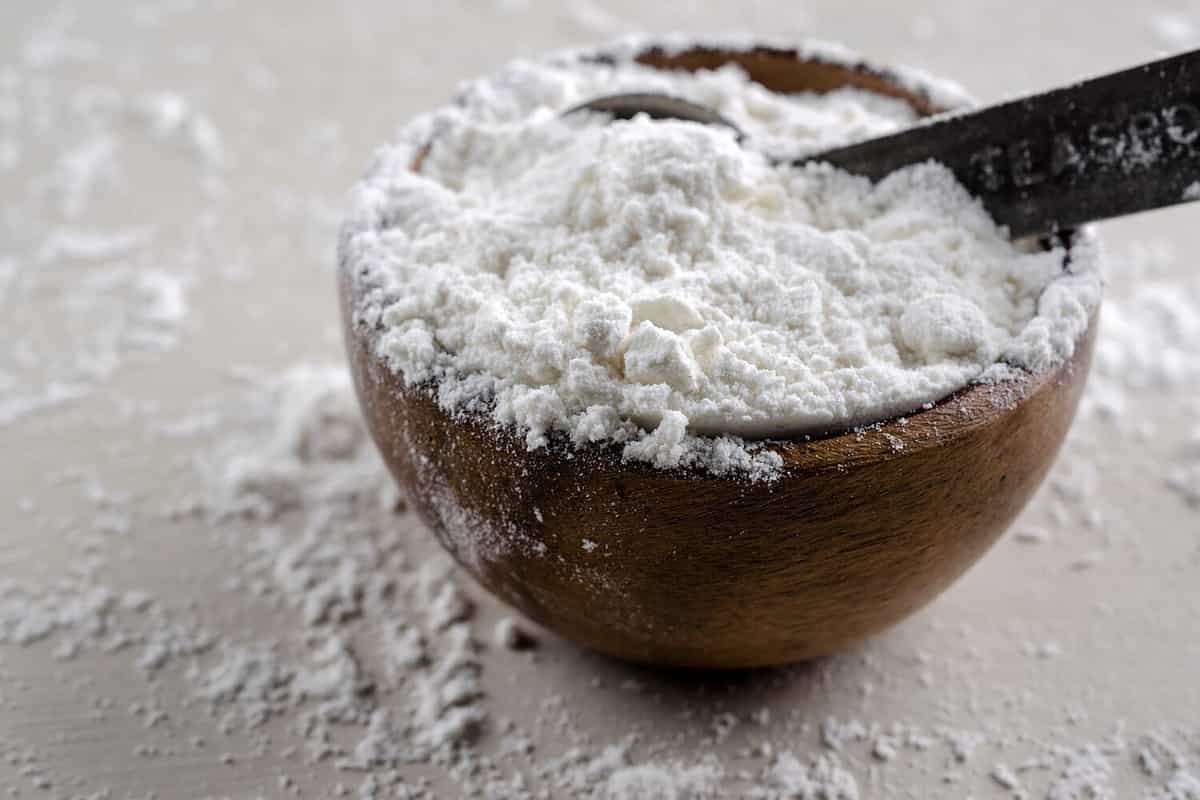
©Happie Hippie Chick/Shutterstock.com
Unbleached flour is milled flour that has been allowed to age naturally without the use of any chemical agents. It is not as white as bleached four and has a slightly off-white color and dense grain. Unbleached flour is more expensive than bleached flour because of the lengthy natural aging process.
Can You Substitute Bleached and Unbleached Flour?
You can substitute bleached and unbleached flours. You may notice a difference in texture because bleached flour develops proteins through the bleaching process, making it easier to stretch. Using stretchy dough is ideal for pizzas and bread. But when substituting the two, you won't see a big difference in the texture and taste of the finished product.
- The must-have convenient reference guide for every home cook!
- Includes more than 8,000 substitutions for ingredients, cookware, and techniques.
- Save time and money on by avoiding trips to grab that "missing" ingredient you don't really need.
When to Use Bleached Flour
Bleached flour will give a baked good a brighter finished color so it is the best option when color is important, for example, a white vanilla cake or white chocolate pastries. And because it is able to absorb liquid well, it creates fluffier baked goods, making it a good choice for muffins, pancakes, and cookies. Most diners will not notice a difference in taste, but some people with highly sensitive tastebuds may notice a bit of a bitter taste from the bleaching chemicals.
When to Use Unbleached Flour
Unbleached flour is a good choice when you are making denser pastries that need to hold their shape because the flour will create a thick dough. It is an excellent choice for yeast breads, pastries, and cream-filled cannolis and eclairs.
Other Considerations on Flour
Even though unbleached flour does not use bleaching chemicals, it may have other chemicals added. Some brands of unbleached flour have additives to help the rising process. Always carefully read labels if chemicals and additives are a concern.
Print
Pear-Almond Pastry
 (No Ratings Yet)
![]() Loading…
Loading…
- Total Time: 50 Minutes
Ingredients
Dough Ingredients:
- 1 package frozen bought puff pastry
- granulated sugar for dusting.
- 1 egg, lightly beaten
- 2 teaspoons water
- Almond Cream:
- 2 ounces Almond Paste
- 1/4 cup granulated sugar
- 1/4 cup butter (room temperature)
- 2 large eggs (not extra large)
Pear Filling:
- 2 firm pears peeled, cored and sliced
- 1 tart apple peeled, cored and sliced
- 1 tablespoon cornstarch
- 1/2 teaspoon cinnamon
- 1/4 teaspoon nutmeg
- pinch of cloves (optional)
- 1 spoonful granulated sugar
- 1 spoonful brown sugar
- 1 tablespoon lemon juice
- 1 tablespoon water
- 1 egg, lightly beaten
- 1 teaspoon water (if necessary)
- Sanding sugar (or coarse sugar) for sprinkling
Instructions
- Remove puff pastry from freezer and thaw in the refrigerator overnight.
- Preheat oven to 400 degrees and prepare a baking sheet with lightly greased parchment paper.
- In a mixing bowl, beat the almond paste, butter and sugar together until well mixed and “fluffy.” Beat in the two eggs. Set aside.
- Peel and slice the pears and apple then, place in a gallon sized or two quart sized FREEZER bags. Do not over fill or use storage bags. The filling will get very hot and the bag needs to stand up to the heat.
- Divide the spices, cornstarch and sugar between the bags and shake well to make sure the fruit is covered.
- Seal the bag leaving it about one quarter of the way open to act as a vent for the steam. Microwave for 2 minutes. Let the bag sit to cool off in the microwave (it will be VERY hot).
- Remove the puff pastry from its wrapper and spread out on a lightly floured cutting board or counter. Dust both sides of the pastry with granulated sugar. Roll the dough slightly with a rolling pin just enough to smooth out the creases in the dough.
- Turn the dough so that the two “creases” in the puff pastry line up going away from you and you see the dough separated into thirds. On one of the outside thirds of the dough, make horizontal cuts that are parallel to each other and 1 inch apart. Repeat on the other, outer third section of the dough. The center of the dough should be uncut.
- Spread the almond cream generously in the center, uncut section of the pastry. Remember that the almond ceam will melt some while baking.
- Arrange the pear mixture in the center of the puff pastry. Leave one inch at the top and bottom of the pastry empty. Cut off the top and bottom strips from each side of the pastry leaving one inch of dough in the center third section. Fold the top inch of dough from the center section over the pears and repeat with the bottom inch of dough. Fold the cut strips over the pear filling one at a time at a slight diagonal. Alternate between the left and the right so that your pastry will look like it is braided. Tuck the excess dough of each strip under the pastry. Place on the parchment lined baking sheet.
- If the dough has become warm, return the braided pastry to the refrigerator to chill before baking.
- Before baking, beat the egg and the water together with a fork and brush over the pastry. Sprinkle with sanding sugar or coarse sugar.
- Bake at 400 degrees for 15 minutes. Reduce the temperature to 350 and bake for 15 to 25 minutes more or until the pastry is golden brown and cooked through.
- Prep Time: 20 Minutes
- Cook Time: 30 Minutes
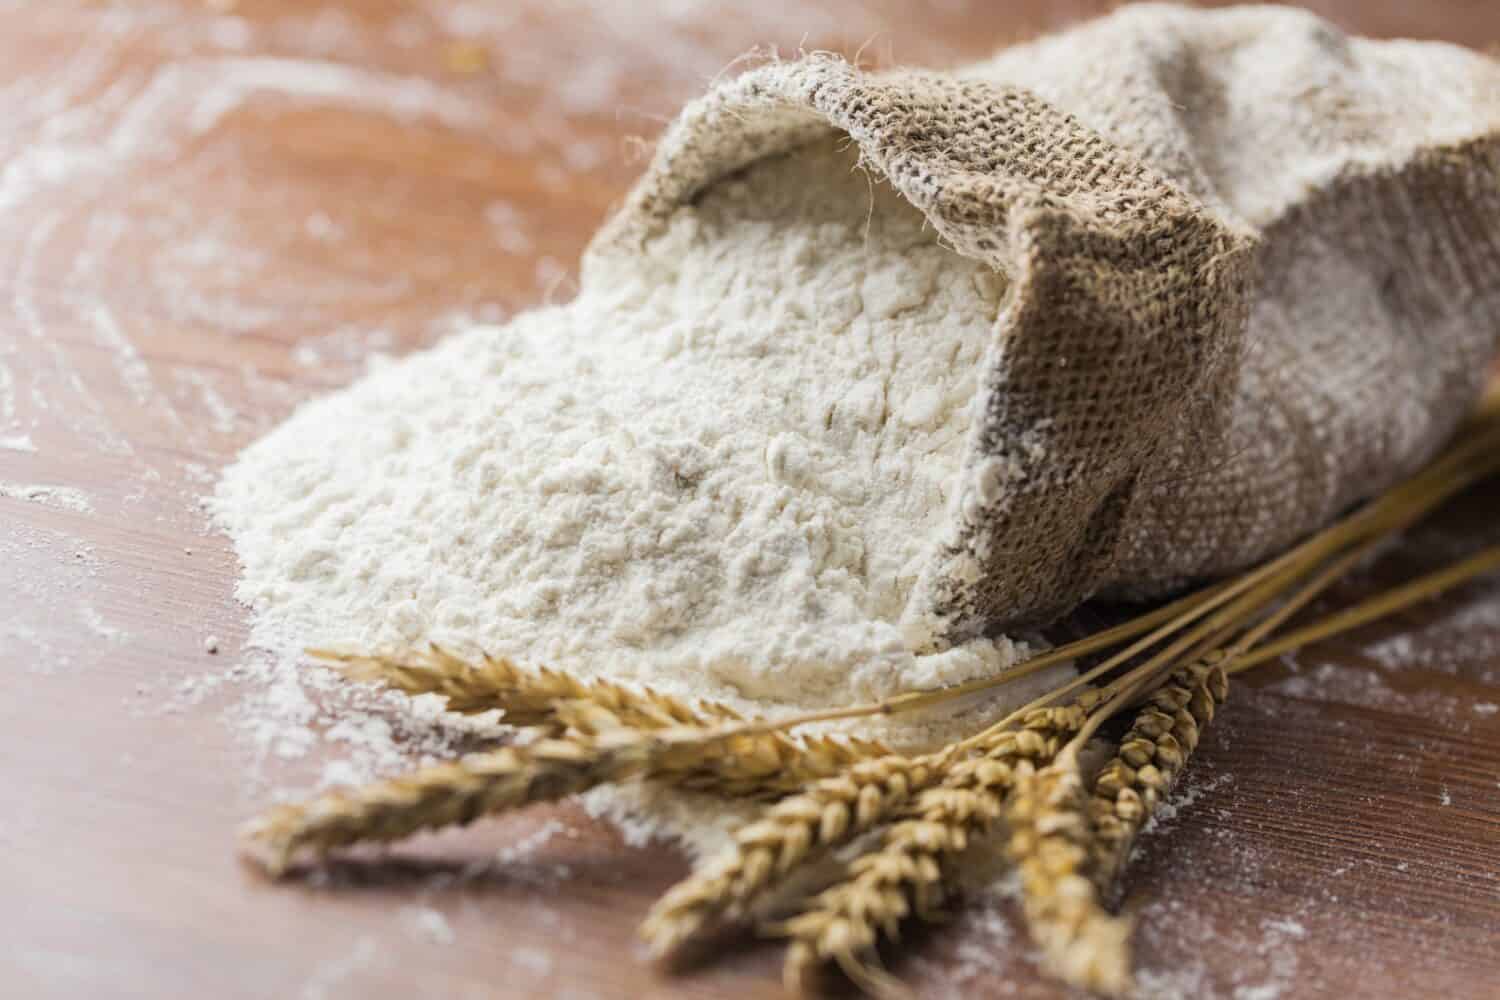
The image featured at the top of this post is ©Billion Photos/Shutterstock.com