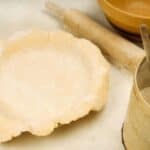
Many would argue that a pie just isn’t a pie without a great homemade pie crust. However, a lot of bakers are put off by the thought of taking on such a culinary task. They feel that making their own pie crust is a bit of a Mt. Everest for home bakers, but this is a process that gets easier every time you do it.
Homemade Pie Crusts
If you compare homemade vs. store bought pie crusts, each has its pros and cons. A store bought crust will win when it comes to time and convenience, taking just seconds to unwrap, while a homemade crust takes closer to 20 minutes to make. However, that’s just about where it ends for the store bought crust.
©lineartestpilot/Shutterstock.com
When it comes to price, homemade crusts are slightly cheaper costing the same to make three pie crusts as it does to buy two.
And of course, when it comes to taste, homemade has store bought beat by a mile. Store bought crusts are generally tasteless and crumbly as opposed to flakey. And while some can be found with limited unhealthy ingredients, many of them are high in processed additives.
- 4-serving meals starting at $3.77 per serving (up to 25% cheaper than HelloFresh).
- Incredible variety with 10+ weekly meal options, delivered directly to you.
- Easy to prepare meals ready in 30-minutes or less.

Other bonuses of homemade pie crusts are that you can make them any way you like. Also, the dough can be frozen so you can make a big batch and then use the rest as needed.
How to Make Pie Crust

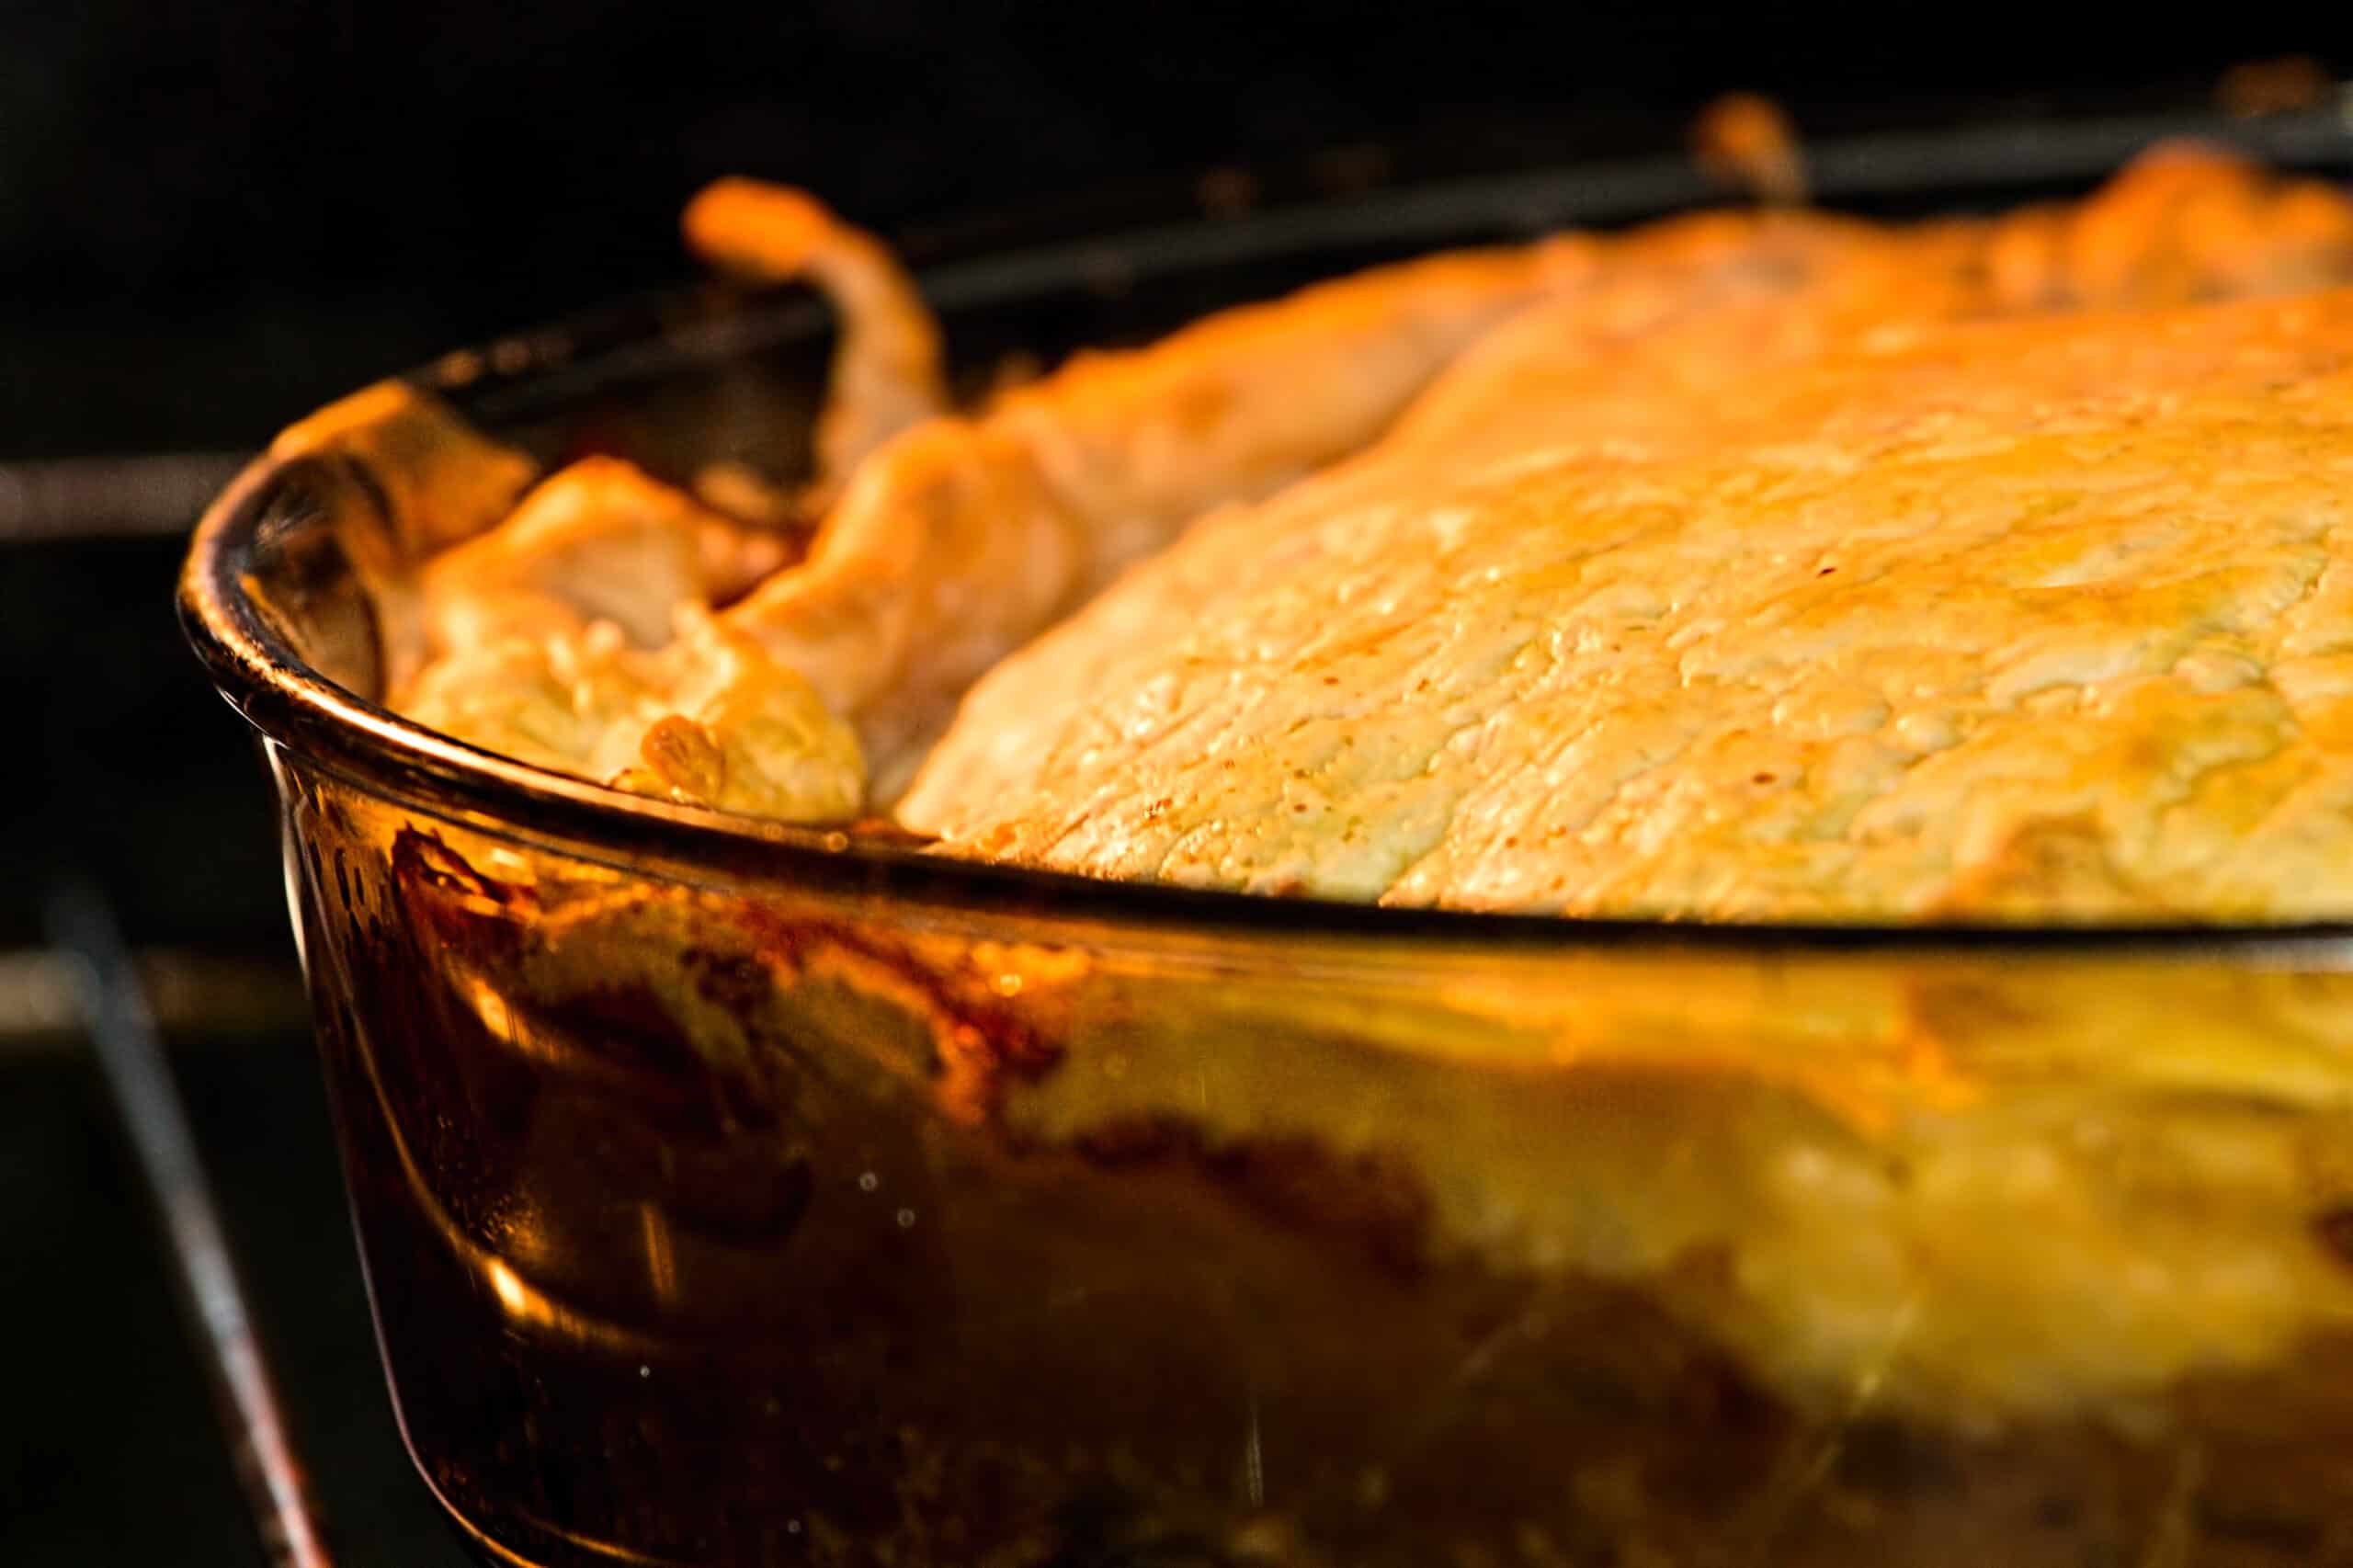
Homemade pie crust is so much better than store-bought because it's fresh
©Stephanie Frey/Shutterstock.com
Of course, there are many different ways to make a pie crust. Some bakers use lard, while others use shortening, but we tend to think butter is best. It gives the crust a tender flavor and a terrific flaky texture.
Blind baking is a method many bakers use. It involves partially baking the crust before adding the filling. This helps keep the crust crunchy.
After the crust is filled, you return it to the oven so it can finish baking. This is particularly useful for pies that tend to be soggy, like pumpkin, pecan, and custard pies.
Blind baking can be done 24 hours before the pie is filled. After the partial baking is complete, you can cover the crust loosely with a dish towel and store it at room temperature.
If you are making a top crust for your pie, you will want to start with twice as many ingredients. When it's time to chill the dough, you can divide it in half, shape it into two disks, and put it in the fridge. It will also keep for up to 3 months in the freezer.
Not every pie has a top crust but those will fruit filling almost always do.
There are several types of top crusts you can choose from. These include a lattice top, whole top, cut out top, and crumble top. Just fill the pie and choose the crust you want to top it.
Then you should be ready to bake it in the oven.
Here are a few additional tips to ensure success:
- 4-serving meals starting at $3.77 per serving (up to 25% cheaper than HelloFresh).
- Incredible variety with 10+ weekly meal options, delivered directly to you.
- Easy to prepare meals ready in 30-minutes or less.
- When mixing your dough, use ice cold water. This will keep your butter from melting.
- Be careful not to overmix the dough. Overmixing will make the dough tough. Only mix as much as you need to in order to ensure that the dough will stay together.
- Bake your pie on a rimmed baking sheet. This will help contain any overflow. It will also make it easier to remove the pie from the oven.
- Whole fruit pies can be frozen before they are baked. It is best to bake pies without thawing them, as this will make the crust lose its flakiness. Just be sure to add 15 minutes to the bake time to make sure it’s cooked through.
- If you are making a crimped crust that you want to look great and that you don’t want to shrink in the oven, freeze the unbaked pie dough before filling or baking. The colder dough will hold its shape better in the oven.
- After a pie is baked, it can be stored at room temperature for up to 24 hours. After that it will begin to become soggy.
We have provided two pie crust recipes here, one for a butter crust and one for a traditional shortening crust. There are easy to follow directions provided for each. Just choose the one you think would complement your pie best and get ready to bake!
Whatever you put inside the pie crust is going to taste even better since you made the crust too!
©Julie Vader/Shutterstock.com
Then, look forward to the joy on the faces of your family and guests when they bite into this delicious treat. And you can tell them, ‘Yes, it’s homemade. Even the crust!’
If you enjoyed this recipe, make sure to check out our Ritz Mock Apple Pie Recipe and our Pumpkin Chiffon Pie
If you need to pre-bake either crust, follow these directions:
1. After placing dough into pie pan, freeze until firm, about 15 minutes.
2. Preheat oven to 350 degrees F.
3. Cut a large circle of parchment; fit into the pie shell, extending above edges. Fill the shell with pie weights or dried beans.
4. Bake pie shell 15 minutes at 350 degrees F. Remove weights and parchment; bake 10 to 15 minutes more until golden brown. Cool completely on a wire rack.
Print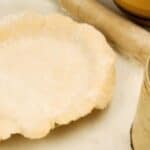
Flaky Butter Pie Crust Recipe (without shortening)

 (9 votes, average: 4.56 out of 5)
![]() Loading…
Loading…
- Total Time: 20 Minutes
Description
We have provided two pie crust recipes here, one for a butter crust and one for a traditional shortening crust.
Ingredients
- 2 1/2 cups all-purpose flour
- 1/2 teaspoon salt
- 1 cup cold unsalted butter, cut into small pieces
- 1/2 cup ice water (must be ice water to get a flaky, non-chewy crust)
Instructions
- Combine flour and salt in a large bowl. Cut in butter with a pastry blender until mixture is coarse crumbs. A pastry blender does the best job of combining the ingredients without overworking the dough.
- Sprinkle ice water, 1 Tablespoon at a time, evenly over flour mixture, tossing lightly with a fork until mixture forms an even ball of dough. Be sure to use a fork instead of your hands. You’ll avoid overworking/warming the dough.
- Wrap the dough in plastic wrap and refrigerate for a minimum of 4 hours or overnight. Cold dough is an absolute must.
- Once cold, remove the dough from the plastic wrap and divide in half. Place one ball (wrapped in plastic) back into the refrigerator until you’re ready to roll it out.
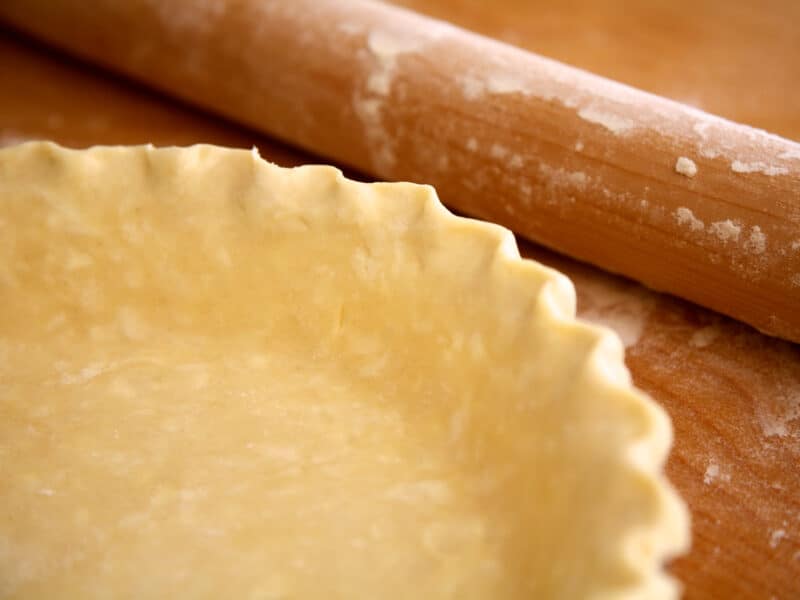
- Roll the one ball of dough on a lightly floured surface, rolling into a circle about 12 to 14 inches round.
- Carefully fold in quarters, lift gently and unfold into 9-inch pie pan.
- Gently press pastry against bottom and sides of pan. Trim overhang to 1/2 inch, then fold the edge under. Pinch edges to flute.
Notes
I used a pastry cloth and rolling pin cover after way too many stuck-on dough issues over the years. It’s around $6 at Amazon.
- 4-serving meals starting at $3.77 per serving (up to 25% cheaper than HelloFresh).
- Incredible variety with 10+ weekly meal options, delivered directly to you.
- Easy to prepare meals ready in 30-minutes or less.
- Prep Time: 20 Minutes
- Cook Time: N/A
- Category: Dessert
- Method: Baking
- Cuisine: American
Flaky Pie Crust
(5 votes, average: 4.80 out of 5)![]() Loading…
Loading…
- Total Time: 25 Minutes
Description
We have provided two pie crust recipes here, one for a butter crust and one for a traditional shortening crust.
Ingredients
- 1 1/4 cups all-purpose flour
- 1/4 teaspoon salt
- 1/2 cup solid vegetable shortening, cold
- 3 Tablespoons ice water
Instructions
- Combine flour and salt in medium bowl, cut in shortening with a pastry blender until mixture is crumbly.
- Sprinkle water, 1 Tablespoon at a time, over flour mixture, tossing lightly with a fork until mixture forms an even dough.
- Form dough into ball and refrigerate, wrapped in plastic, for 1 hour.
- Roll out pastry on a lightly floured surface into circle about 12 to 14 inches round.
- Carefully fold in quarters, lift gently and unfold into 9-inch pie pan.
- Gently press pastry against bottom and sides of pan. Trim overhang to 1/2 inch, then fold the edge under. Pinch edges to flute.
- Prep Time: 25 Mintues
- Cook Time: N/A
- Category: Dessert
- Method: Baking
- Cuisine: American
Other Food to Make at Home
Now that you've perfected making your own pie crust, why not try making some of these other foods at home? Homemade food is almost always superior to store bought; it's free from preservatives and unwanted additives, and it generally tastes better.
- Bread. Homemade bread is vastly superior to store bought bread. Baking it will fill your home with delicious smells. Who doesn't love tearing into a warm, fresh loaf of bread?
- Fries. Buying a bag of frozen fries is great and all, but making your own is even better. Buy the right amount of potatoes, peel them, and cut them into fries. Throw them in oil or in the air fryer. Double-fry if you want them to turn out extra crispy. Salt and season as you want, and you're done!
- Brownies. Store bought brownie mix is useful when you're low on time, but making your own brownies is sure to delight you and your family even more. By making your own brownies, you're in complete control of the taste, texture, and flavor.
- Chicken noodle soup. Canned chicken noodle soup is often heavily salted to preserve it. If you're trying to watch your sodium, or if you just don't like the taste of soups that are high in salt, try making your own chicken noodle soup. It can be done in a soup pot or the crockpot; you're sure to be left with a delicious dinner. Make a large batch and freeze what you don't eat.
- Tortillas. If you and your family enjoy taco night, why not introduce your own homemade tortillas? Making your own tortillas is generally cheaper than buying them from the store, and they taste a lot better. It's not a complicated process, so don't be scared to try it. You'll never want to go back.
- Hot chocolate. Is it the holiday season, or an especially cold day outside? Why not try making your own hot chocolate? Homemade hot chocolate is rich, creamy, and so delicious. This is a great treat to make for you and your kids.
- Marshmallows. Speaking of hot chocolate, why not try making your own marshmallows at home? It's not as hard as you might think, and it will give you the chance to make marshmallows of different flavors. Try doing this with your kids for fun memories.
- Pretzels. This is a fantastic appetizer or party snack. Making your own pretzels is as easy as making your own bread! You can make them whatever shape or size you'd like. Make some beer cheese or other dip to go along with them.
The image featured at the top of this post is ©CC0 Public Domain / Pxhere – License / Original