Did you know that you can make perfectly serviceable Montessori toys at home? It’s true! Many Montessori toys can be easily made at home using everyday materials such as cardboard, paper, and string. Keep reading to learn how you can make these 10 different DIY Montessori toys at home!
Key Points
- You can make the famous pink tower at home! The color of the tower is actually important according to Montessori theory; Maria Montessori noted that children gravitated toward the color pink the most during her studies.
- Sensory bins are easy to make. You can throw anything you have around the house into a few bins and allow your child to investigate the differences in texture!
- DIY Playdough is a fun project that you and your child can do together.
What are Montessori Toys?
Montessori toys are designed to help children learn and develop important skills such as dexterity, concentration, and problem-solving. However, many of these toys can be quite expensive. But guess what? It’s not necessary to spend a lot of money on them. Many Montessori toys can be easily made at home using everyday materials such as cardboard, paper, and string. For example, a simple puzzle can be made by cutting out different shapes from cardboard. A bead-stringing activity can be created by threading beads onto a piece of string. Not only will making your own Montessori toys save you money, but it can also be a fun and engaging activity for both you and your child. The DIY process of creating the materials can be a great opportunity for parent-child bonding and learning. Herewith are 10 examples of Montessori-inspired toys that can be made at home.
Sensory Bottles
Fill clear plastic bottles with different fluids such as water, oil, and food coloring. This creates a visually stimulating toy that encourages exploration and experimentation. When possible repurpose empty bottles. Spice bottles are a good choice. They are the perfect size for little hands. Be certain that lids are tightened securely to circumvent accidents.
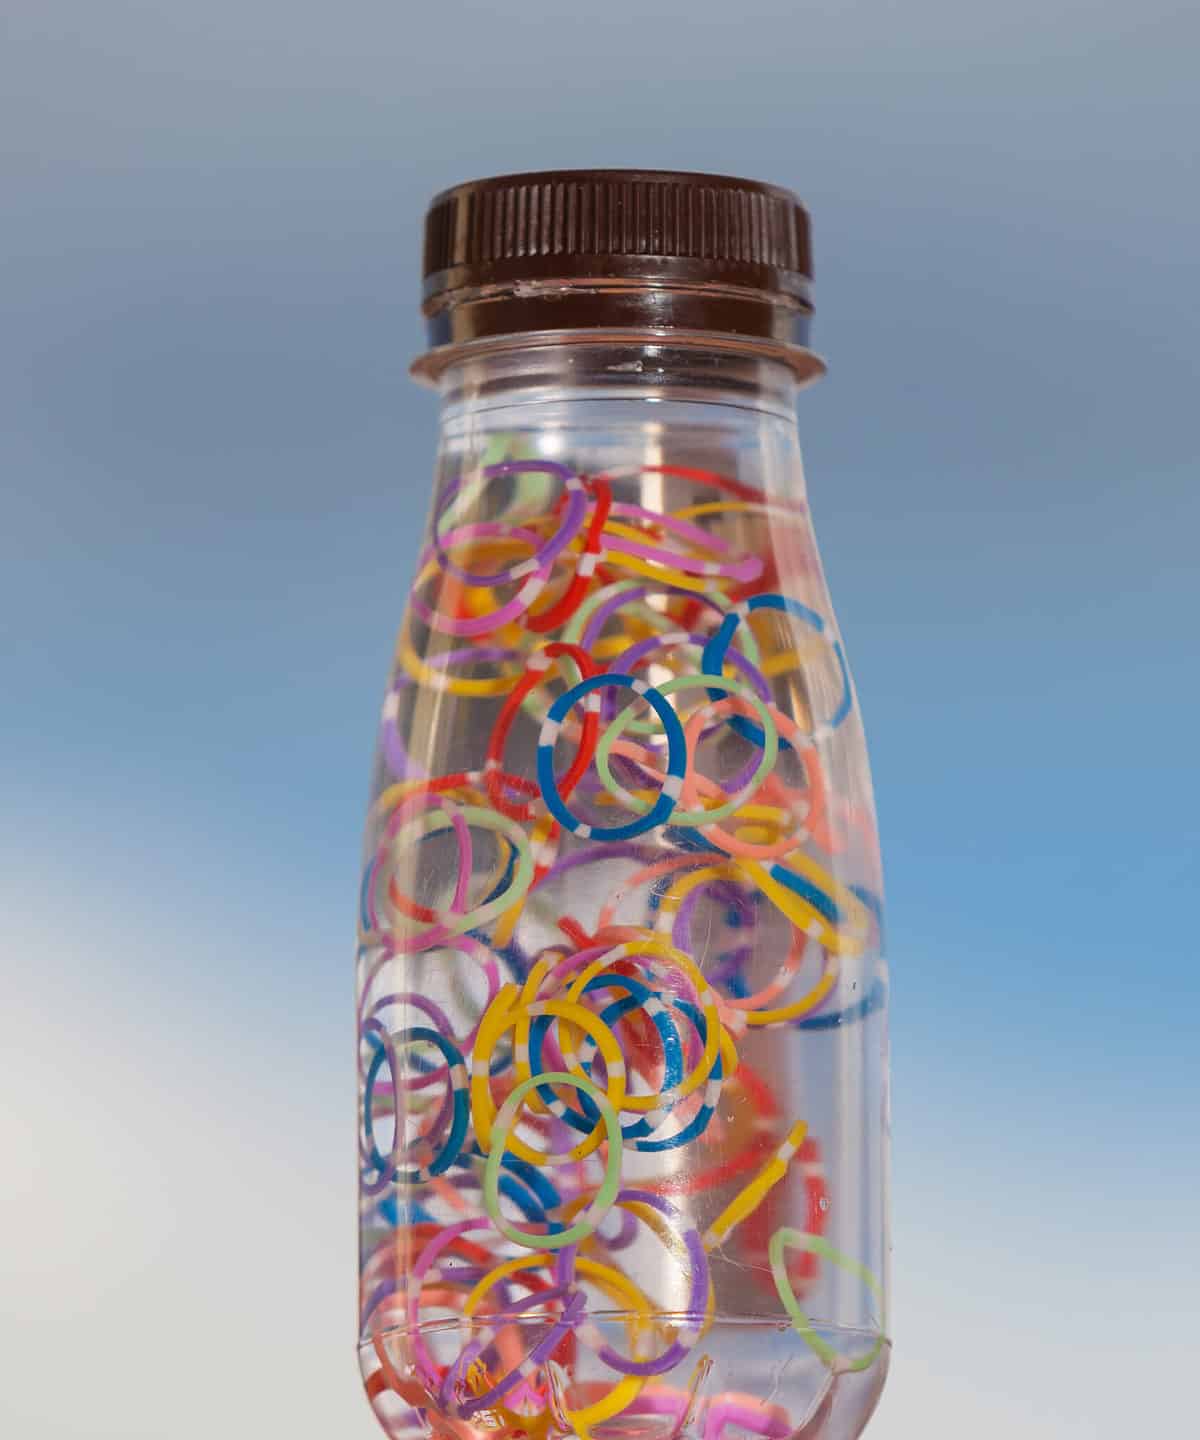
sensory bottles are visually stimulating toys that encourage exploration and experimentation.
©Albert Aumatell/Shutterstock.com
Wooden Beads
String beads of different sizes and colors onto a piece of string or wire. Create a stair-like shape that can be used for counting, sorting, and pattern recognition. Craft stores carry a variety of wooden beads. A package with graduated sizes allows for all sorts of activities. From yarn to leather, options are available for your stringing pleasure. Threading beads of different sizes and shapes onto a piece of string or yarn encourages fine motor skills and hand-eye coordination.
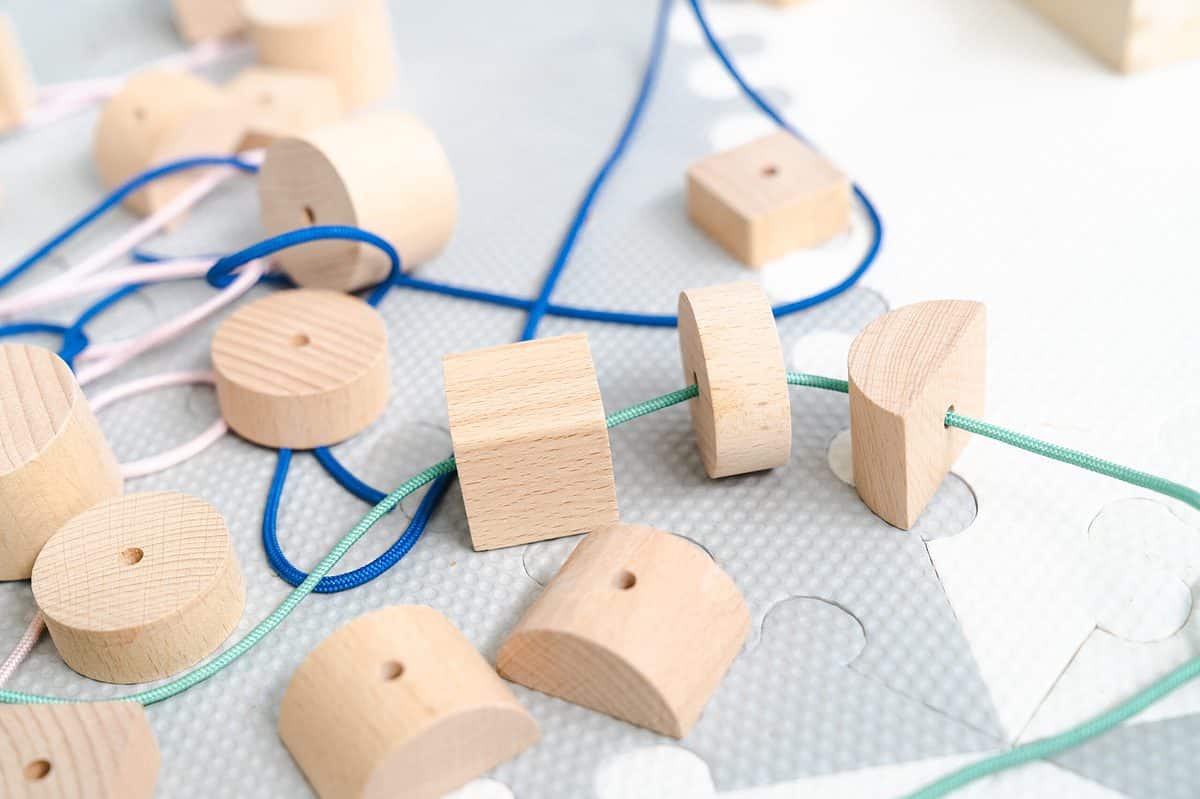
Threading beads of different sizes and shapes onto a piece of string or yarn encourages fine motor skills and hand-eye coordination.
©SylwiaMoz/Shutterstock.com
Wooden Blocks
Cut wooden blocks of different sizes and shapes to create a building set that can be used for stacking, building, and problem-solving. It is even possible to create your own pink tower at home. The pink tower is a, if not the iconic Montessori toy. The tower consists of 10 graduated wooden cubes. The largest cube is 10 cubic cm ( 3.93 cubic inches) and the smallest of which is 1 cubic cm (.39 cubic inches). All of the cubes are painted pink because Maria Montessori observed that most children gravitated towards the color pink. They are all painted the same color so that children will not rely on color cues for the placement of the blocks.
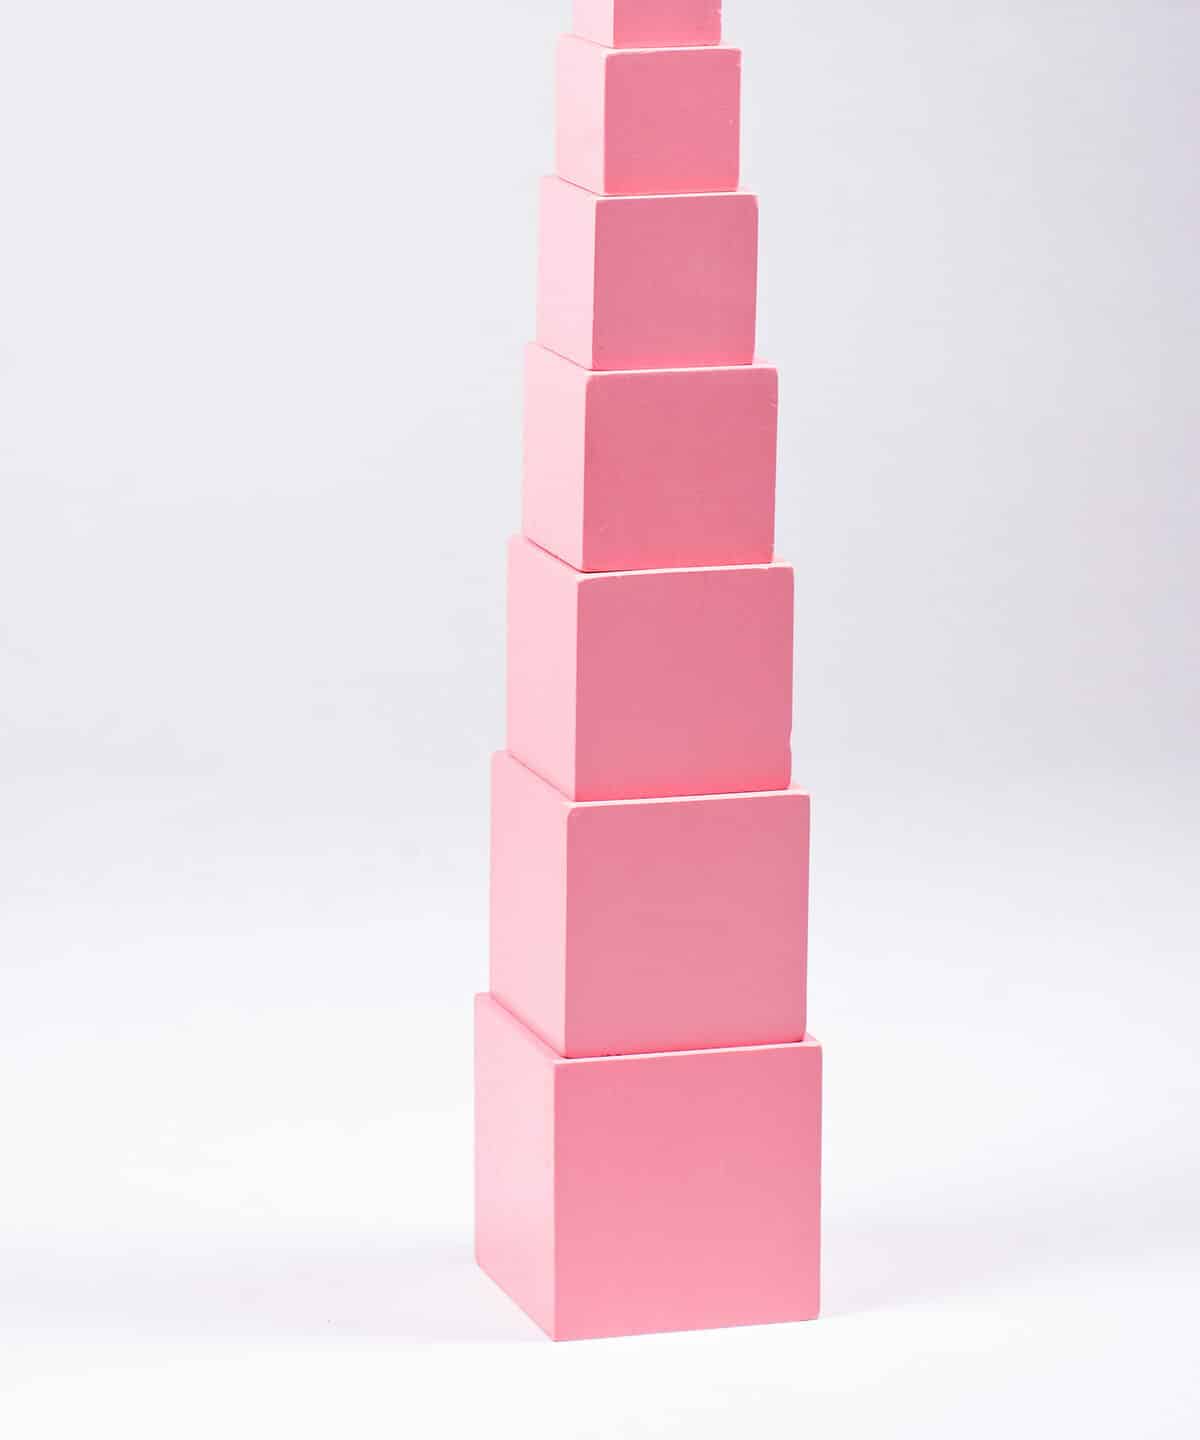
It is even possible to create your own
pink tower at home.
©Svetlana Shapiro/Shutterstock.com
Wooden Boards
Create a pegboard with holes of different sizes and shapes and provide wooden pegs or other small objects that can be inserted into the holes. A piece of cardboard with holes punched in it becomes a lacing card. Take a field trip to the neighborhood hardware store and purchase a chain lock, a surface bolt lock, a hook and eye bolt, and a hasp that is secured by a pin. Attach them to a 12”x 12” piece of 1/2 inch plywood. This busy board will keep your child occupied, teaching them practical life skills and honing fine motor skills.
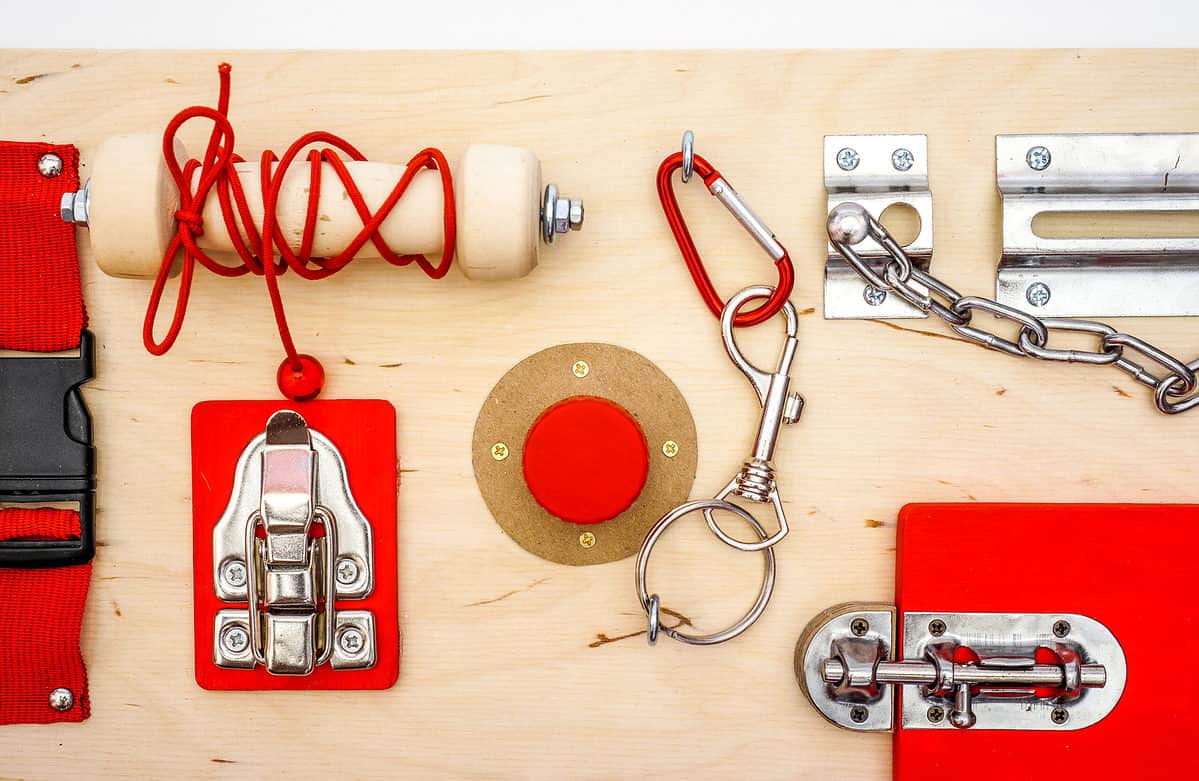
Take a field trip to the neighborhood hardware store to purchase materials to make a homemade busy board.
©SunnyToys/Shutterstock.com
Sandpaper Letters
Cut out letters from sandpaper and provide them to children for tracing, which can help with letter recognition and fine motor skills development. Learning with sandpaper letters is a tactile method of teaching children the alphabet. The letters are cut out of sandpaper and children can trace the letters with their fingers, feeling the ridges and grooves of the letter. This helps to reinforce the shape and formation of the letter in their mind. Additionally, the tactile sensation of tracing the letters can be beneficial for children with sensory processing disorder. Sandpaper letters can be used in conjunction with other teaching methods, such as flashcards or worksheets, to reinforce the child's understanding of the alphabet.
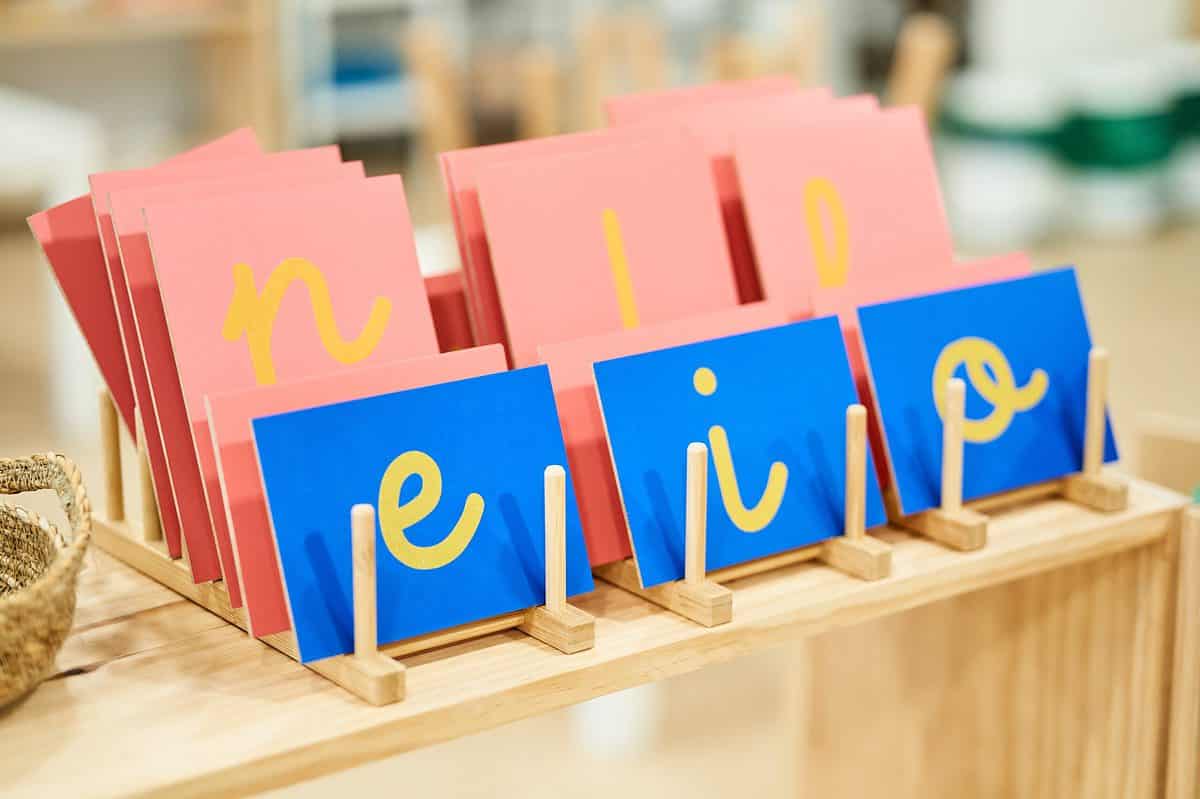
Learning with sandpaper letters is a tactile method of teaching children the alphabet.
©Abraham_stockero/Shutterstock.com
Sensory Bins
Fill a container with different textures and materials like rice, beans, or pasta that can be explored with hands or tools. Sensory bins help children develop their senses and explore the world around them. These bin encourage children can touch, feel, and manipulate their environment. The materials used in the bin are chosen to stimulate a specific sense, such as sight, touch, or sound. Sensory bins are used to develop a child's fine motor skills, hand-eye coordination, and concentration. They can also be used to introduce children to concepts such as measurement, sorting, and counting.
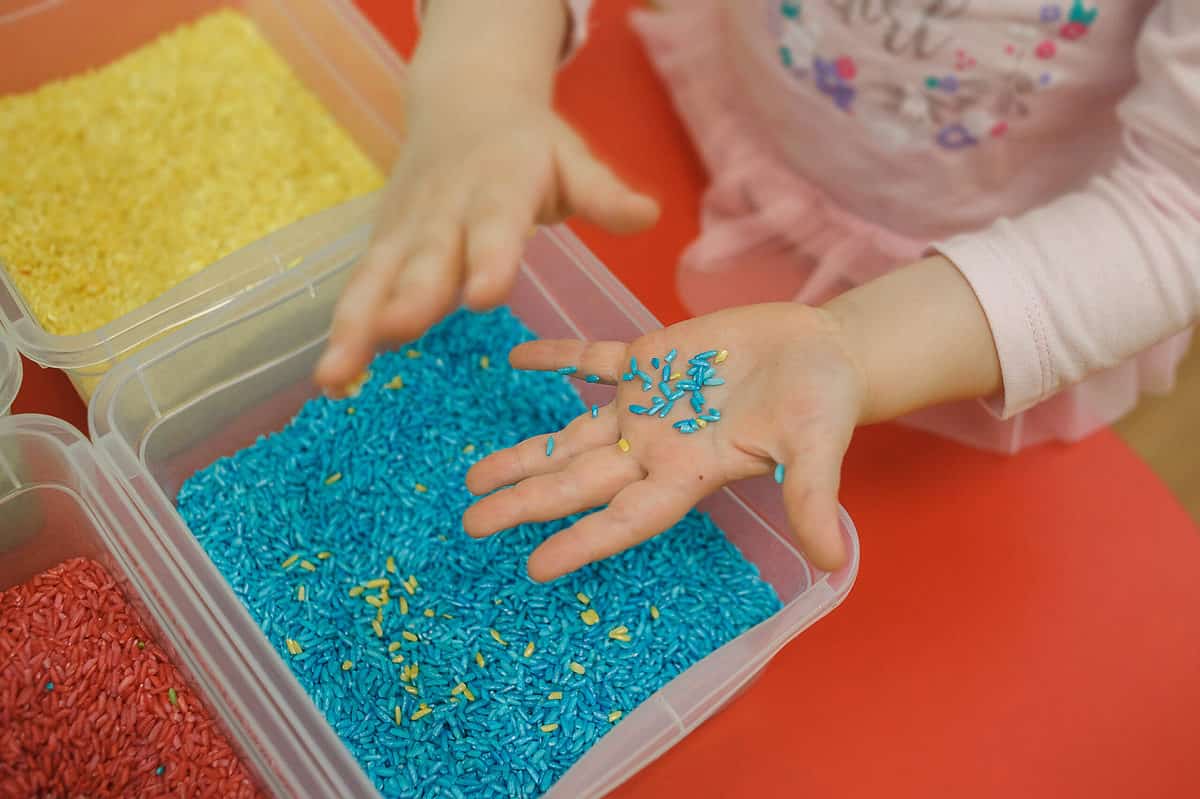
Sensory bins are used to develop a child's fine motor skills, hand-eye coordination, and concentration.
©Sergey Zaykov/Shutterstock.com
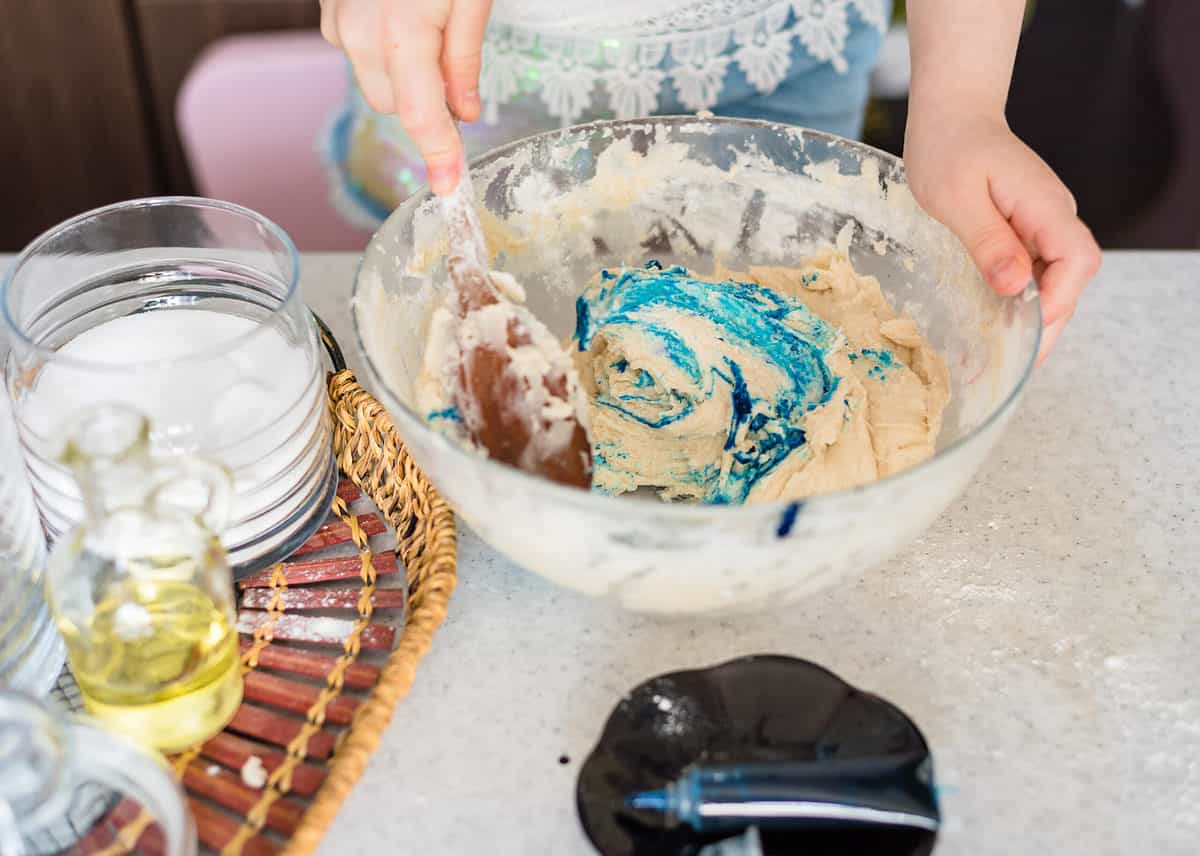
DIY Playdough
Make your own playdough using flour, water, and food coloring. Provide it with small tools like rolling pins, cookie cutters, and plastic knives to encourage creativity and fine motor skills development. Homemade playdough is easy to make and cheaper that the storebought variety. To make playdough at home you'll need:
- flour
- water
- salt
- cream of tartar
- food coloring (optional)
In a large pot, mix together 2 cups flour, 2 cups water, 1 cup salt, and 2 tablespoons of cream of tartar. Cook over medium heat, stirring constantly, until the mixture forms a smooth dough.
Remove the dough from the heat and let it cool slightly. Knead the dough until it is smooth and pliable. If desired, add food coloring to the dough and knead until the color is evenly distributed. Store the playdough in an airtight container when not in use to prevent drying out
.
©Ilina Yuliia/Shutterstock.com
Make a Terrarium
Build a small garden or terrarium for observing plants and insects. Children can learn a lot about nature through observing a terrarium.
To make a simple terrarium, you will need:
- a clear container with a lid or cover (such as a jar, vase, or fish tank)
- small rocks or pebbles
- activated charcoal (can be found at pet stores or garden centers)
- potting soil or moss
- small plants (such as succulents or air plants)
- decorative elements (such as miniatures or shells) (optional)
Begin by adding a layer of small rocks or pebbles to the bottom of your container. This will serve as drainage for your terrarium. Next, add a layer of activated charcoal on top of the rocks or pebbles. This will help to filter the air and remove any impurities. Then add a layer of potting soil or moss on top of the charcoal. Carefully remove your plants from their pots and loosen any tangled roots. Place the plants in the soil or moss and arrange them to your liking. If desired, add decorative elements on top of the soil or moss. Finally, place the lid or cover on top of the container. Your terrarium is now complete! Keep your terrarium in a place where it will receive indirect sunlight, and avoid over-watering
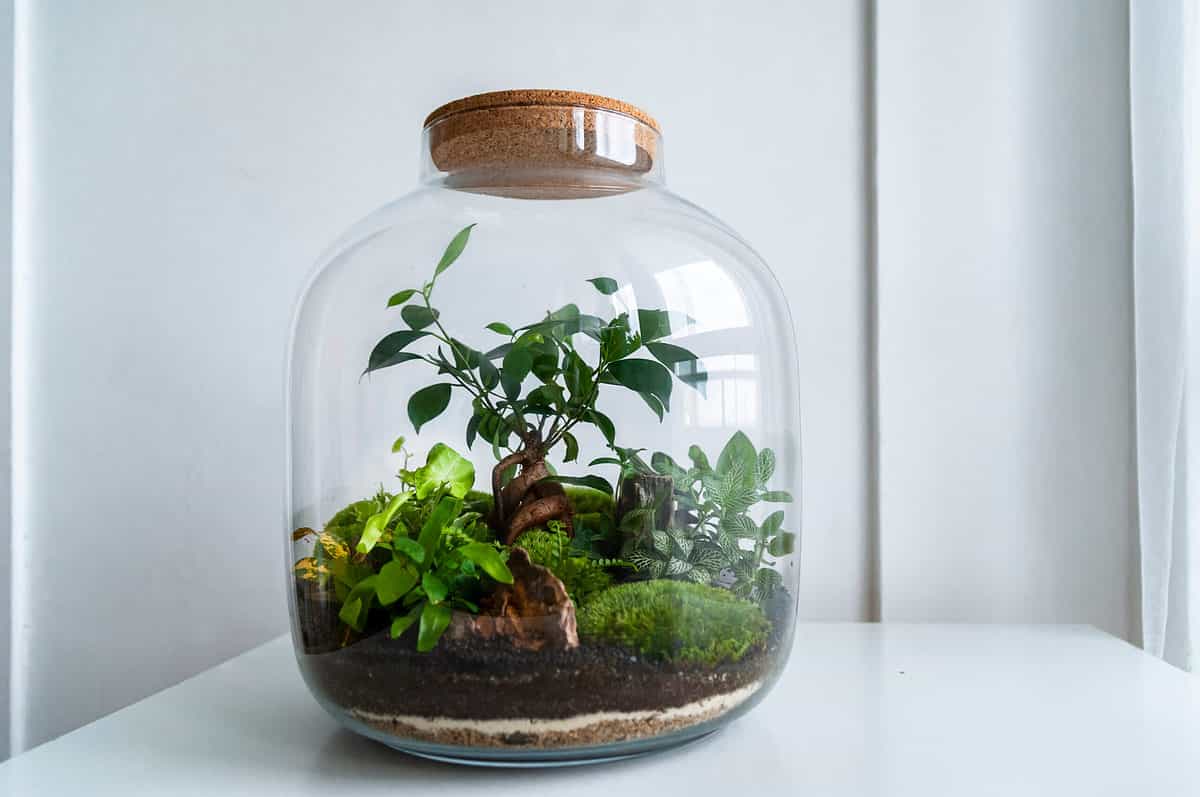
Children can learn a lot about nature through observing a terrarium.
©qnula/Shutterstock.com
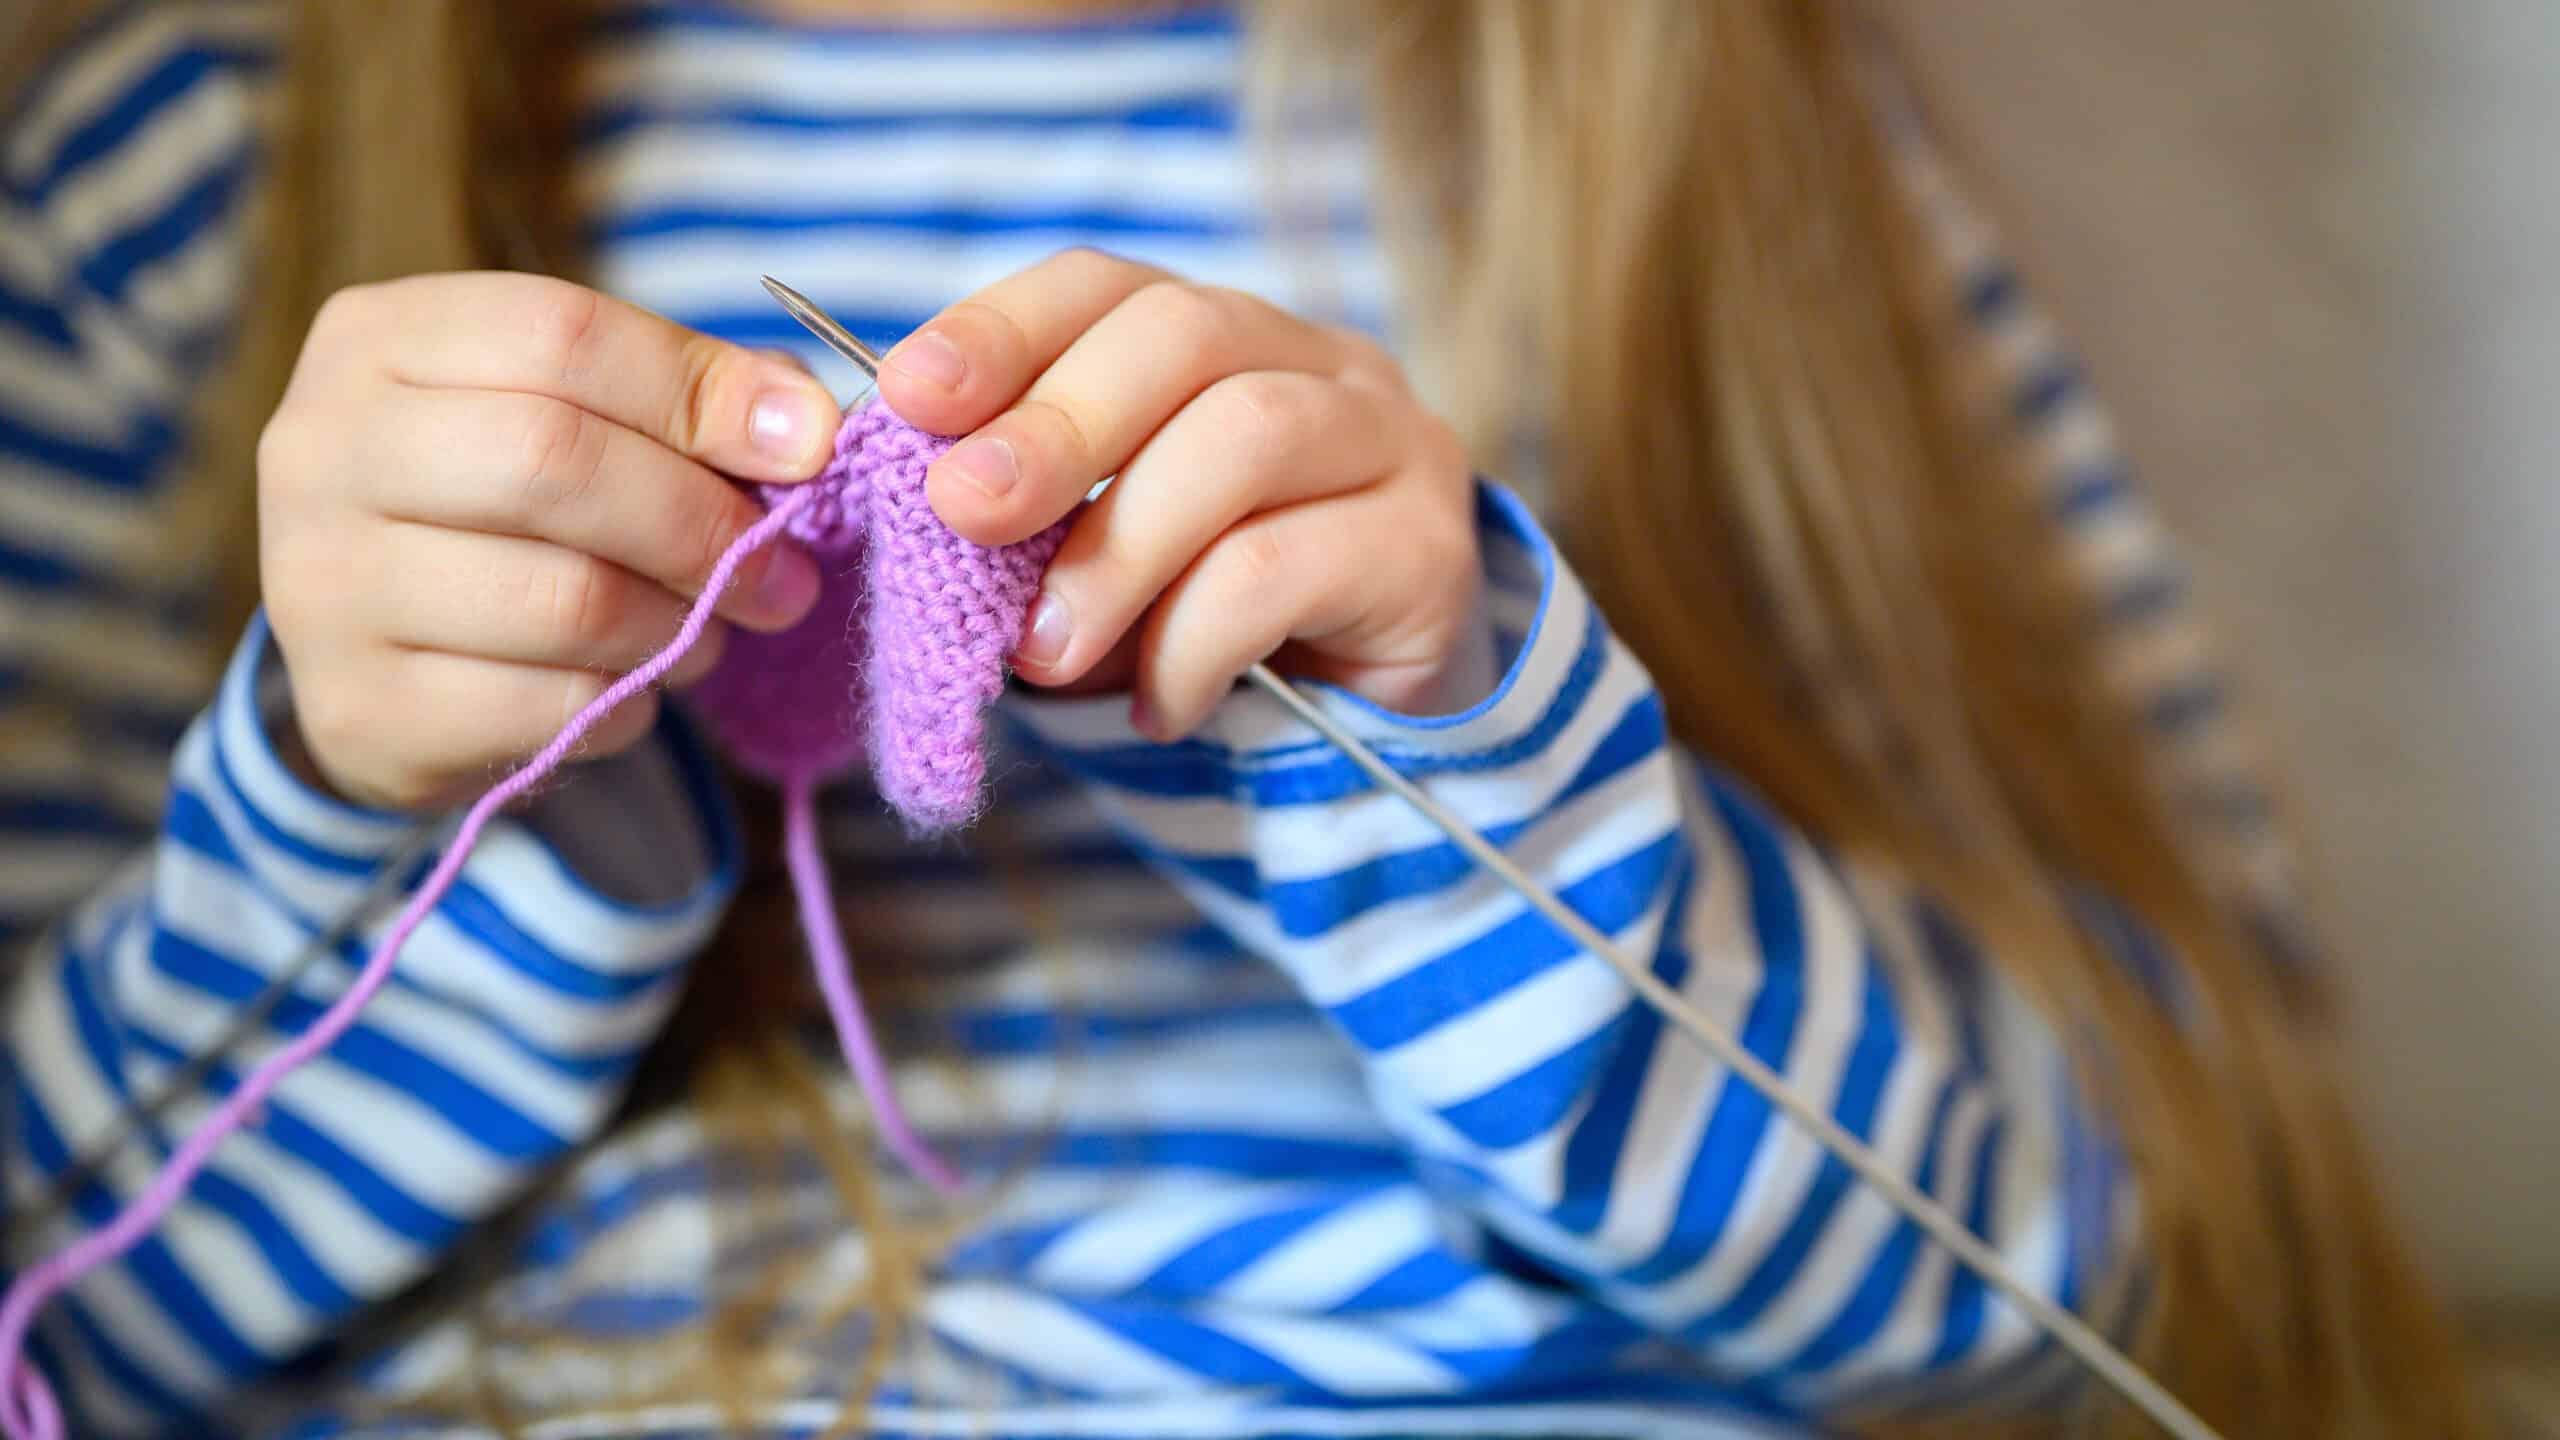
Sewing or Knitting Bag
A simple sewing or knitting project for developing fine motor skills. Even very young children can learn to knit and sew simple projects. imagine the feelings of accomplishment and pride to be had in knitting your own scarf! Knitting is a wonderful way to develop manual dexterity and hand-eye coordination.
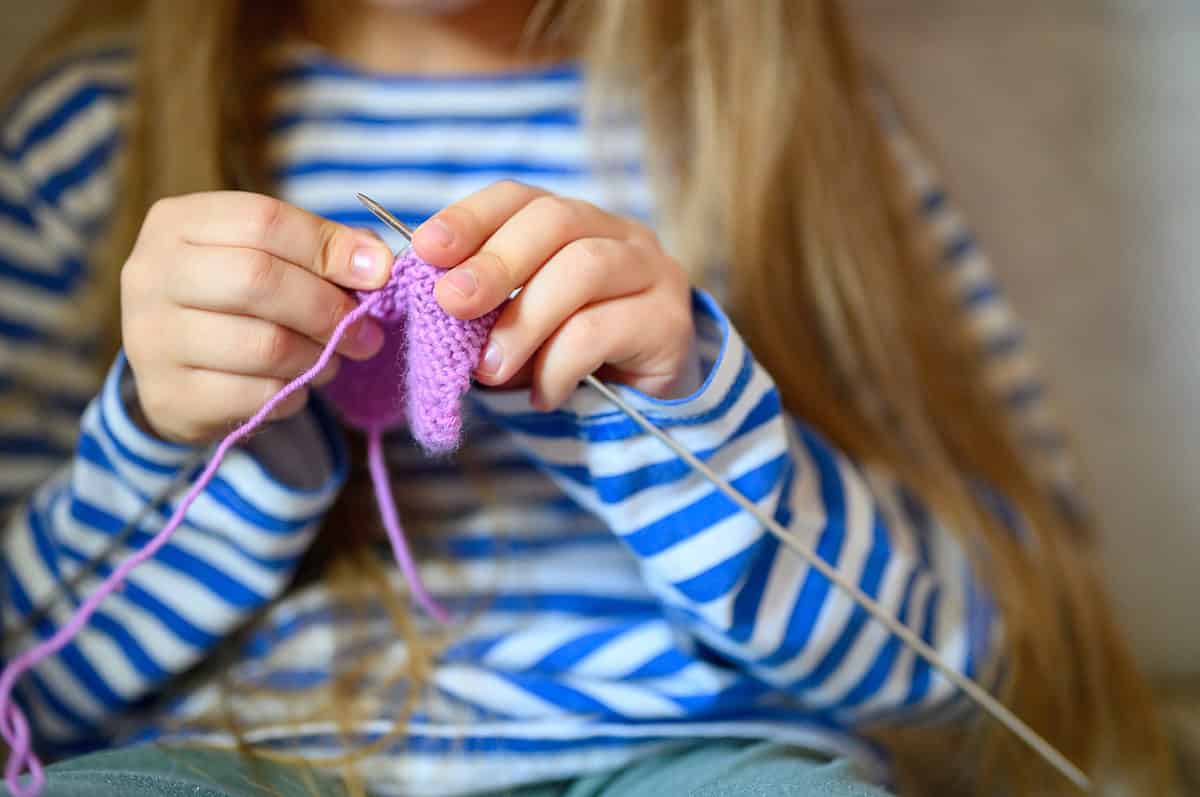
Knitting is a wonderful way to develop manual dexterity and hand-eye coordination.
©Ksenia Shestakova/Shutterstock.com
Construct a Fulcrum
Older children will enjoy creating a fulcrum. See-saws, scissors, hinges, and cranes are some real world examples of fulcrums. Fulcrums can be found in many different types of machines and tools. To make a simple fulcrum requires a sturdy object such as a brick or a rock as the pivot point. Place the pivot point on the ground, or in the case of a smaller fulcrum, on a tabletop. Taking a long, straight object such as a plank of wood or a popsicle stick, attach it a its midway point to the pivot point. Depending on th size of the fulcrum being constructed and the materials employed a nail or screw may be used to secure the lever. In smaller constructions, tape or glue may be used. The plank or stick serves as the lever. Try lifting or moving objects by applying force to the other end of the lever.
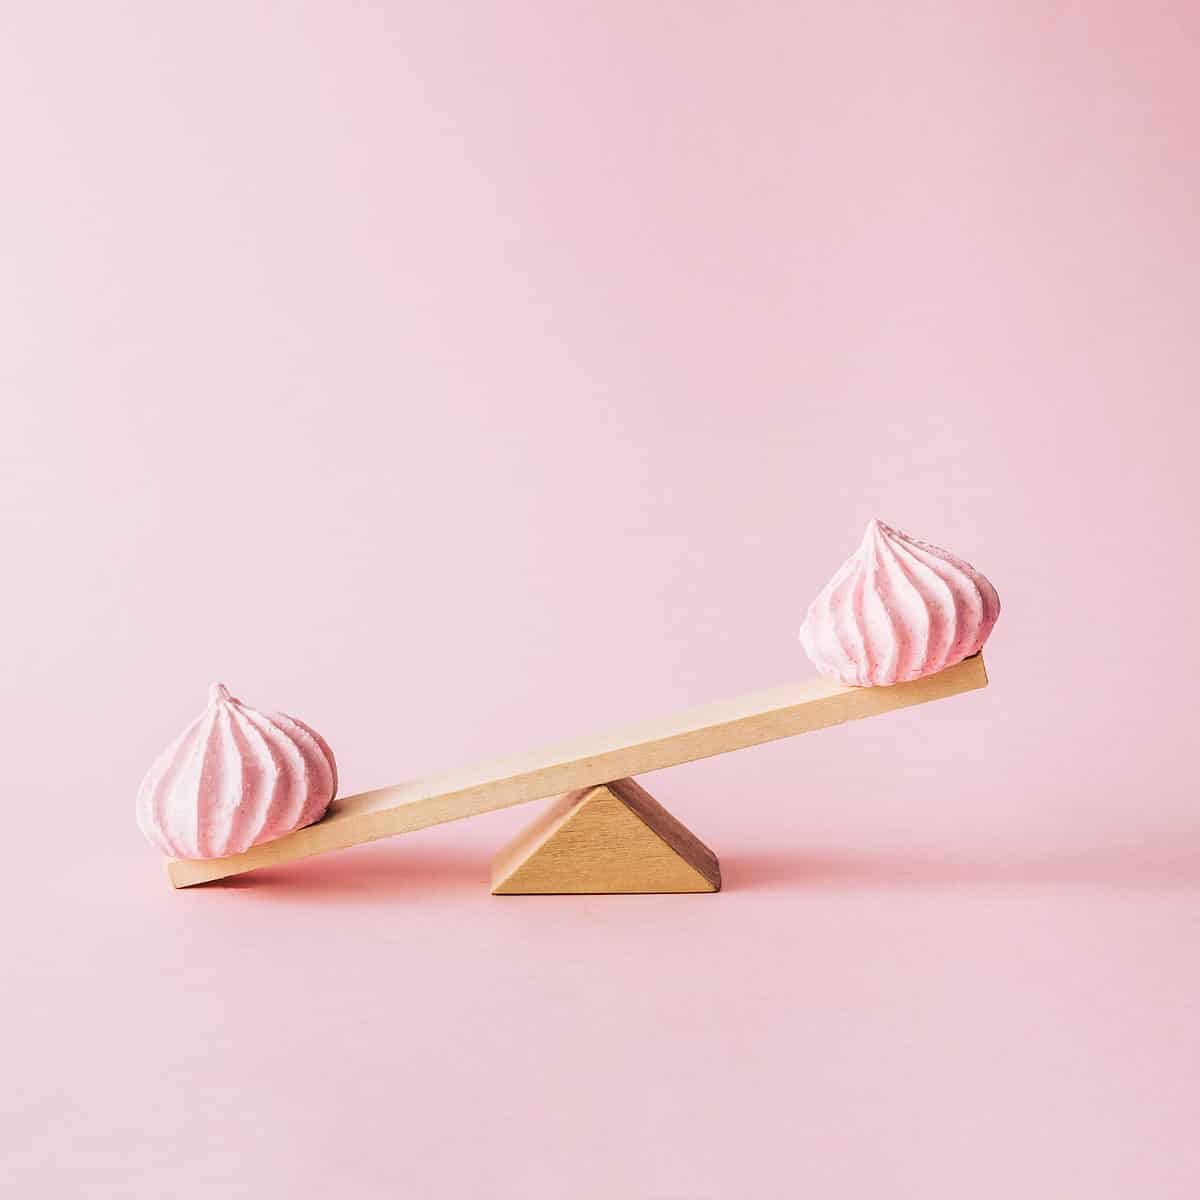
Older children will enjoy creating a fulcrum.
©Ana Marjanovic/Shutterstock.com
Making your own Montessori toys can be fun and rewarding, while saving money and creating lasting memories for you and your child.
Tips for Coming Up with Other Toy Ideas
- Wood is one of the most significant materials that you can use for your child's items when raising them in the Montessori style. Try to think of creative ways to incorporate wood into your child's toys!
- Sensory experiences are easy to achieve with what you have around the house. You can expose your children to these at a very young age.
- All of your toys don't have to be exclusively “Montessori”. If your child expresses interest in a toy that doesn't specifically align with Montessori practice, it's okay to consider allowing them to have it. Encouraging creativity and exploration is important, too!
The image featured at the top of this post is ©Ksenia Shestakova/Shutterstock.com