If your children aren't as fond of science as you'd like them to be, teach them how to make rock candy and you'll help them learn that science can be exciting, fun, and tasty. Just don't forget to make sure how the crystals form is a part of the lesson!
What child wouldn't be excited about the prospect of learning to how to make rock candy? The ingredients and equipment needed are simple and minimal, and you more than likely have them all in your house, ready to go, all you have to do is pull them out and get started.
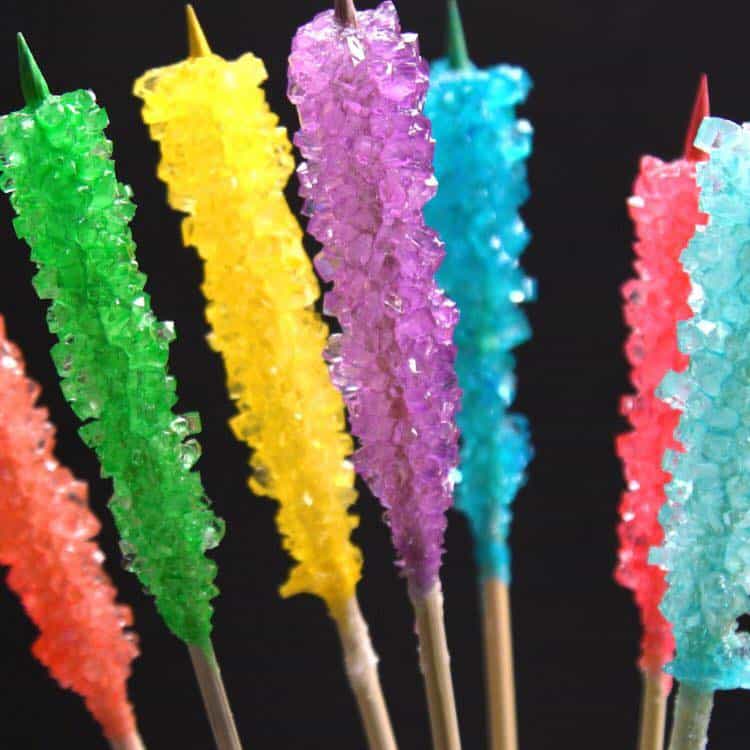
Rock candy is a favorite at fairs, carnivals, and the circus. Learning how to make rock candy is a perfect activity for a rainy day or a day when the kids claim there's nothing to do! The next time boredom strikes, herd them into the kitchen for a science lesson they can eat. You can make the rock candy plain or flavored, clear or colored, depending on your child's preference and whim that day.
Ingredients
- 1 cup of water
- 2 cups of granulated sugar
- Your favorite candy flavoring
- Food coloring of your choice
Materials Needed
- Measuring cup
- Measuring spoon
- Large saucepan
- Long wooden spoon
- A clean glass jar (tall and strong)
- Clean piece of cotton string
- Popsicle stick (alternatives include a pencil or a wooden skewer)
- Paper clip
Directions
Step 1: Tie the piece of string around the middle of the stick or pencil. The string should be a little shorter than the jar.
Step 2: Get the string damp with a little water and roll it in the sugar. Put the paper clip on the end of the string. Place the stick over the top of the glass jar. The string should be hanging down inside the jar, but shouldn't be touching the bottom.
Step 3: Cook the candy mixture by boiling the water. Then, stir in two cups of sugar and stir until the sugar is completely dissolved. Remove the pan from the heat and add your flavoring and color of choice. After, pour the hot mixture into the jar.
Step 4: Put the jar in an out-of-the-way spot where it won't be disturbed. The crystals will start growing on the string in a couple of hours. Let the crystals grow for 3-10 days. The longer they grow, the larger they'll be. Letting them grow longer will result in bigger crystals.
Step 5: Remove the string from the jar, and eat your candy! Store leftovers in an airtight container.
Learning how to make rock candy is a great project for an elementary school science fair. Your child can take pictures of the rock candy ingredients before you start cooking, then photograph the jar each day, and note the changes in the crystal growth. Make the final picture of the child eating the candy with family or friends.
If they'd like to make it a little more advanced, they can experiment with different colors and flavors, and see if the different combinations result in slower or faster crystal growth, or if it has no impact at all. Mount all the pictures on poster board, with written descriptions below each, and offer samples of the finished product if the school will permit food at the fair.