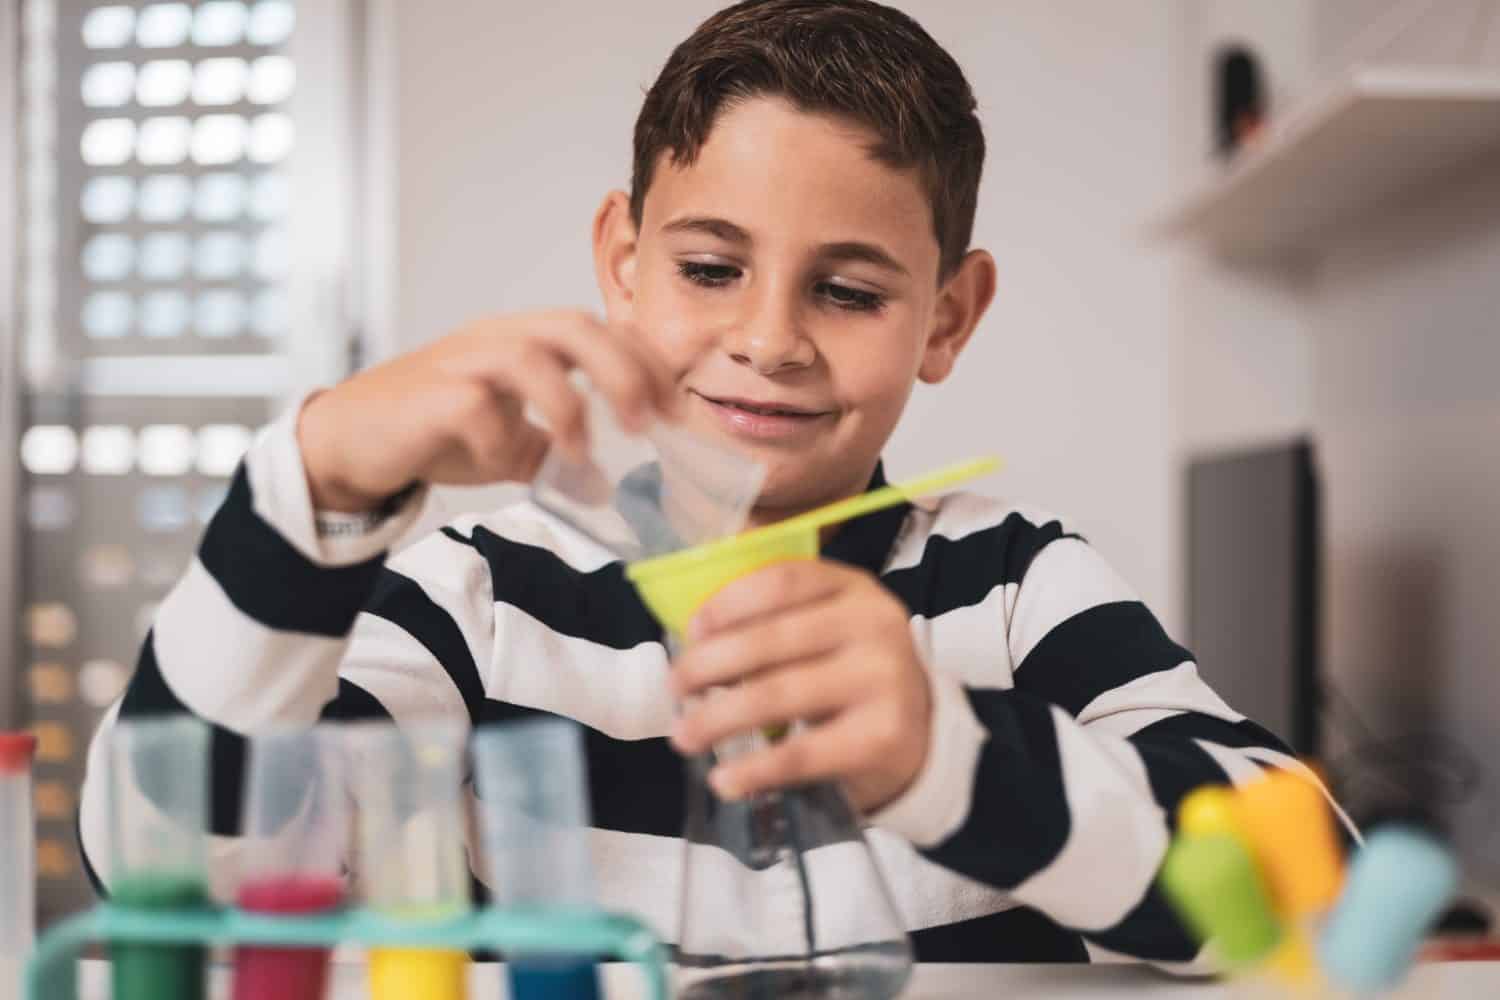
Summer vacation is a time for fun and play, but can also be a time for learning. Parents have the added benefit of teaching their children outside a classroom environment, taking the pressure off kids to focus on academics. At-home science experiments are an excellent way to get kids engaged and involved, without the obligation of reports or homework. Instead, they can sit back, watch, and learn (while also getting less summer screentime)!
When it comes to experiments that scream summertime, these are some of our favorites — and we're sure your kids will love them, too.
DIY Solar-Powered Oven
Melting chocolate in the microwave is easy, but melting it in a solar-powered oven is even more fun. This experiment is easy enough, and all you need is:
- A pizza box (save one from pizza night!)
- Aluminum foil
- A large piece of black construction paper
- Scotch or packing tape
- Plastic wrap
- A plastic ruler
- Scissors
- Wooden skewer
- Hot glue

©FotoDuets/Shutterstock.com
To start this easy project, cut a window out of the pizza box lid. An adult should do this because it's the trickiest part of the project. Don't throw out this piece — you'll need it later on! Then, cover the opening with plastic wrap by either gluing or taping the sides to the box opening.
Once your window is done, glue or tape black construction paper to the bottom of the box. Now, the lid should look like a window, and the bottom should be completely blacked out.
Here's the fun part: You can put whatever food you want inside the pizza box. Little Bins for Little Hands suggests s'mores, but anything meltable or reheatable will work. When you've placed your food for heating inside the box and closed the lid, grab the cardboard insert you've cut from the pizza box lid.
Wrap the entire thing in aluminum and prop it up over the top of the box with a skewer, then place it in direct sunlight. In just a couple of hours, it'll generate enough heat from the sun to warm up whatever is in the box.
How It Works
This project is an excellent experiment for learning about the sun's renewable energy. The heat from the sun reflects off the aluminum, which then bounces directly onto the food waiting to be warmed below. The plastic wrap helps insulate the pizza box, keeping the heat trapped. It's a great example of how intense the sun's rays are and how beneficial they can be when focused correctly.
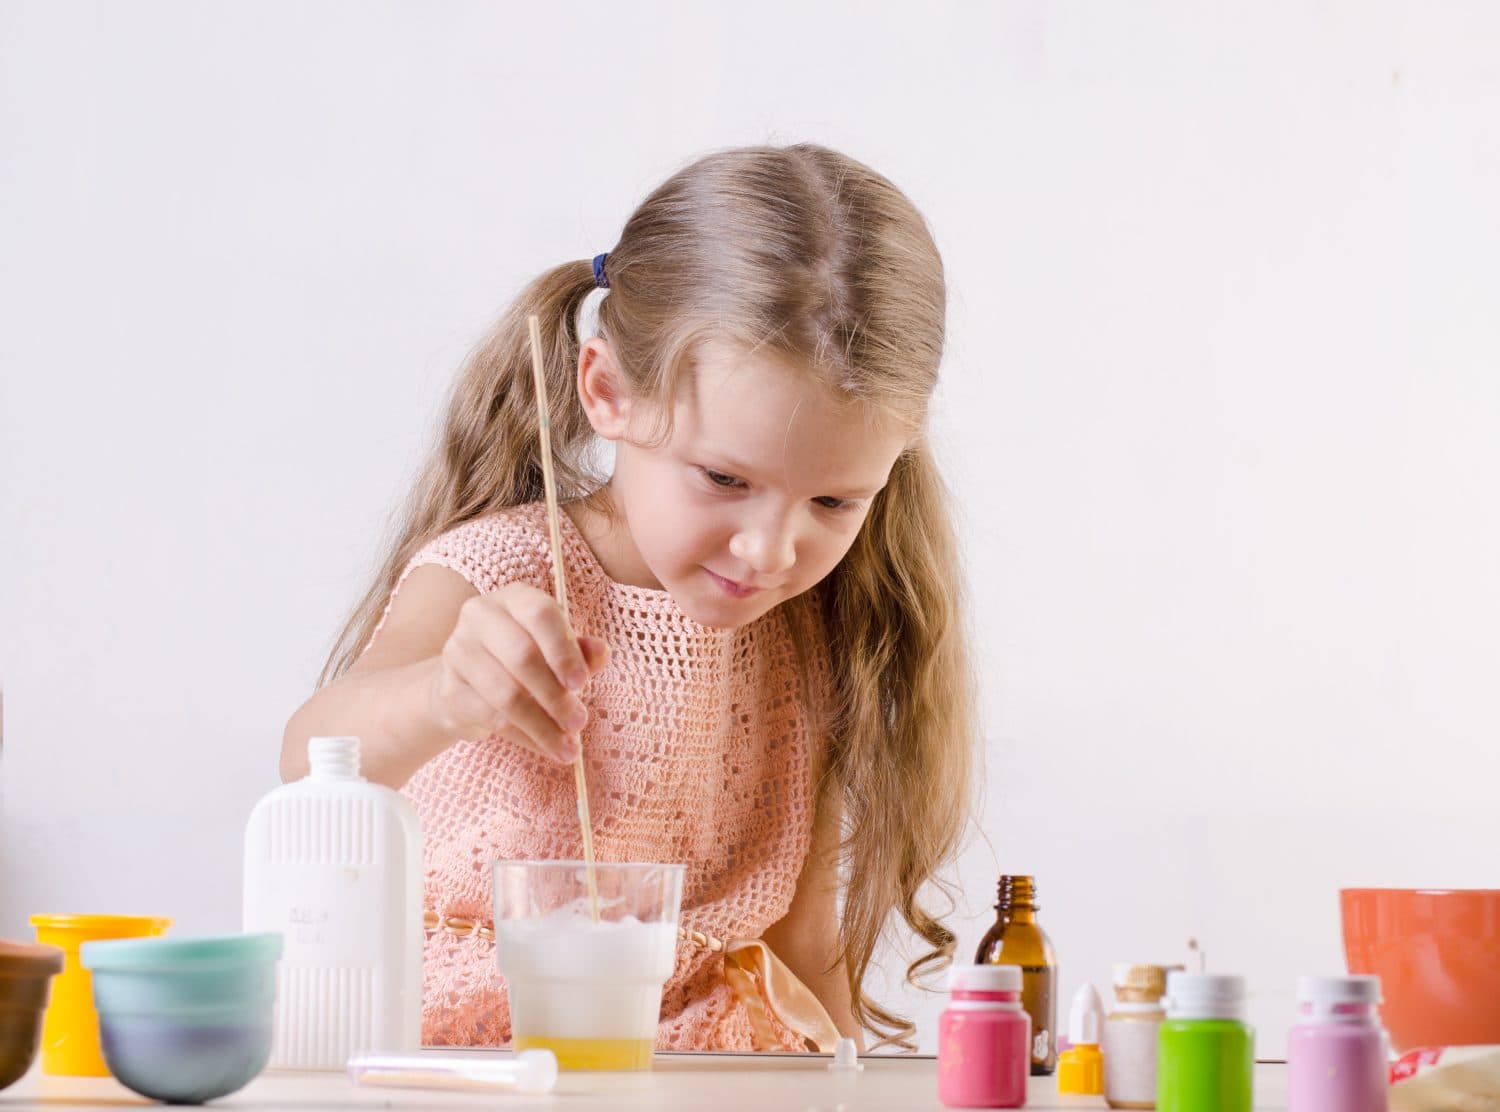
Strawberry DNA Extraction
This super cool experiment is perfect for teens. However, it can be a little messy, so younger children will also have fun helping out. Extracting visible DNA from strawberries is possible, and here's what you'll need to do it:
- At least three large strawberries
- Rubbing alcohol (chilled, in the freezer)
- Water
- Salt
- Dishwashing liquid
- Sandwich bag
- Measuring cups
- Measuring spoons
- Funnel
- Small bowl
- Tall glass
- Small glass
- Cheesecloth
- Wooden skewer or toothpick
While the rubbing alcohol chills in the freezer, start by measuring out 1/3 cup of water, 1/2 teaspoon of salt, and one tablespoon of dishwashing liquid. Mix this in a small bowl and set it aside. Next, line your funnel with cheesecloth, making sure no liquid can escape as it's being poured. Place this into a tall drinking glass and put it aside.

©Kitt Peacock/Shutterstock.com
Next is everyone's favorite part: strawberry mashing! Remove the green tops from the strawberries and place them inside the sandwich bag. Let your kids mash them up as much as possible — it should resemble liquid jam by the time they're done. When this is done, add three tablespoons of the dishwashing liquid mixture you set aside. Close the bag and mash all the ingredients together.
When the ingredients are thoroughly combined, pour the mixture through the cheesecloth into the glass. Be sure to let this drip for a while so nothing is left behind!
Now, you can pour the mixture from the tall glass into your small jar. Be sure to remove any froth or foam on the top; the jar should be roughly one-quarter full. Then, add a half-cup or double the amount of chilled rubbing alcohol to the jar, pouring slowly down the side of the jar.
You'll know this is done correctly if the rubbing alcohol sits on top of the mashed strawberry without the two mixing. After a few minutes, you should see bits of white stringy material floating on top. This is the strawberry DNA! Using the skewer or toothpick, you can pull this out to examine it.
How It Works
The combination of salt and dishwashing liquid helps to break open the cells of the strawberry. Once this happens, its DNA leaks into the mixture, which can then be extracted. Salt helps separate the DNA, causing it to rise to the surface, while chilled rubbing alcohol causes the DNA strands to clump together. If you need a little help, here's a great step-by-step video for this experiment.
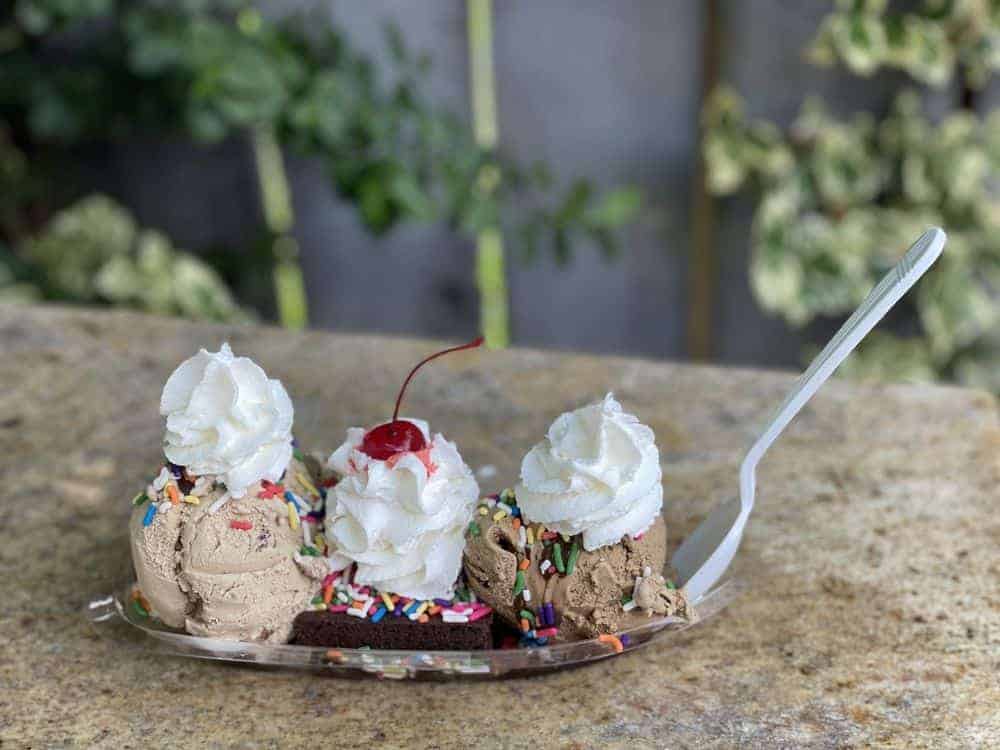
Instant Ice Cream
There's nothing better than a chemistry project that doubles as a tasty treat. Making instant ice cream is easy to do at home. Salt and ice are responsible for this sweet chemical reaction, and this is all you need to make a science-worthy dessert:
- Ice
- 1 gallon-size ziplock
- 1 quart-size ziplock
- Gloves and/or a towel
- 1/3 cup Kosher salt
- 1/2 cup half-and-half
- 1/4 teaspoon vanilla extract
- 1 tablespoon sugar
©Courtesy of Neal K. via Yelp
This experiment couldn't be easier, and it has a tasty payoff. First, fill the gallon-size ziplock with roughly three cups of ice and salt, then set it aside. In a quart-size bag, mix the half-and-half, vanilla extract, and sugar. Ensure both bags are securely closed, and then place the smaller bag inside the larger one, with the ice and salt mix.
Using gloves or a towel, shake the bag for up to ten minutes. When you open the bag again, the liquid cream mixture will have solidified.
How It Works
This experiment proves you don't need an expensive ice cream maker to make everyone's favorite dessert. Salt lowers the freezing temperature of ice, creating an extra-cold “freezer” like environment for the cream mixture. This causes the half-and-half to firm up more quickly than it would if it were simply sitting in the freezer. The constant motion from shaking naturally incorporates air, creating a whipped texture. To make this even more fun, you can add sprinkles, whipped cream, hot fudge, or candy pieces to create ice cream sundaes.
Grow Geode Crystals
Many of us are familiar with borax crystals. This age-old experiment gets a little facelift with some food coloring and unique objects to crystallize. To make your own “geode” crystals, this is all you'll need:
- Hot water
- Borax powder
- Measuring cups
- Measuring spoons
- A mason jar or glass container
- Small items (seashells, rocks, etc.)
©Anna Aybetova/Shutterstock.com
To begin this experiment, ensure that you boil your water. This helps dissolve the borax so the solution is evenly mixed. For each cup of hot water, you can add 3-4 tablespoons of borax powder. In your glass container or mason jar, you can put whatever items your child wishes to cover with crystals.
Little Bins for Little Hands suggests using seashells, but you can also use rocks, pipe cleaners, or even fake flowers. To create a “geode” effect, fill multiple containers with the mixture and add food coloring for bursts of color. You can even double-dip an item if you want to give it an ombre or multi-colored appearance!
How It Works
As the borax and water mixture cools, the borax powder solidifies. When these powder particles settle, they form crystals, which mimic those you might find in a cave or geode. This experiment is a classic, and there are numerous ways to customize it to suit your child's interests.
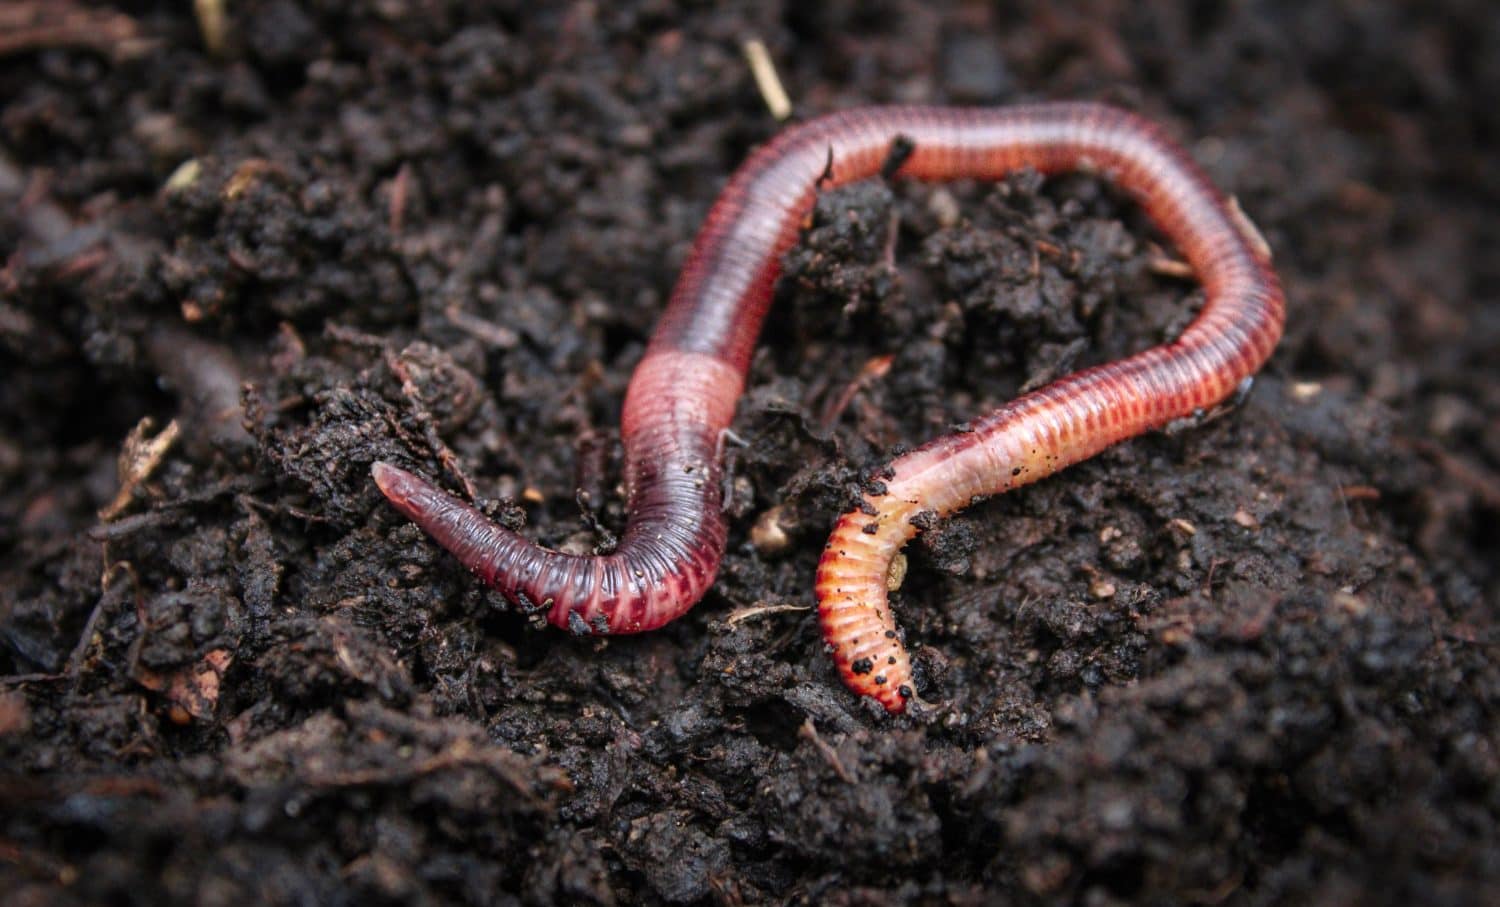
Build A Worm World
Not all experiments require a chemical reaction to be interesting. Building a worm terrarium is easy, fun, and your kids can observe it throughout the entire summer. It's an experiment in biology, with observation and visual learning as the primary purpose. To build this terrarium, all you need is:
- A clear two-liter bottle (or a small tank, if you have one)
- Scissors
- Sand, dirt, gardening soil, and/or compost
- Water
- Leaves
- Construction paper
- 4-5 worms
©VaskePro/Shutterstock.com
First, you need to build the terrarium for your child's worms. Start by moistening the soil you've collected (try to have several different mediums) and set them aside. Then, cut the opening of the two-liter bottle off with scissors, and begin filling it with the soil. Alternate between soil types to create visible, even layers. Once this is done, it's time for the fun part!
You can either encourage your kids to hunt for worms in the backyard or purchase them from a local bait and tackle shop. Finding them in the backyard is an experiment in itself, and will teach them about worm habitats. It's also a good way to positively reinforce the idea that worms are harmless and helpful, rather than gross and dirty. Once you have the worms, cover the top of the tank or terrarium with leaves and place the worms inside.
Over the next few days, have your kids monitor the worms and track their observations. What are the worms doing in there? Do they seem to prefer one soil medium over another? How is the habitat changing once the worms have cycled through each layer? The questions are endless.
How It Works
Worms are one of the easiest and most forgiving insects to keep in captivity. They require little other than a food source, water, and dirt. This experiment shows kids what their daily habits look like, and provides the opportunity to witness them at all hours of the day or night. Since worms can eat their body weight in one day, it's also a practice in compost, and how beneficial these bugs are to the environment.
Make UV Artwork
Sometimes, the simplest experiments are those that require the least amount of effort. This is one project where kids can get creative and focus on making art. To create unique sun prints, all you need is:
- A pencil
- Dark-colored construction paper
- A glue stick or other easy-to-remove glue type
- Scissors
- Tape
- Any object that can be traced (cookie cutters work well for this)
- A large window with plenty of sunlight
©Fuss Sergey/Shutterstock.com
To create sun art, all your kids need to do is trace their favorite shapes on construction paper and cut them out. Once they've collected all their shapes, have them arrange them on a larger, uncut piece of construction paper. Use the least amount of glue possible to hold the shapes in place, and then tape the construction paper in the window with the most sunlight.
After several days of fading in the sun, you can remove the shapes. This creates darker shapes from the cutouts against the lightly faded color of the paper, without ever needing to pick up a crayon or marker.
How It Works
This is another experiment in the power of the sun's rays. Only this time, you're using the UV rays from the sun rather than the heat it throws off. When UV rays hit the construction paper, the dark color absorbs the light, triggering a chemical reaction that causes the color to fade. This is the same thing that happens to unprotected skin and hair when they are exposed directly to the sun's rays. The cutouts serve as “protection” for the construction paper base, which means the paper underneath them remains untouched.
Launch Alka-Seltzer Rockets
Alka-Seltzer rockets are full of explosive fun — literally! This experiment is suitable for all ages, and there are many ways to modify it and achieve better (or sometimes, worse) results. It's also inexpensive and utilizes many things you might already have at home:
- Cardstock or index cards
- Film canisters
- Tape
- Scissors
- Water
- Antacid tablets (like Alka-Seltzer)
- Optional: Timer
©Sunny studio/Shutterstock.com
To start this experiment, have your kids build their rockets. The base for these is the film canister, and you can leave the lids off for now. Using paper, design fins for the rocket, a cone-shaped nose for the cannister bottom, and tail fins for the rocket's base. Once these are done and cut out, you can tape them to the sides and top of the film canister. Just be sure to leave enough space to open and close the canister lid.
When the rockets are done, drop an antacid tablet (or two) into the canister. Then, pour in some water, pop on the lid, and set the rocket down, upside down, for liftoff. The canister lid should be at the bottom of the rocket. This process must be done quickly, so adult supervision is recommended. When enough pressure builds up inside the effervescent mixture, the rocket will shoot into the air!
How It Works
Antacid tablets, such as Alka-Seltzer, contain citric acid and sodium bicarbonate. When mixed with water, they cause a chemical reaction that bubbles and fizzes. This effervescence causes pressure to build up in a confined space, such as a film canister. When the pressure reaches its peak, it causes the lid to separate from the canister, propelling the “rocket” into the air. If you want to get creative with this experiment, your kids can reuse their rockets and try some modifications. Using more or less water, antacid tablets, or hot and cold water are all great trial runs.
Make a Butterfly Feeder
If you live in an area where butterflies are frequent visitors, this is the perfect insect experiment. While it's not as hands-on as a wormery, it might get your kids an up-close and personal look at rare butterfly species. Attracting them is as easy as making a feeder, which requires:
- A small glass jar with a lid
- Sponge
- String
- Glue
- Water
- Sugar
- Artificial flowers
- Hammer
- Nail

©Luca love photo/Shutterstock.com
This experiment does require the assistance of an adult, so you'll need to do the hammering. Everything else is easy, though! To start, mix up some butterfly food using one part water to one part sugar. Bring this to a boil over the stovetop and then set it aside. While the mixture is cooling, use a hammer and a nail to create a small hole in the lid of the jar.
Screw the lid onto the jar, and then pull the sponge through the opening. You may need to cut the sponge smaller, but ensure it remains airtight. You don't want any of that delicious butterfly food to leak out!
After this is done, tie some string around the mouth of the jar to create a hanger. Four pieces of string around each side of the jar should be enough. Then, tie the ends together at the top. Once your jar is stable on its hanger, fill it with the sugar-water mixture.
To finish the jar, encourage your kids to draw and cut out colorful flower patterns to glue on the outside. Then, hang it and watch the visitors you attract. Here's a detailed guide on building a butterfly feeder, plus an easier option if you don't have a jar on hand.
How It Works
Sugar water strongly resembles nectar, which is primarily what makes up a butterfly's diet. The colorful prints on the outside of the jar are visually appealing, while the sugar-water draws them up to the sponge. This feeder works similarly to that of a hummingbird feeder, and can teach your kids about the habits of butterflies. Have them keep a journal of all the species they observe, including the times when butterflies are most frequently seen and the number of butterflies present.
The image featured at the top of this post is ©Yiistocking/Shutterstock.com