Once school starts, it’s easy for kids to become overwhelmed with the transition and the workload in their new grades. While you may want to help them continue learning at home, you don’t want to bog them down with more assignments. Finding a fun STEM project to do at home can keep learning fun while continuing to foster an interest in science, technology, engineering, and math.
We have a list of science experiments for kids to do at home, but you can also check out this list of STEM projects to cover the whole gamut of academic activities. These are also great for homeschool families who are trying to keep kids engaged throughout the year.
Elephant Toothpaste

©Gorodenkoff/Shutterstock.com
What you need:
– Empty plastic bottle
-Dry yeast
-Warm water
-Liquid dish soap
-3% hydrogen peroxide
-Measuring cups
-Measuring spoons
-Safety goggles
-Tub or tray to catch the foam
-Liquid food coloring (optional)
-Different-shaped glasses or bottles
Start by finding a spot in your house or yard that is ok to get messy. Take all of your materials to that spot and put on your safety goggles.
First, put the hydrogen peroxide and then the dish soap into the bottom of your plastic bottle. Then, drip the food coloring down the sides of the bottle. You can mix it if you want your elephant toothpaste to be all one color, or keep it separate on the sides of the bottle if you want stripes.
In a separate measuring cup, combine one tablespoon of yeast and three tablespoons of warm water to activate the yeast. Stir it for about 30 seconds, then pour it into your plastic bottle and step back. You should see a jet of what looks like toothpaste that's big enough for an elephant shooting out of the bottle!
You can try variations on this experiment. Try it without the dish soap, or try mixing the ingredients in a bottle with a larger or smaller neck to see what changes.
What This Demonstrates
This shows a chemical reaction between hydrogen peroxide and yeast. The yeast breaks the hydrogen peroxide down into water and oxygen, and the soap holds it together to make a foam. Take out the soap, and it doesn't hold together, so you get bubbles, but no foam.
Popsicle Stick Catapult
What you need:
-Popsicle/craft sticks
-Rubber bands
-Plastic spoon
-Soft objects to launch (cotton balls, pom poms, marshmallows)
Start by stacking around seven popsicle sticks on top of each other and securing them at each end with a rubber band. Then, stack two more popsicle sticks together, and secure one end with rubber bands. Place the large stack of popsicle sticks between the other two sticks, so the two sticks form a V with the large stack inside.
Use more rubber bands to secure a plastic spoon to the upper popsicle stick. Place a cotton ball, pom pom, or marshmallow on the spoon, then pull the spoon down to the table or floor and let it go to launch your object.
What This Demonstrates
Remember Newton's three laws of motion? If not, they are:
1. An object at rest tends to stay at rest unless acted upon by an outside force.
2. When an external force acts upon a body, it produces an acceleration in the direction of the force.
3. Every action has an equal and opposite reaction.
So, the object on the spoon won't move unless you move it, or the spoon moves it. When you pull the spoon down, it has the equal and opposite reaction of moving back up. When the spoon moves, it creates an acceleration of the object, which launches it up and forward.
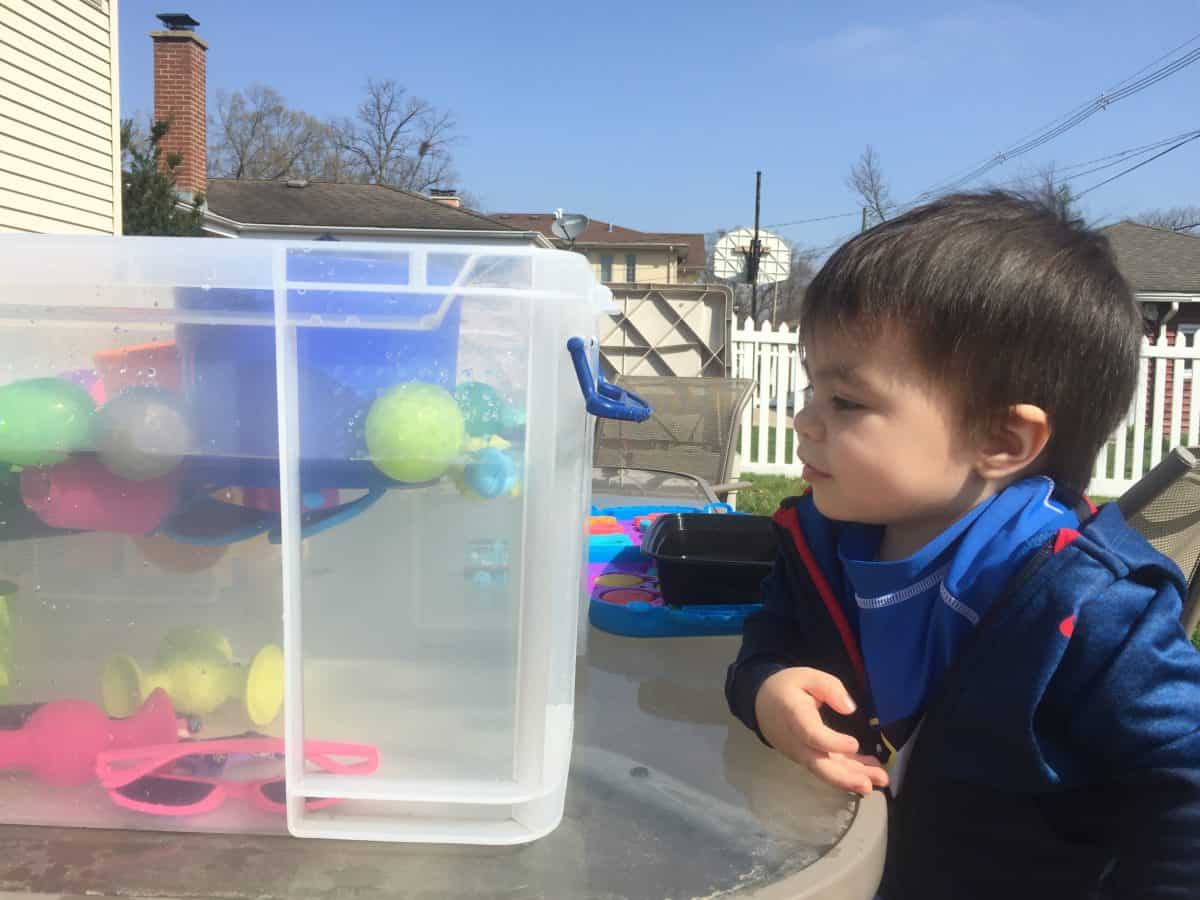
Sink or Float
©
What you need:
-A bucket, large plastic bin, or tub filled with water
-Toys, plastic bowls, balls
-Aluminum foil
This is a project that can be as simple or as complicated as you want it to be. If you have preschoolers, start simple by picking a few toys that you know will float, like toy boats, inflatable balls, and hollow rubber figurines, and a few toys you know will sink, like metal toy cars, hard bouncy balls, and heavier plastic figurines. Have your kids guess whether an object will float or sink, then put it in the water to find out if they're right!
If you have bigger kids, bring out some aluminum foil and have them make a boat that floats. Take it a step further by seeing how many pennies each kid can place in their boat before it sinks. (Hint for the grown-ups: a wide, flat-bottomed boat holds the most weight.) They'll have to figure out that there can't be any holes to let water in and that it will need to be close to the same weight all around, so one side doesn't sink.
What This Demonstrates
This shows how buoyancy works. For the boat or object to float, it must weigh less than the water it displaces. That's why hollow toys that are filled with air or wide, flat boats will float, and heavier, denser items won't. You can help explain this by showing that the child themselves doesn't float in the bathtub. Because you are denser than the water, your body moves the water out of the way and sinks to the bottom.
Paper Airplanes

©
What you need:
-Paper
-Scissors (optional)
-Paper clips (optional)
Paper airplanes are a great project because you can make them simple for younger kids or experiment with more complicated designs for older children. Try out some examples from the Fold ‘n Fly website, which has printables you can use to make these designs easier.
Encourage kids to design planes with flaps on the wings that they can fold up and down, different widths and lengths, and maybe even a paper clip on the nose. How do the planes fly differently based on the different designs?
What This Demonstrates
Multiple forces are acting on the paper airplane to make it fly or fall to the ground. The thrust from your hand makes it go forward. The lift from the air under its wings makes it go up. The drag, or air resistance, from the paper going through the air, keeps it from going forward faster, and the weight (gravity) of the plane brings it down. Kids can see how each of these forces works by changing the force they use to throw the plane, the shape of the wings, and the different weights of paper or paper clips.
Grow a Garden

©CandyRetriever/Shutterstock.com
What you need:
-Seeds or small plants
-Dirt, in a pot indoors or in your yard
-Water
This is a longer-term project, but it can be relaxing and productive, which makes it a good break from schoolwork. Start from seeds or with small herbs, vegetable plants, or flowers from your local garden store. You can start an herb garden in your window, experiment with light in different parts of the house, or plant in a few different places in your yard. Work with your kids to troubleshoot the plants. Figure out if you're watering too much or not enough, which plants grow better in the sun or shade, and what kind of soil your area has, which may make it better for certain plants.
We upped the ante on this one by also creating a compost heap next to our garden three years ago, which allows us to see decomposition and fertilization in real time.
What This Demonstrates
Kids can see a number of principles of biology from a garden, from photosynthesis to pollination to ecosystems to soil chemistry. You can explain how sunlight and water help plants grow, why you get more bees and butterflies in your yard with your garden, and how the bugs, plants, and animals interact to create an ecosystem where they each benefit.
Rainbow Walking Water
What you'll need:
-Six clear plastic cups
-Six sheets of paper towels
-Red, blue, and yellow liquid food coloring
-Water
Set the six cups up in a circle. In the first cup, drop two or three drops of red food coloring and fill the cup a little over halfway with water. Skip the second cup. Put two or three drops of blue food coloring and a little more than half the cup of water in the third cup. Skip the fourth cup. Put a few drops of yellow food coloring and a little more than a half cup of water in the fifth cup. Leave the last cup empty.
Then, fold each of the pieces of paper towel in quarters lengthwise (hot-dog style). Place one end of each paper towel into a cup with colored water, and the other end into an empty cup. Over time, the colored water will absorb into the paper towel and drip into the empty cup. This will create secondary colors (purple, green, and orange) in the empty cups, and the paper towels will fade from one color to the next between the cups.
What This Demonstrates
This experiment shows capillary action. The water moves up the paper towels in the spaces between the fibers, kind of like how water goes up through the roots of a plant. Kids can see the direction of the water movement through the colors.
Paper Chain Challenge

©Angelina Zinovieva/Shutterstock.com
What you'll need:
-Paper (choose several sheets to give each child)
-Scissors
-Tape
This is a great math challenge for kids in mid-elementary and up. Give each child the same number of sheets of paper — one if you want a short challenge, or up to five if you want a longer challenge. Tell them to see how long of a chain they can make by cutting the paper into strips and taping the strips into interlocking loops.
What This Demonstrates
This challenge creates an interesting way to think about area. A rectangle that is long and thin (for example, one inch by nine inches) can have the same area as a square (three inches by three inches). But the long, thin rectangles are going to make for longer chains. They started with the same area of paper, but it came out in different lengths and widths.
Building Challenges — Toothpicks or Spaghetti
What you'll need:
-Mini marshmallows or tiny balls of Play-Doh
-Toothpicks
-Uncooked spaghetti
You can do this challenge differently based on how old your kids are. Set out your materials and have each kid try to build the tallest tower they can! Start with toothpicks for younger kids. They'll need to figure out that connecting the toothpicks using the mini marshmallows can create cubes as a base, or pyramids, which are more stable. They can also build pyramids on top to create a house structure.
Bigger kids may be able to use the spaghetti in its long form to create a pyramid or break it into smaller pieces to make more stable blocks.
What This Demonstrates
Pyramids are the strongest shape — bigger at the base and smaller at the top. But if you're stacking multiple shapes on top of each other, you'll need a flat top. Kids can have fun experimenting to discover which shapes hold the most weight.
Cartesian Diver
What you'll need:
-Plastic bottle, 1 liter or larger, with lid
-Condiment packet (try sweet and sour sauce — it's clear, so you can see what's happening)
-Water
Fill the bottle with water as close to the top as you can, then put the condiment packet in and put the lid tightly on the water bottle. Squeeze the water bottle. The condiment packet should sink to the bottom as you squeeze the bottle and float back to the top when you release. You can also do this with a straw that is folded in half and secured to itself with a rubber band and a paper clip.
What This Demonstrates
The bubble inside the condiment packet is made of gas. When the bottle is compressed, the gas is forced into a smaller space, so it becomes denser and sinks. When it is released, the gas becomes less dense and rises to the top.
Rainbow in a Jar
What you'll need:
-A clear jar or glass
-Honey
-Dish detergent (preferably blue)
-Water
-Vegetable oil
-Rubbing alcohol
-Food coloring
Start by mixing together blue and red food coloring with a little water to make purple. Mix this into the honey, and pour it into the bottom of the jar. Wait a minute for the liquid to settle. Then pour the blue dish detergent on top of the honey. Dye the water green by mixing together blue and yellow, then pour that on top of the dish detergent.
Add some yellow dye to the vegetable oil and pour it on top of the water. Finally, add red dye to the rubbing alcohol and pour it on the top. The jar should now have six distinct layers, making a rainbow of liquids that don't mix even with a gentle shake.
What This Demonstrates
The liquids will always go back to their original places because of their different densities. Honey is the most dense, and will sink to the bottom, followed by detergent, water, and oil. Alcohol is the least dense and will rise to the top.
The image featured at the top of this post is ©Yiistocking/Shutterstock.com