Learning doesn't have to stop just because school is out! Science, technology, engineering, and math are still operating all around us every day. There are lots of fun things kids can do to continue learning about STEM topics throughout summer vacation. The weather is ideal for sun-based experiments, and messy activities can be moved outdoors so you don't have to clean up your house!
Check out these fun STEM activities for kids, or look back at our spring article about practical and educational activities for more ideas.
1. See the Sun at Work with Cyanotype Paper or Sunscreen
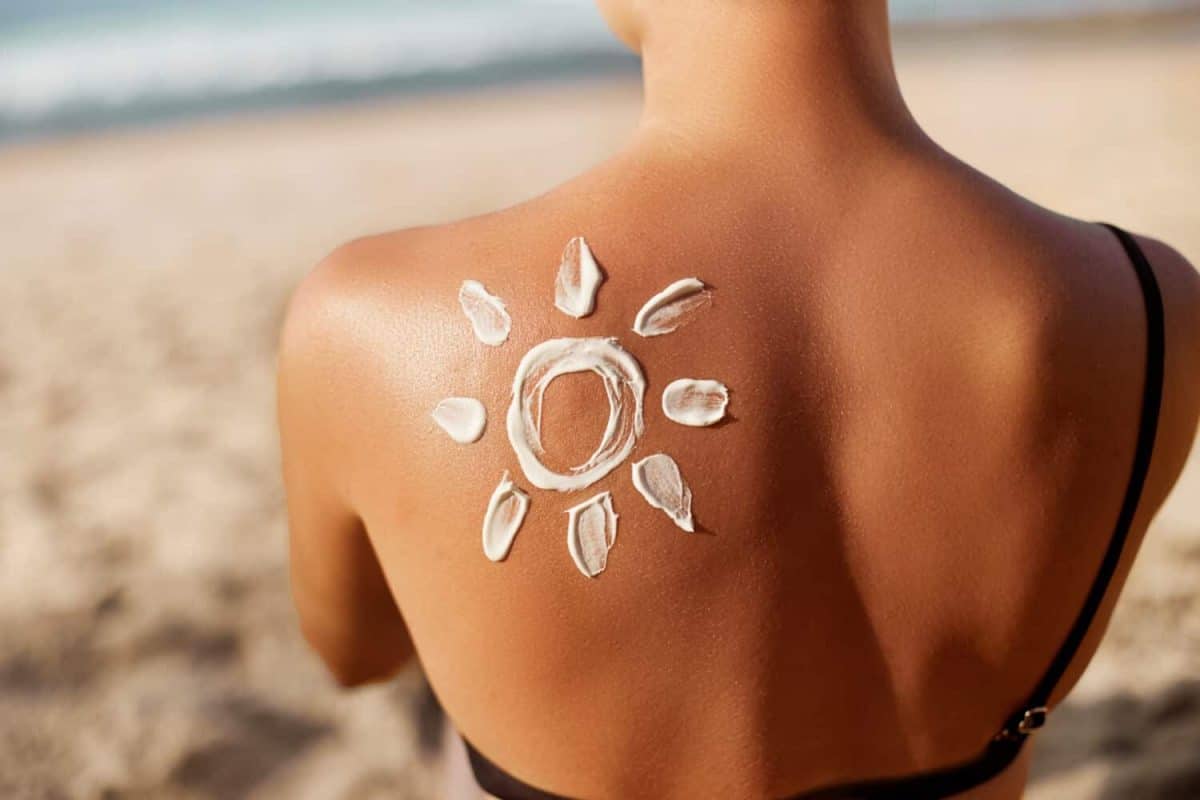
©verona studio/Shutterstock.com
Many of us remember this from our own childhoods. Cyanotype paper is treated with an iron salt solution so that it changes color when exposed to the sun. If you place an object on top of the paper and leave it, the object will prevent the paper from being exposed to the sun and leave its imprint on the paper. Cyanotype paper isn't very expensive, and you can find lots of natural objects to create a summer-themed collage on the paper with kids. Try fern leaves, flowers, seashells, and more!
You can do a similar experiment if you want to show your child how sunscreen works. Get a piece of black, purple, or blue construction paper and two different SPF levels of sunscreen. Have your child draw a picture or pattern with each SPF, making sure you know which one is which, and leaving some portion of the paper blank.
Leave the paper out in the sun for a few hours. When you come back, you should be able to see how the sun faded the paper to different levels based on the SPF of the sunscreen (or the lack of sunscreen on the paper). This can really show kids the damage the sun can do if you are outside without sunscreen for too long!
2. Make a Solar Oven
This is another great way to show the power of the sun. Gather up a pizza box or a shoe box with a hinged lid, aluminum foil, black construction paper, plastic wrap, glue, scissors, and a wooden or bamboo skewer. Cut a flap out of the lid of the box, leaving a one-inch border. Cover the bottom of the flap with aluminum foil, shiny side out. Cut a piece of plastic wrap to fit the hole left when the flap is open, and glue it around the border.
Then, glue the black construction paper to the bottom of the box. Once all the glue is dry, place one graham cracker, one square of chocolate, and one marshmallow in a stack on the bottom of the box. Close the lid so that the plastic wrap is over the s'more ingredients. Prop the foil flap up to reflect the sun down through the plastic wrap and leave the set-up in the sun during peak sunlight hours, around 11 a.m. to 2 p.m. Kids will see how the sun toasts the marshmallows and creates the perfect s'more! You can experiment with sunny and cloudy days to show the difference in cooking time. For a more detailed explanation, check out this article.
3. Create a Sundial in Your Yard
This one is for the more advanced STEM-loving kids. Gather up 12 rocks or seashells, a Sharpie or paint pen that will be able to write on said rocks or shells, and a stick. Write the numbers 1 through 12 on your shells or rocks. Find the sunniest spot in your yard and plant your stick in the ground around that spot. The STEM challenge comes in finding out where to place your shells or rocks. You can do this using your watch by placing the #9 rock near where the shadow of the stick is at 9 a.m., or you can wait until noon, when the shadow of the stick should be the shortest, and place the stick then.
See if your kids can figure out how to place the other 11 rocks based on where the first one is. Theoretically, they will likely need to use a protractor and figure out that each marker should be the same number of degrees apart. Or, they can place one shell or rock every hour until they've figured out where they all go. But, depending on the length of the stick and the size of the markers, you may need to make some adjustments to make everything fit. If your measurement seems off, try tilting your stick a little to the north. Check here for a more detailed explanation.
4. Complete the Boat Buoyancy Challenge
Which kid (or adult) can create the best floating boat using materials you have around the house? Now is the perfect time to find out, because you can do the experiment outside without making a huge mess in your kitchen or bathroom. Find a variety of materials like foil, styrofoam, plastic wrap, duct tape, straws, and tape. Let each person assemble a boat that they think will float in a bucket of water or a kiddie pool. You can test each creation by filling it with pennies one at a time until it sinks. Most teachers find that kids can make a boat with 25 pennies float.
The key is to use materials that are lightweight and have no holes. Aluminum foil gives flexibility and can be watertight. Styrofoam cups, taped together in the right ways, can also be winners. Let kids try multiple models and see what works best for them. You can then relate it to how real boats work and take them on a boat ride nearby!
5. Make a Pool Noodle Periscope
During summer, it's easy to find pool noodles at the dollar store or Five Below. So you won't feel as bad about cutting them up for this activity! Get a pool noodle, two small mirrors (around 2-inch diameter usually works), scissors or a knife for cutting the noodle, duct tape, a ruler, a marker, and a protractor to measure the angles.
Measure four inches from the end of the pool noodle and mark the measurement at the bottom of the noodle. Then, measure six inches from the end of the noodle and mark the top there. Using the protractor, draw a line marking a 45-degree angle between the two marks and then cut the noodle along that line. You'll need to cut the opposite angle at the other end.
Once you've cut the noodle, flip the end piece and create a 90-degree angle with the main piece. Nestle the mirror into the corner at a 45-degree angle, pointing toward the other end of the main piece, and tape or glue it into place before taping the two pieces together at a 90-degree angle. At the other end, point the end piece in the opposite direction to make a Z shape, and again, nestle the mirror in facing the opposite mirror. Tape it together and see what happens!
You may need to remove the tape and adjust the angles, but you should eventually be able to see above an obstacle or around a corner using your periscope. Explain to kids how the two mirrors work together to reflect the image into the viewing end of the periscope.
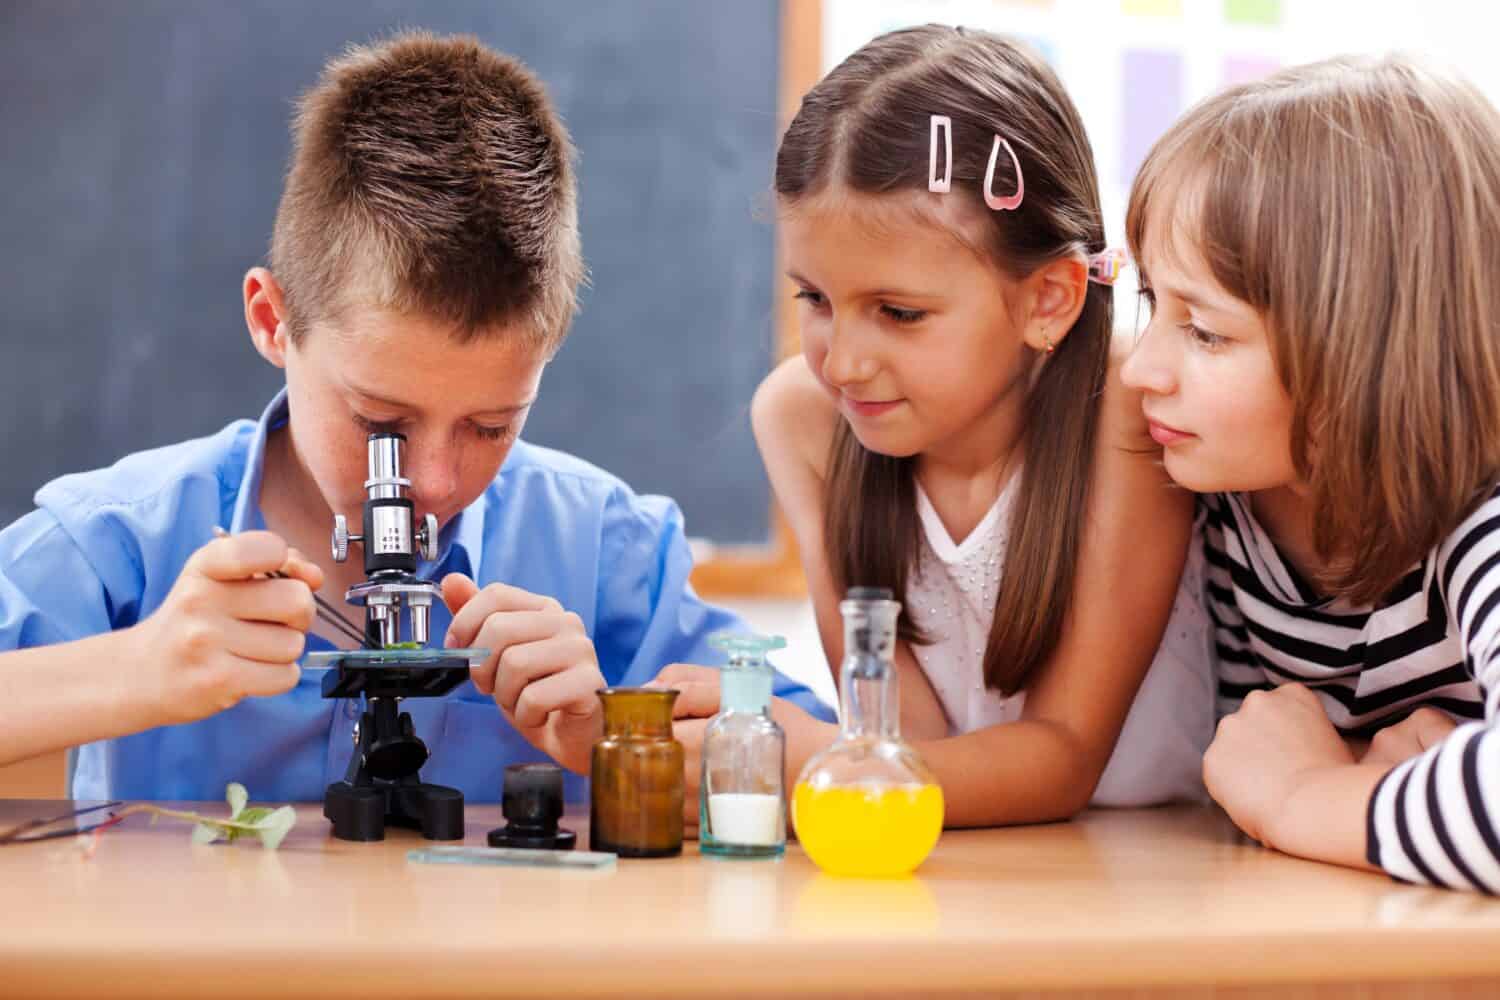
6. Go Jump in a Lake… And Get a Water Sample

©NPF Photography/Shutterstock.com
We bought my son a handheld microscope for Christmas last year, and he loves looking at blades of grass, rocks, or even his own hand under magnification. But summer is the perfect time to go to your local pond and get a water sample! Buy or borrow a microscope, get some slides to prepare, and see what you can find living in your local lake or pond. You can also order a protozoa kit if you want to know for sure what you're seeing.
7. Pick Fruit and Make a Treat
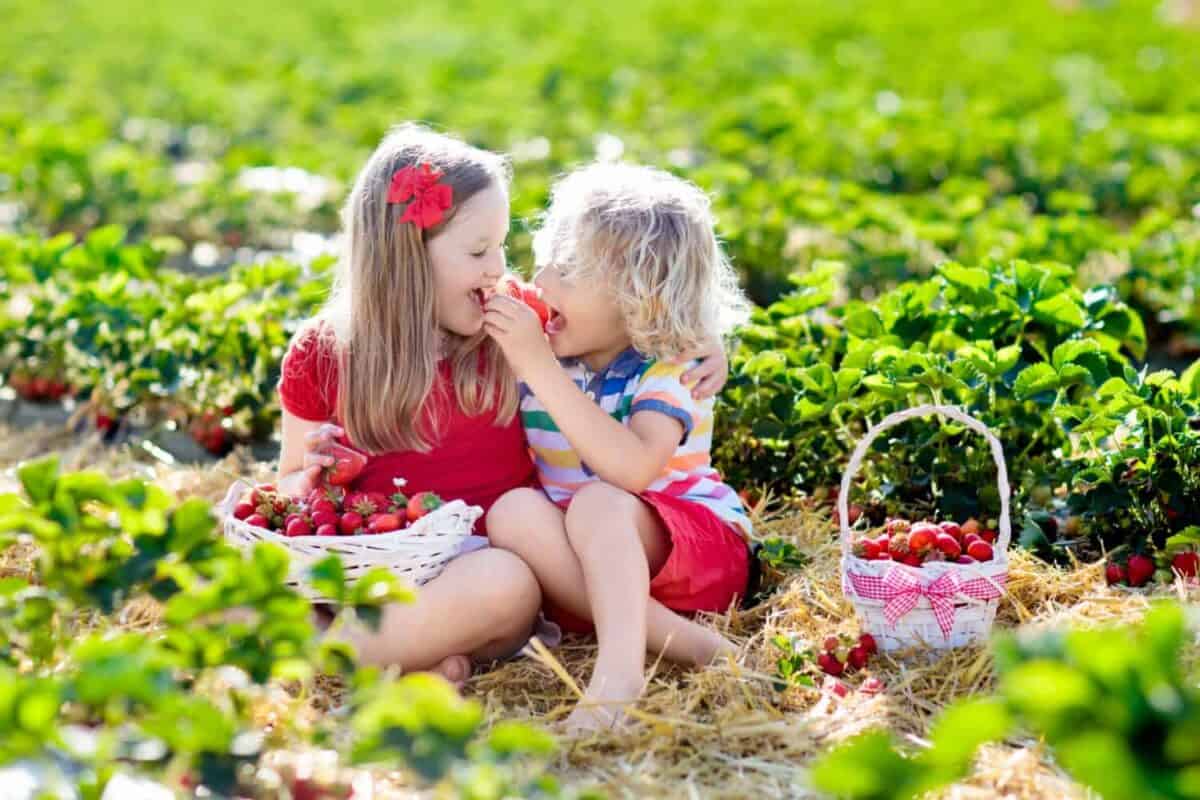
©FamVeld/Shutterstock.com
We recently went strawberry picking, and the kids learned about what part of the plant the strawberries grew on, how they were impacted by the weather, and how to pick the ripest ones. After we were done picking, we made strawberry shortcakes with whipped cream, and my son had many questions about how the strawberries became juicy and syrupy when we added sugar, and how the cream went from a liquid to a puffy semi-solid when we whipped it.
It turns out macerating strawberries (adding sugar) creates osmosis — the water is drawn out of the berries by the sugar — and hygroscopy — meaning the water holds onto the sugar molecules, making it syrupy. Whipping cream destroys fat molecules and separates them by adding air, creating the puffy texture of whipped cream. And eating both has been scientifically proven to be delicious.
8. Make Ice Cream in a Bag
Many kids love ice cream, and they love making it themselves. While I have yet to see a kid reach hard-packed ice cream doing this experiment, it usually yields a fun soft-serve vanilla that kids take pride in having made themselves. Give each child a small sealable bag and a gallon bag. Have them fill the small bag with 1/2 cup half-and-half, one tablespoon of sugar, and 1/4 teaspoon of vanilla extract.
Add four cups of ice and 1/2 cup of salt to each gallon bag. Then, put the small bag into the gallon bag and make sure both are sealed. Shake the bag for five full minutes. You should be able to create an emulsion, or a combination of liquids that don't usually mix. Make it an experiment by trying it without the salt to see if it makes a difference (hint — the salt makes the process much faster).
9. Make a Watermelon Explode
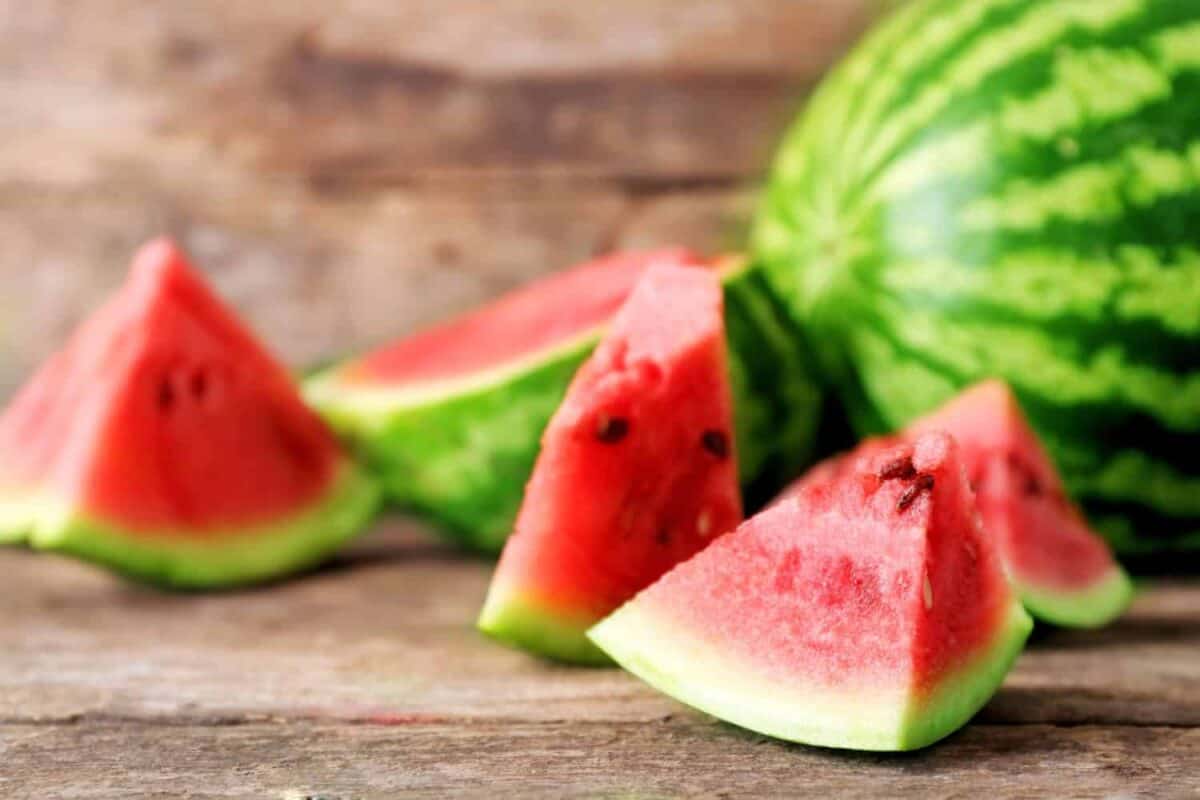
©Africa Studio/Shutterstock.com
If you don't want to waste food, do this inside a clean kiddie pool. Then, you can eat most of the results after it happens.
Buy a small to medium watermelon and the largest pack you can find of large rubber bands (you'll need about 400). You may want to place the watermelon on top of a five-gallon bucket or a milk crate to elevate it. Place the rubber bands around the watermelon, one at a time, or several at a time if you can work with another person to stretch out the rubber bands. Eventually, the pressure from the rubber bands will cause the watermelon to crack.
Immediately step away — it will only take a few seconds for the watermelon to explode. This is because you are creating potential energy when you stretch the rubber bands. They exert force on the watermelon, which eventually reaches a point where the force pushing in is more than it can sustain, and it bursts — with messy and delicious results.
10. Experiment with Different Pinwheel Designs

©lara-sh/Shutterstock.com
Cut construction paper or cardstock into squares. Cut an X into each square, but don't let the lines intersect at the center — leave an inch or two to create the center of the pinwheel. Fold one corner down on each triangle created by the X, and tape or glue the corner to the center. Poke a hole in the center and put a pin, metal brad, or straw through to allow the pinwheel to rotate. You can use your own breath, a fan, or wind to blow the pinwheel. Try different widths of triangles or weights of paper and see which is the most wind-resistant and which swirls around the fastest.
If you live in an area where wind turbines are popular, drive children past some and explain that the faster the turbine turns, the more wind energy is converted into mechanical energy. Engineers experimented with many different designs before coming up with those used today.
Have fun trying out these amazing STEM activities for summer!
The image featured at the top of this post is ©Szasz-Fabian Ilka Erika/Shutterstock.com